
 Tweet
Tweet
Because I’ve had several people asking me for more info about the Konis I installed on my car, I put together a how to for everybody. I didn’t take a whole lot of pictures at the time, but I will explain it as best I can, and feel free to ask me questions if you have any.
First off you will need to order the Konis, part numbers as follows:
2x - 8641-1500SPORT (These are the front strut inserts from a Cobalt)
2x - 8040-1342Sport (These are the rear shocks from a Saab 9-3)
I bought all of them on Tirerack, but it was during a sale and got them for around 550, shop around for them and you should be able to find a decent price.
Now to installing the front strut inserts, they do require you to hack up your OEM front struts, so I bought a junked set so I didn’t destroy my good ones…
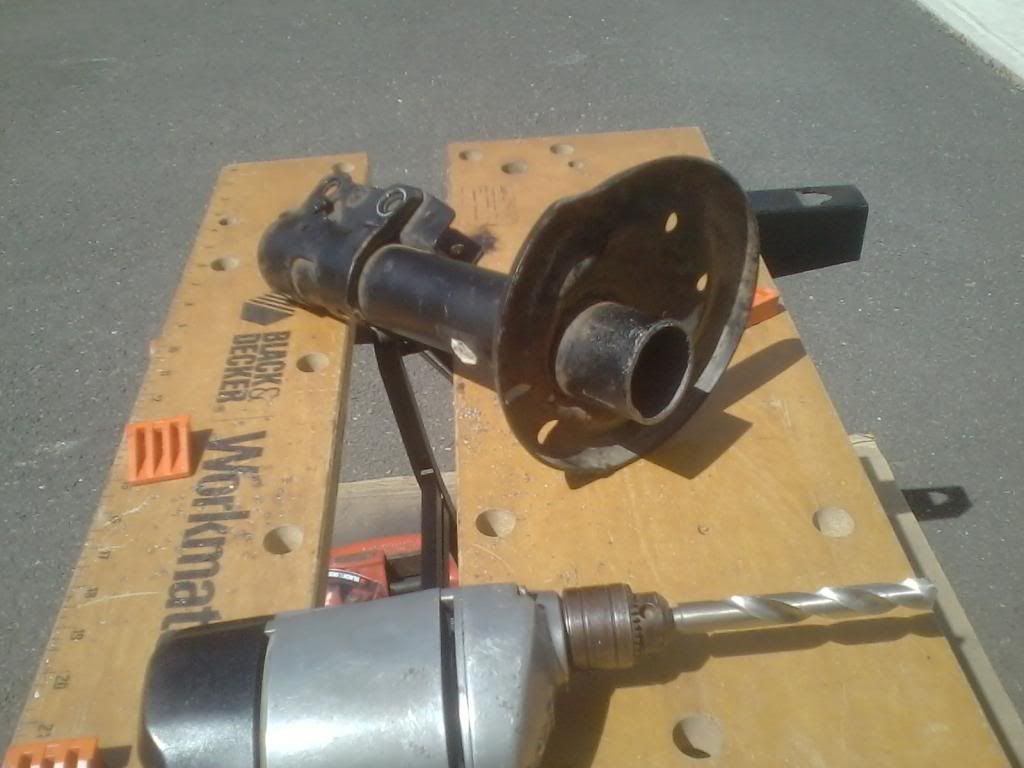
First, you need to drill a hole in the center of the bottom of the front strut. I used a small bit to make a pilot hole first. I then turned the strut over into a bucket and pumped the piston to drain the strut of all the oil.
Next you need to enlarge the hole you just drilled to ½”, you probably want to work your way up in bits to ½”
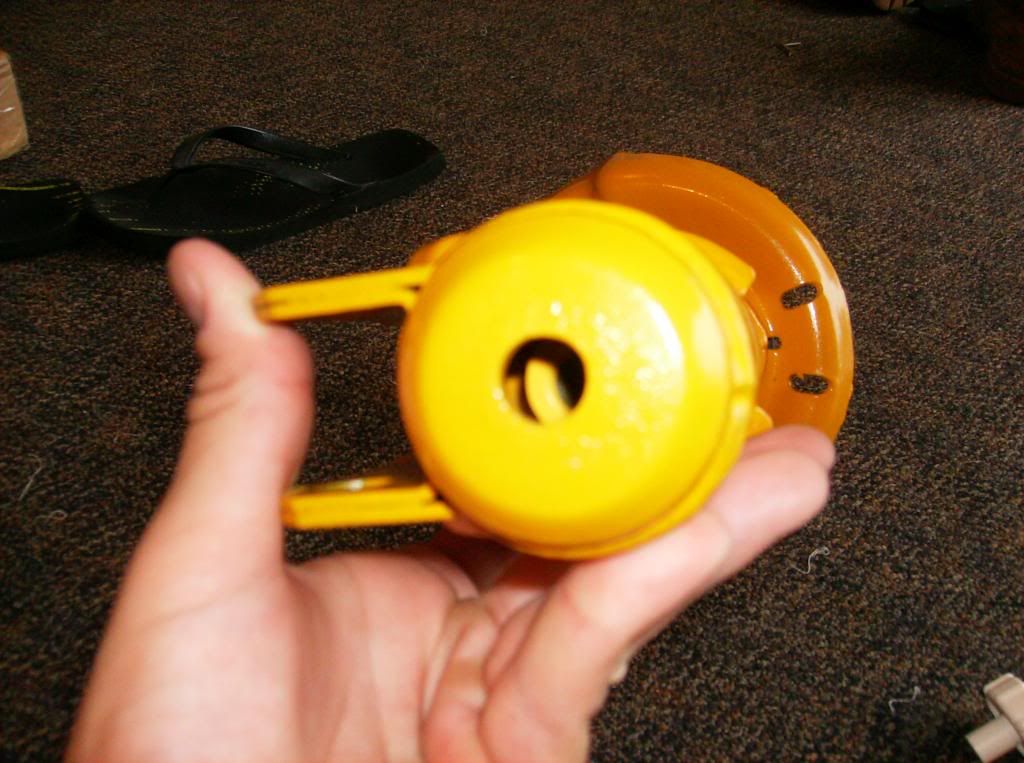
After that I used a hacksaw to cut the top of the strut off. Cut up as far as possible before the struck necks down, you need the full diameter of the strut. Some struts might not neck down so just cut them at the bottom of the plastic cap.
At this point you will be left with something similar to this…
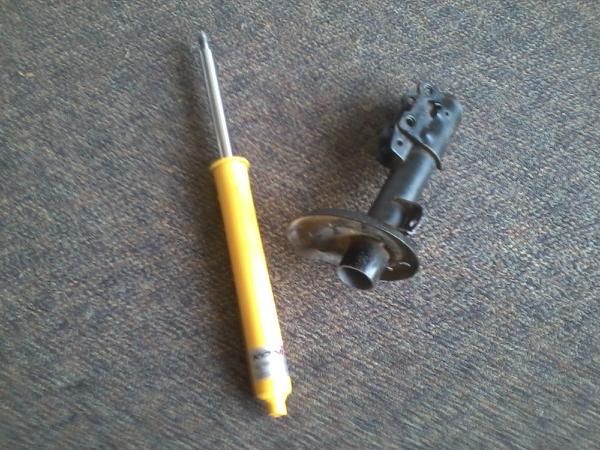
You will be installing the insert inside the hollowed out strut…
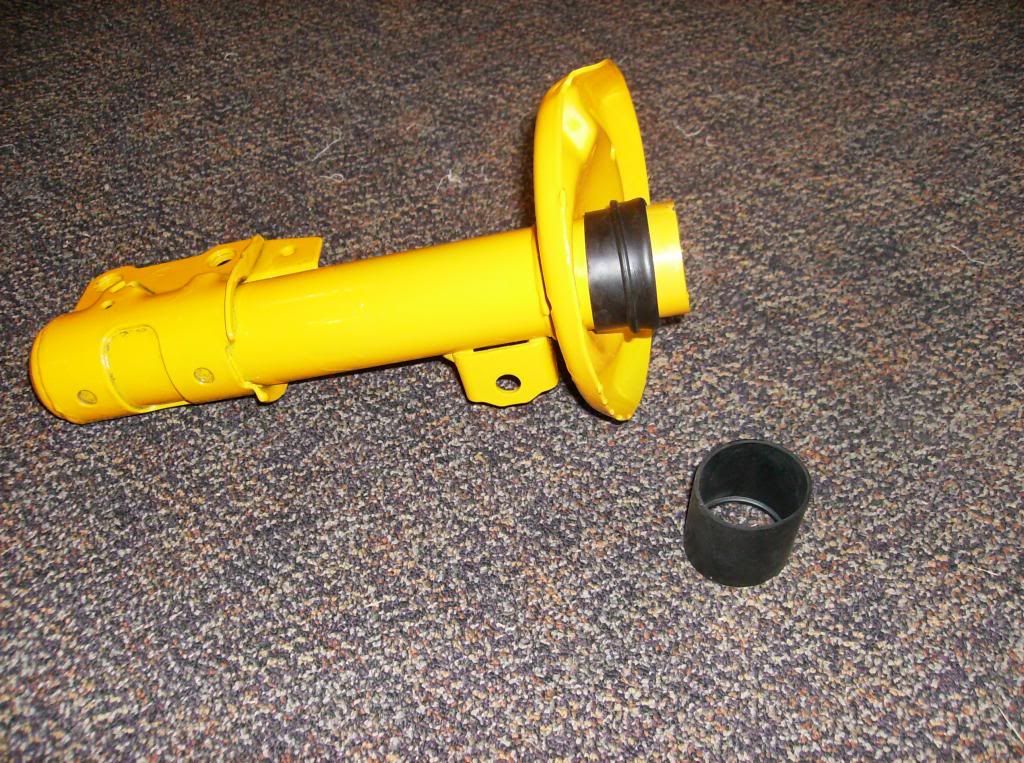
Before I did that though, I sanded down the struts and painted them to match Koni yellow. Rustoleum Industrial Choice paint in the School Bus Yellow is a near identical match…
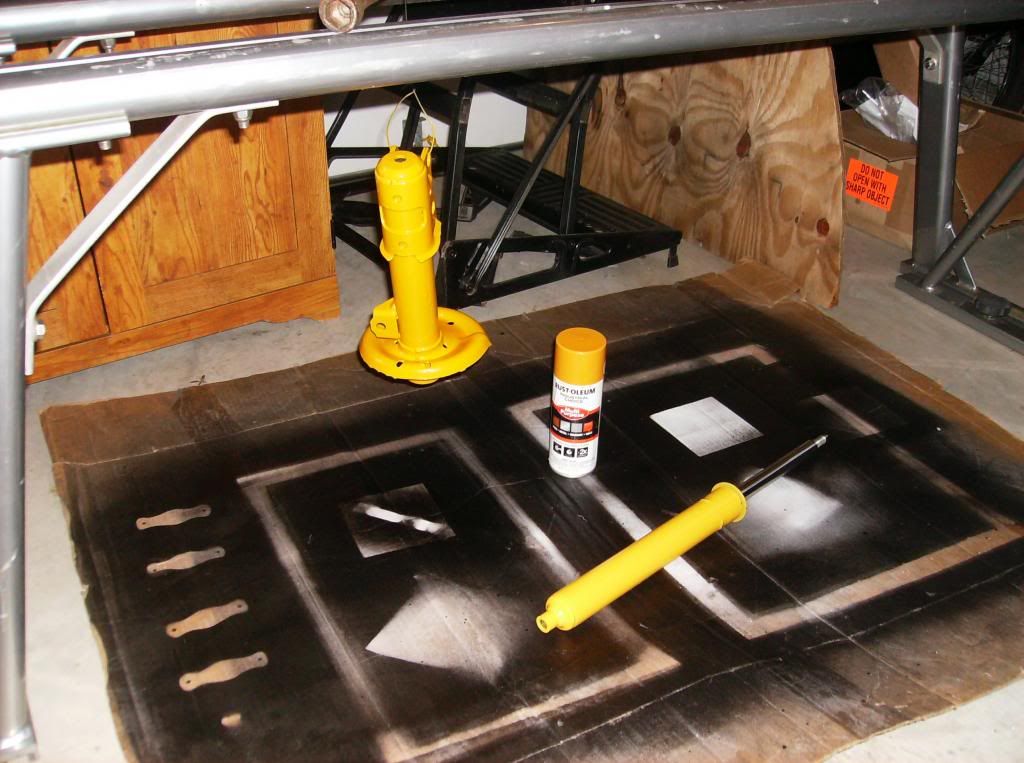
I was left with this after…
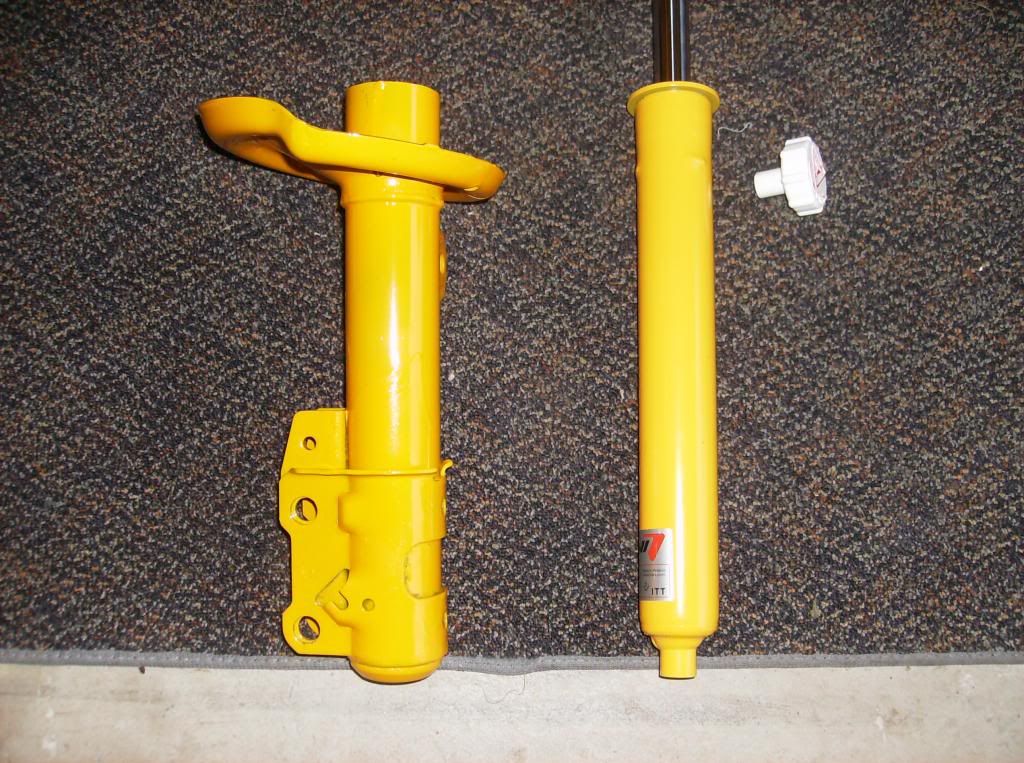
Install the rubber sleeve over the strut before putting the insert in…
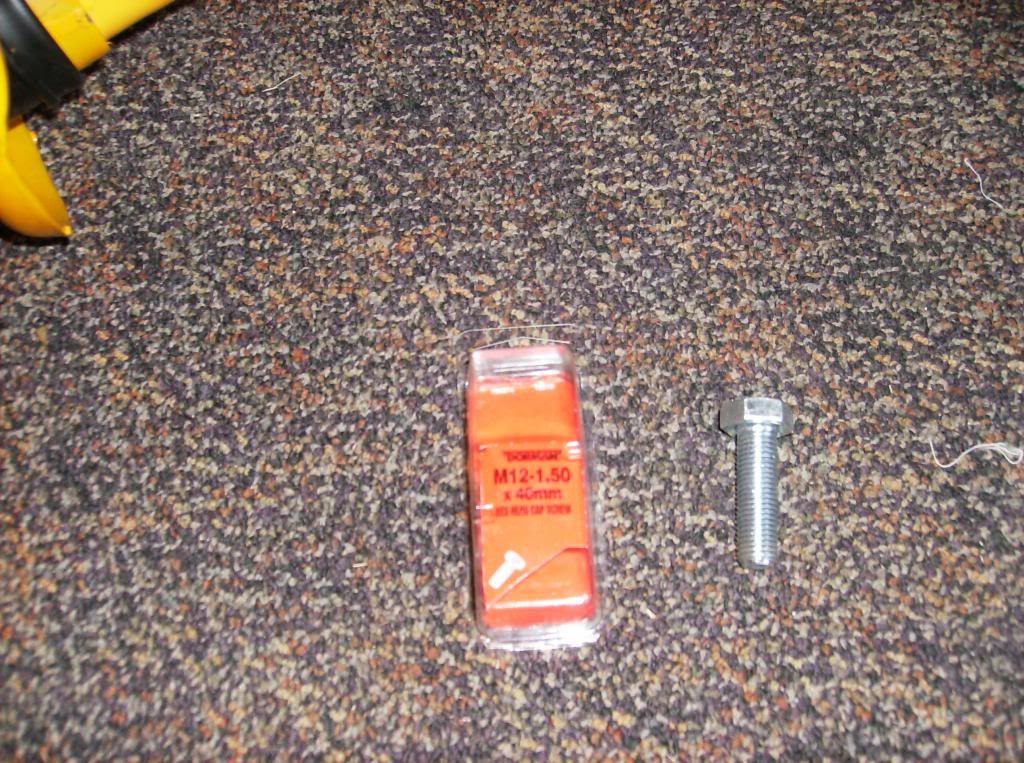
You will notice that the insert does not reach all the way to the bottom before the bumps on the Koni hit the cut end of your strut, and the supplied allen bolt is probably too short to pull it down…
So I picked up this bolt from the parts store, M12-1.50 by 40mm long…
Insert this bolt and tighten it down, you will notice this will suck the bumps on the top of the Koni down into your old strut housing leaving a tight fit, continue to tighten until the bolt bottoms or the Koni bottoms on the strut…
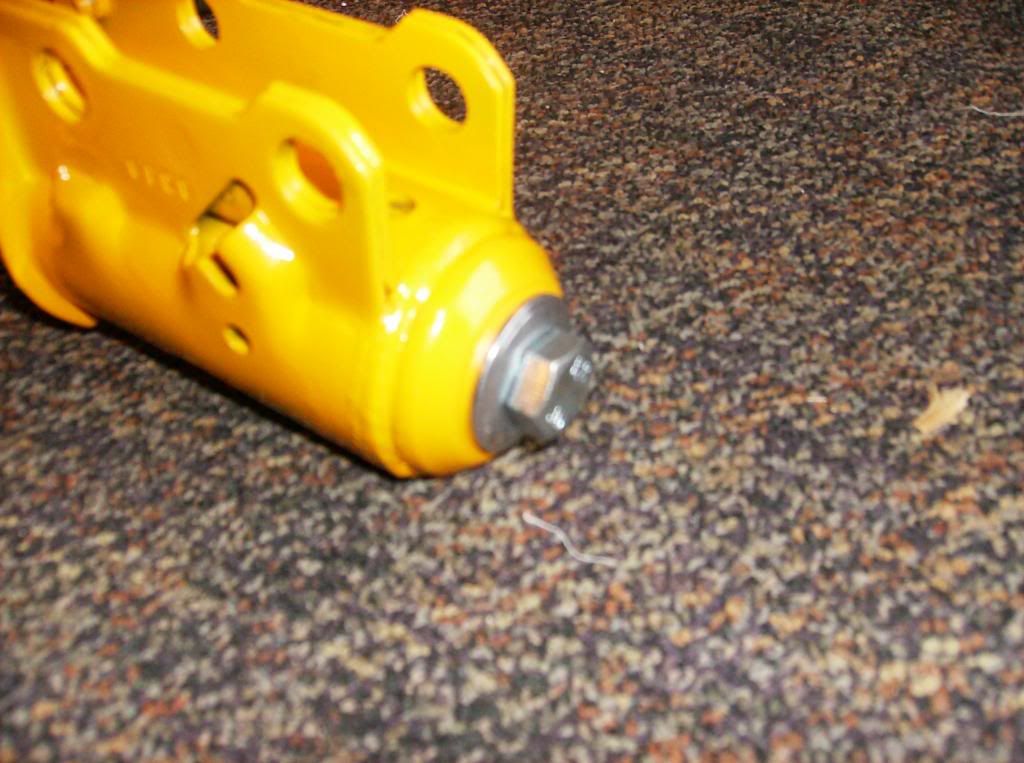
Like this…
Then unscrew the bolt an you will notice that the threads on the insert are now close to the bottom of the housing now…
So now use the supplied Allen bolt and washers. Be sure to put Red Loctite on the Allen bolt and torque it to 55 ft-lbs. Pull up the rubber boot to cover the seam between the insert and strut housing at the top. You should be left with this…

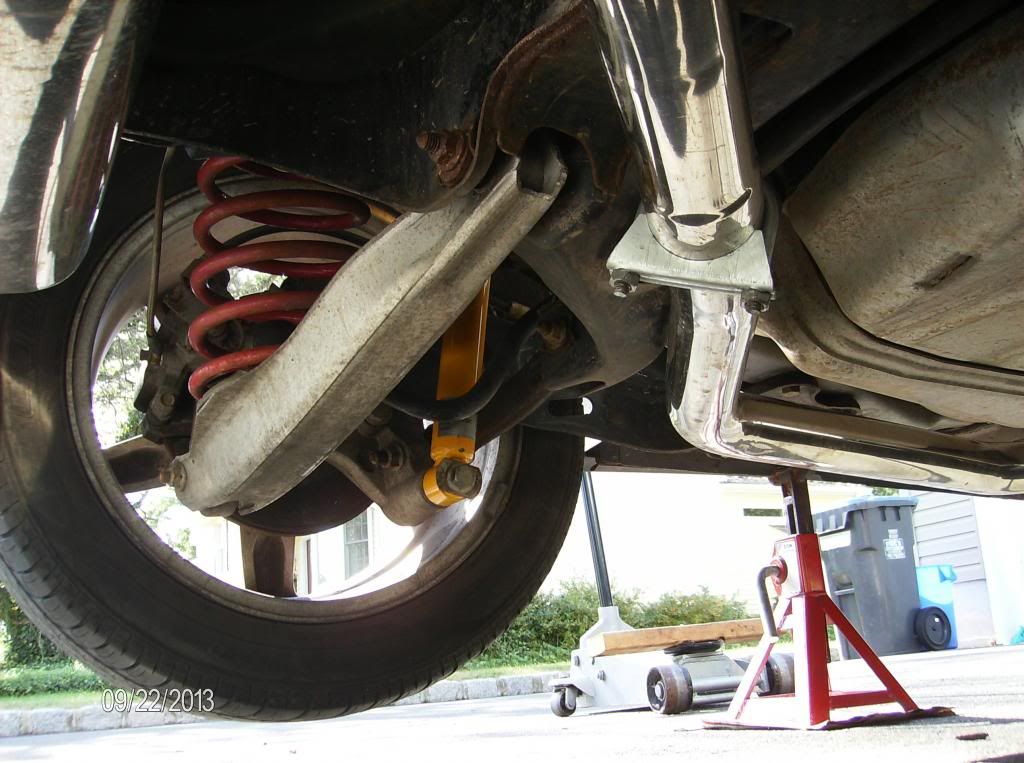
Now you’re pretty much left with a normal strut that can be assembled with your springs like any other strut. Use the top strut nut that came with the Konis and not your old strut as they have different thread pitches. And here you go, they just install like any other strut…
The rears on the other hand are easy…
They are identical to the stockers…
Don’t let the install scare you away. It is a lot easier than it seems, and can be done at home with simple hand tools. The Konis come with a set of instructions, but they are pretty substandard so I hope this helps to make things easier for everybody. Here’s a link to Konis install Clicky . You can also check out these 2 threads on Cobalt forums about installing the Koni inserts, pretty much the same since I did use Cobalt strut inserts, the Cobalt strut bodies are identical to ours anyways. This thread Clicky and this one Clicky.
I’ve been riding these for several weeks now and our amazing! I would highly recommend this to anybody. It’s cheaper than coilovers and rides a whole lot better too. Hope this helps everybody, if you have any questions just post them up!
First off you will need to order the Konis, part numbers as follows:
2x - 8641-1500SPORT (These are the front strut inserts from a Cobalt)
2x - 8040-1342Sport (These are the rear shocks from a Saab 9-3)
I bought all of them on Tirerack, but it was during a sale and got them for around 550, shop around for them and you should be able to find a decent price.
Now to installing the front strut inserts, they do require you to hack up your OEM front struts, so I bought a junked set so I didn’t destroy my good ones…
First, you need to drill a hole in the center of the bottom of the front strut. I used a small bit to make a pilot hole first. I then turned the strut over into a bucket and pumped the piston to drain the strut of all the oil.
Next you need to enlarge the hole you just drilled to ½”, you probably want to work your way up in bits to ½”
After that I used a hacksaw to cut the top of the strut off. Cut up as far as possible before the struck necks down, you need the full diameter of the strut. Some struts might not neck down so just cut them at the bottom of the plastic cap.
At this point you will be left with something similar to this…

You will be installing the insert inside the hollowed out strut…

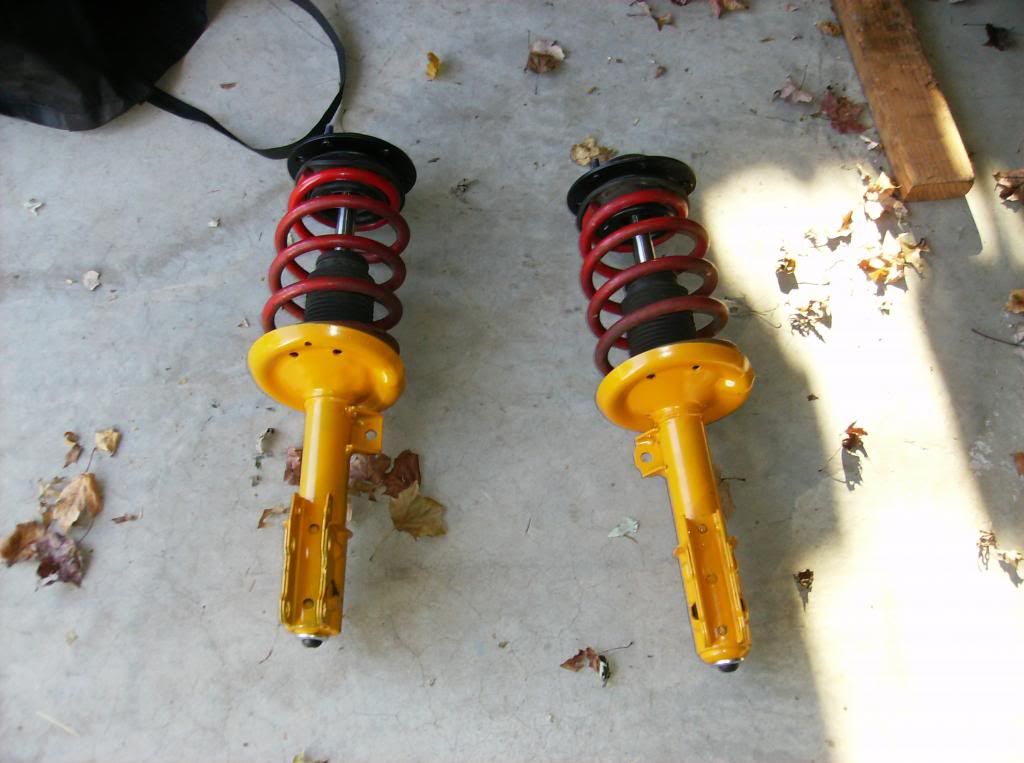
Before I did that though, I sanded down the struts and painted them to match Koni yellow. Rustoleum Industrial Choice paint in the School Bus Yellow is a near identical match…

I was left with this after…

Install the rubber sleeve over the strut before putting the insert in…

You will notice that the insert does not reach all the way to the bottom before the bumps on the Koni hit the cut end of your strut, and the supplied allen bolt is probably too short to pull it down…

So I picked up this bolt from the parts store, M12-1.50 by 40mm long…

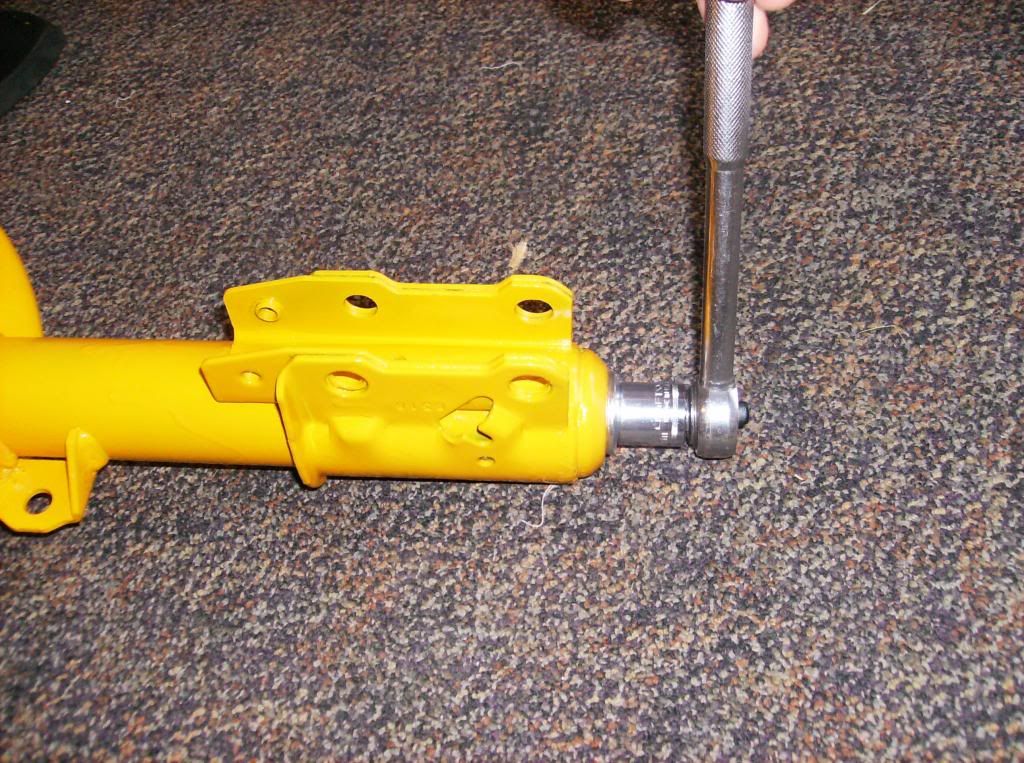
Insert this bolt and tighten it down, you will notice this will suck the bumps on the top of the Koni down into your old strut housing leaving a tight fit, continue to tighten until the bolt bottoms or the Koni bottoms on the strut…

Like this…

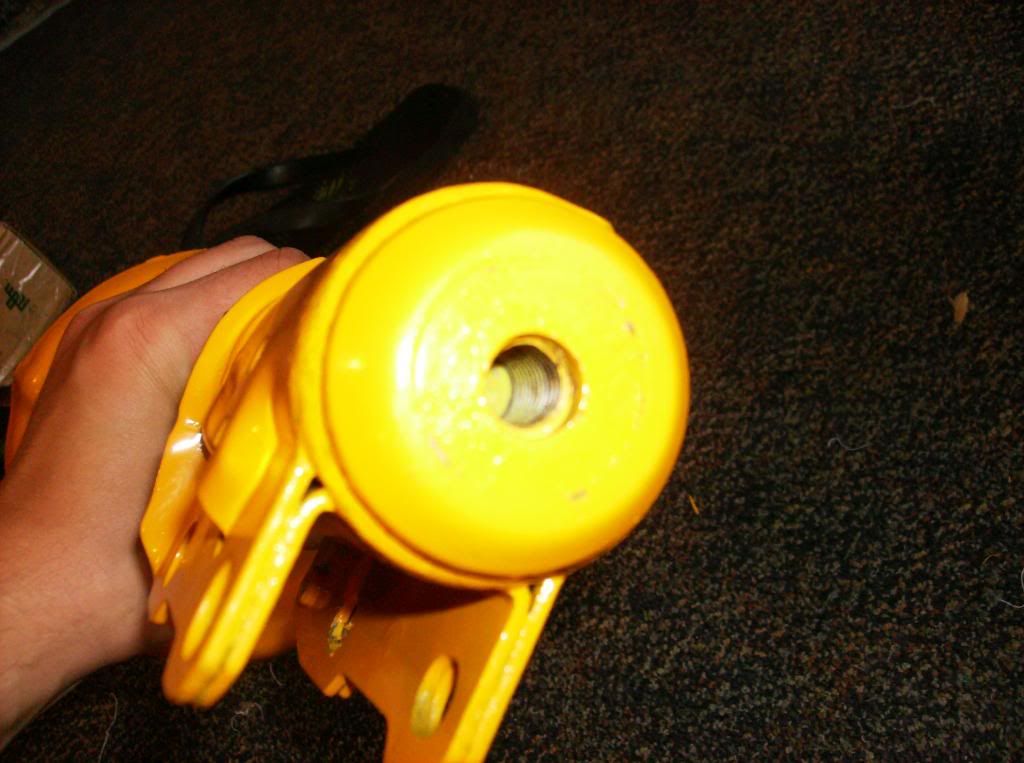
Then unscrew the bolt an you will notice that the threads on the insert are now close to the bottom of the housing now…

So now use the supplied Allen bolt and washers. Be sure to put Red Loctite on the Allen bolt and torque it to 55 ft-lbs. Pull up the rubber boot to cover the seam between the insert and strut housing at the top. You should be left with this…

Now you’re pretty much left with a normal strut that can be assembled with your springs like any other strut. Use the top strut nut that came with the Konis and not your old strut as they have different thread pitches. And here you go, they just install like any other strut…

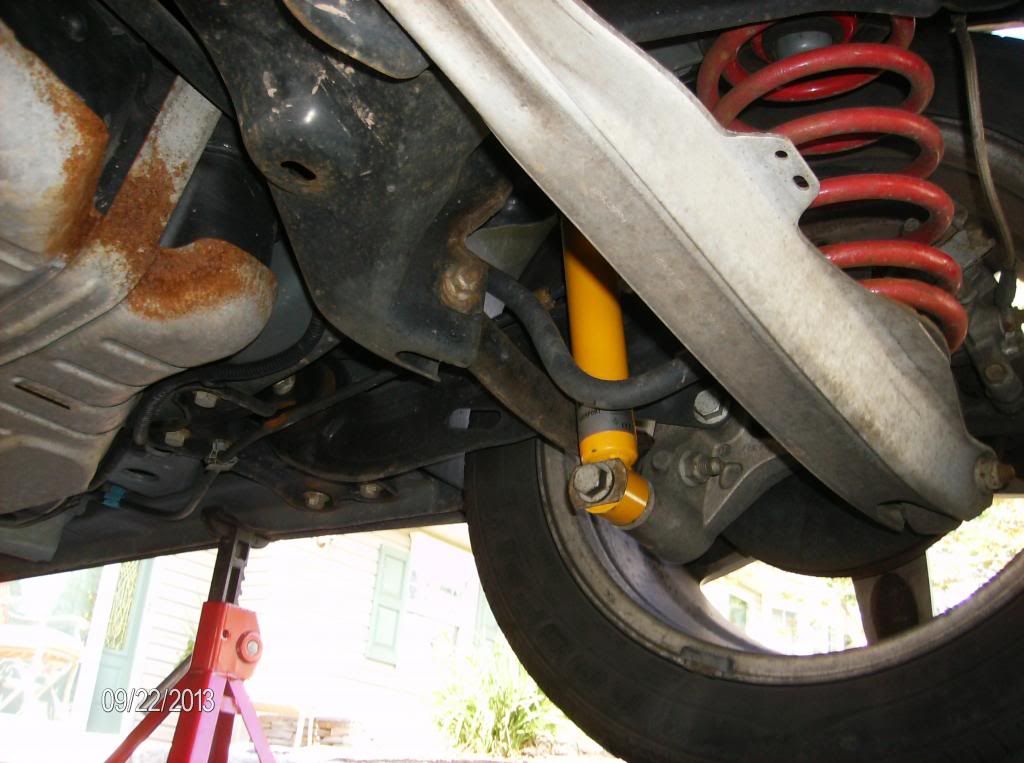
The rears on the other hand are easy…

They are identical to the stockers…

Don’t let the install scare you away. It is a lot easier than it seems, and can be done at home with simple hand tools. The Konis come with a set of instructions, but they are pretty substandard so I hope this helps to make things easier for everybody. Here’s a link to Konis install Clicky . You can also check out these 2 threads on Cobalt forums about installing the Koni inserts, pretty much the same since I did use Cobalt strut inserts, the Cobalt strut bodies are identical to ours anyways. This thread Clicky and this one Clicky.
I’ve been riding these for several weeks now and our amazing! I would highly recommend this to anybody. It’s cheaper than coilovers and rides a whole lot better too. Hope this helps everybody, if you have any questions just post them up!


Comment