

 Tweet
Tweet
alright guys so i finally got the time to fill you all in on how installing my eibach pro kit went. I'll put up some pictures and hopefully Tupperware SC2 and/or someone else that knows how to install can use these pictures to further inform you in a how-to for installing the springs and saving a boatload of cash by doing so 
So going into this, two of my friends and i, we didn't completely know what we were doing and so just the first wheel took 5 hours mostly because of the little bump stop not going through the piston all the way (we weren't sure it was supposed to at first) then after we figured out to just take the whole spring/shock out and assemble it outside of the car and then put it back in, the other 3 tires took around 30-45 minutes. it was a breeze.
i still have yet to get an alignment but will have to wait till monday to do so. From driving around today though, the ride felt very nice. it was alot more solid and not so bouncy and there was quite an improvement on taking turns as far as body roll goes. I also like how you can notice it's lowered by when you get in/out of the car and are lower to the ground. i'll put up some pictures and try to describe them a little. i apologize i didn't get many pics since we didn't quite know what we were doing at first and everything. also my camera for some reason took them in a very low quality
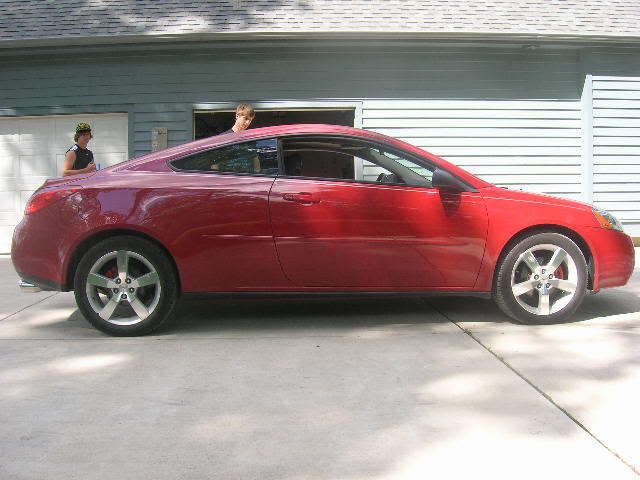
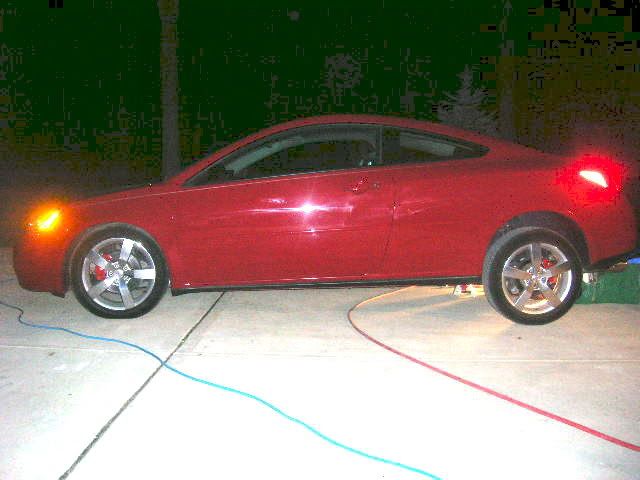
Here is just a before picture
You have to remove these bolts around the top so the shock can come out
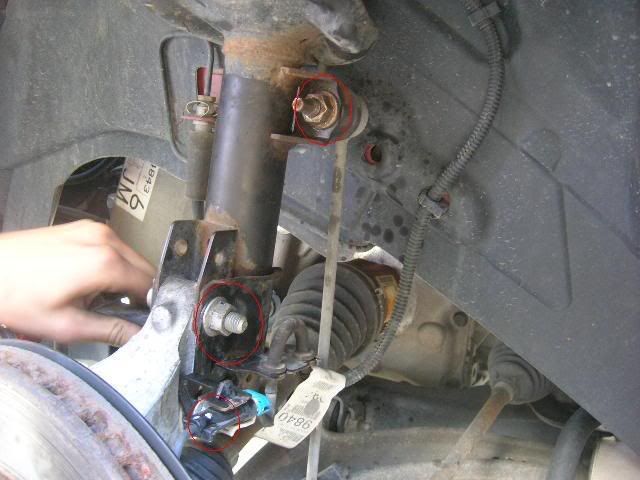
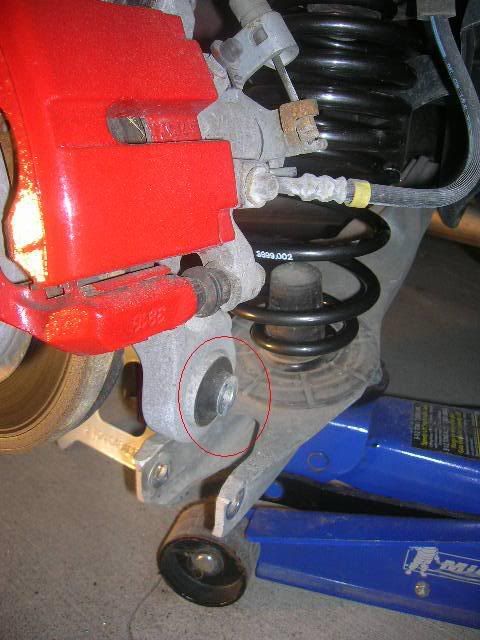
For taking the entire shock out, you have to remove the two bolts on the bottom connecting it to where the brake system is, you also remove the bolt at the top that is circled that connects to the shock. there is also one more small peice to remove from the shock on the other side. sorry i don't have a picture of that
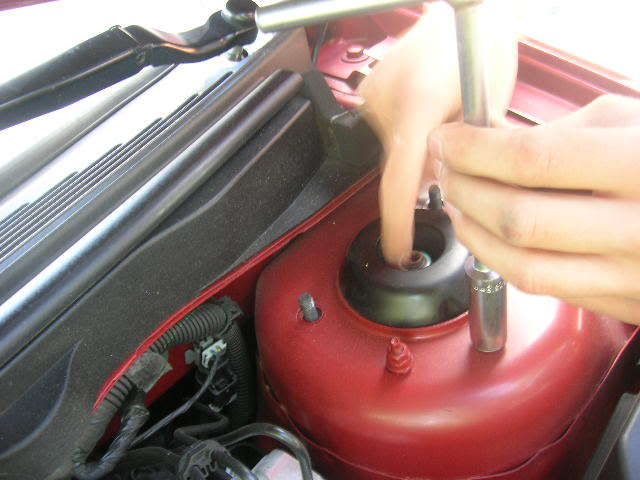
Once you have the entire thing out, remove the spring obviously and take out the little black tubing around the shock and remove the old bump stop and replace it with one of the two included with the pro kit. Make sure you push in down on the shock well past the threading. then put the new spring on and throw it all back together. (don't mind the compressor we are using there. we rented the right one from autozone, sorry no picture of that either.)
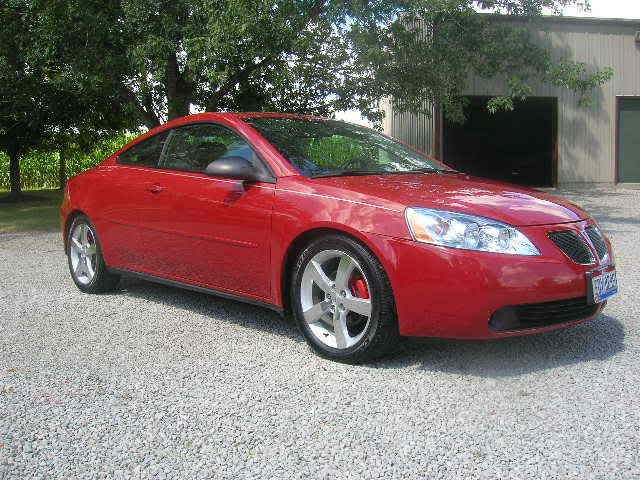
here is the look i should have kept. it's pretty mean looking.
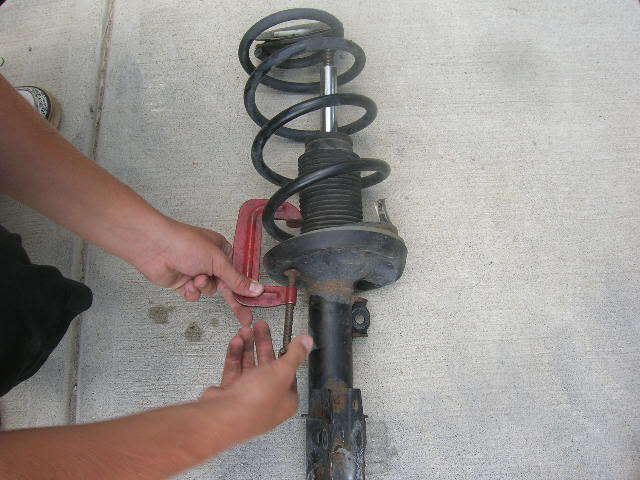
Then the rear springs were waaaay easier and quicker. from what i saw i think there is only one bolt that needs to be removed and i have that circled. i may be wrong so please correct me if i am anyone with more experience and knowledge. but here is a picture of the rear after getting the shock on about to put it back together.
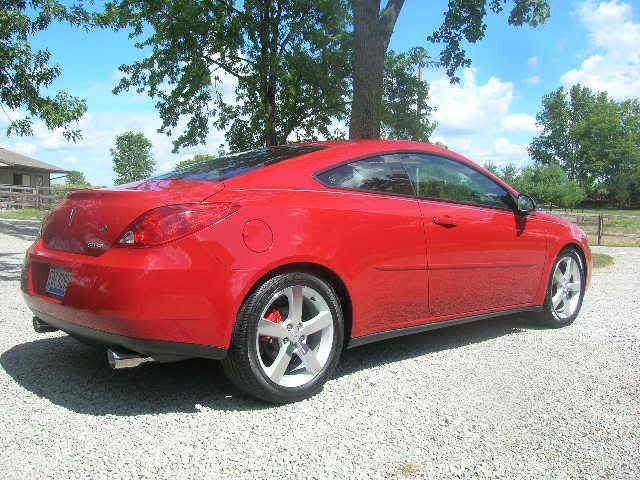
Now for the finished product (i'll have better quality pictures up sometime after tuesday since i get my tint on then, it will be better to wait!)
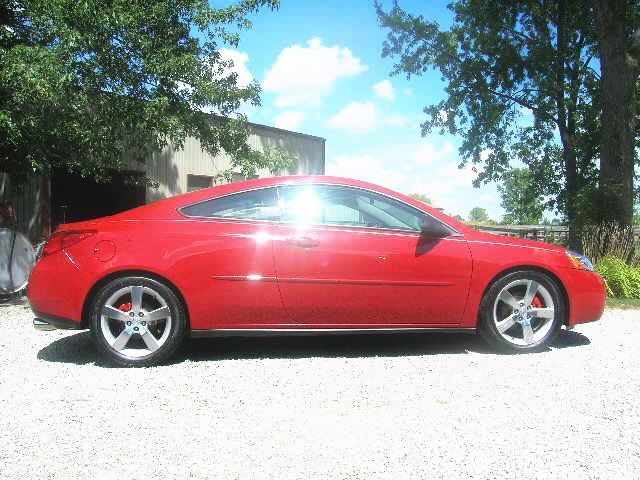
sorry about the glare in this one
So going into this, two of my friends and i, we didn't completely know what we were doing and so just the first wheel took 5 hours mostly because of the little bump stop not going through the piston all the way (we weren't sure it was supposed to at first) then after we figured out to just take the whole spring/shock out and assemble it outside of the car and then put it back in, the other 3 tires took around 30-45 minutes. it was a breeze.
i still have yet to get an alignment but will have to wait till monday to do so. From driving around today though, the ride felt very nice. it was alot more solid and not so bouncy and there was quite an improvement on taking turns as far as body roll goes. I also like how you can notice it's lowered by when you get in/out of the car and are lower to the ground. i'll put up some pictures and try to describe them a little. i apologize i didn't get many pics since we didn't quite know what we were doing at first and everything. also my camera for some reason took them in a very low quality
Here is just a before picture
You have to remove these bolts around the top so the shock can come out
For taking the entire shock out, you have to remove the two bolts on the bottom connecting it to where the brake system is, you also remove the bolt at the top that is circled that connects to the shock. there is also one more small peice to remove from the shock on the other side. sorry i don't have a picture of that
Once you have the entire thing out, remove the spring obviously and take out the little black tubing around the shock and remove the old bump stop and replace it with one of the two included with the pro kit. Make sure you push in down on the shock well past the threading. then put the new spring on and throw it all back together. (don't mind the compressor we are using there. we rented the right one from autozone, sorry no picture of that either.)
here is the look i should have kept. it's pretty mean looking.
Then the rear springs were waaaay easier and quicker. from what i saw i think there is only one bolt that needs to be removed and i have that circled. i may be wrong so please correct me if i am anyone with more experience and knowledge. but here is a picture of the rear after getting the shock on about to put it back together.
Now for the finished product
sorry about the glare in this one


Comment