


 Tweet
Tweet
Ok so some ppl were asking me a few questions about the trunk cut out so i decided to do a How To on it.
Supplies:
Jigsaw
MDF 1/4 INCH Board...its the cheapest board that i found $3.88 for a 24 x 48 at Home Depot
carbon paper
Printed image of what u want to cut out
Glue ( I used Dan Tack) Its an adhesive spray for fabric
Plexiglass or some sort of hard plastic to place behind cut out
So first you would take measurements of the trunk or whatever you plan on doing it on.
Then you would print out your image( the size you would like it)
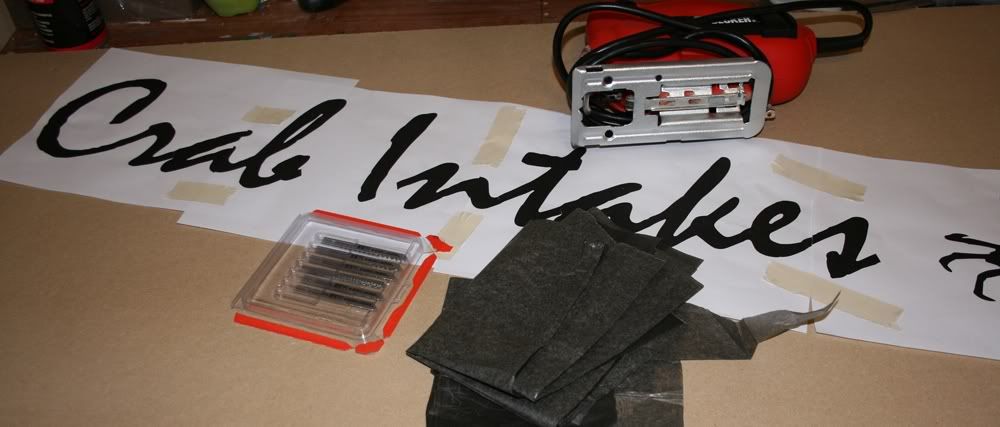
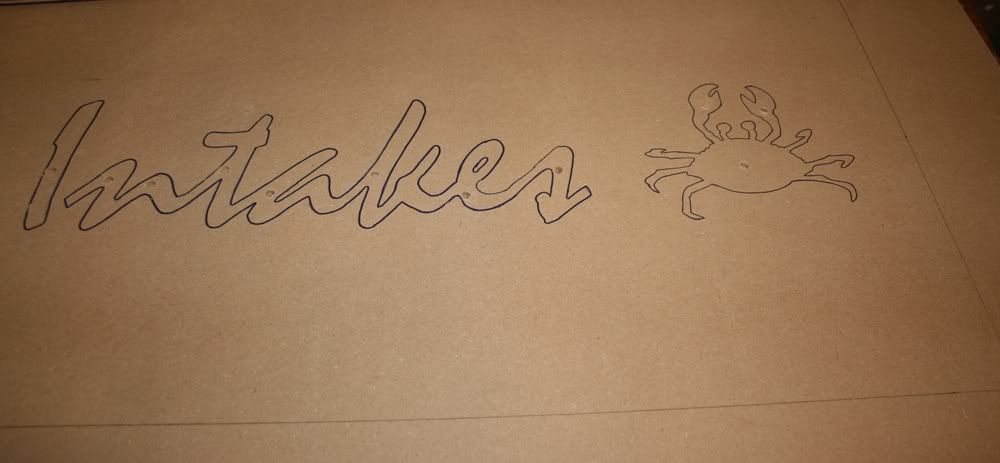
Heres a pic of some of the supplies i used..In my case my printed image is Pooners crab intakes logo
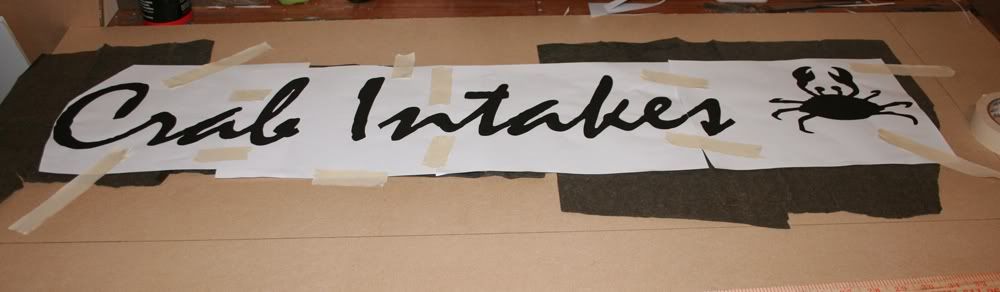
Once everything is measured and printed you then center the printed image onto the board.
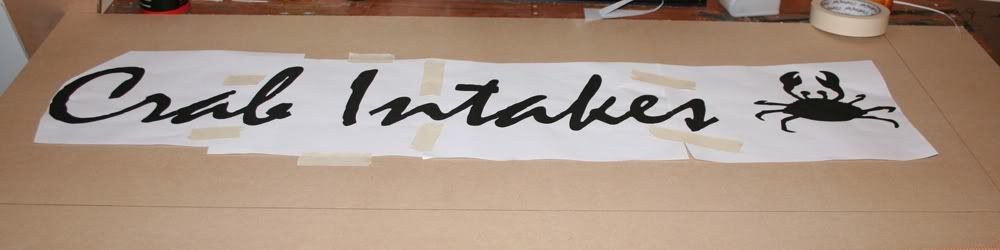
Place the carbon paper under the printed image and tape it down so it wont move..then trace the image with a pen..make sure to press down firmly so the image can transfer onto the board
once you traced everything u can remove the printed paper along with the carbon paper( u will then have something like this)
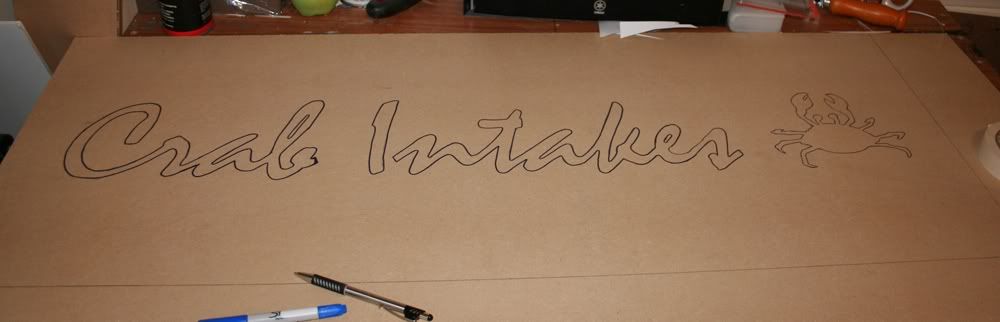
You then get a dremmel and punch a few holes
once youve done that you can now start sawing away
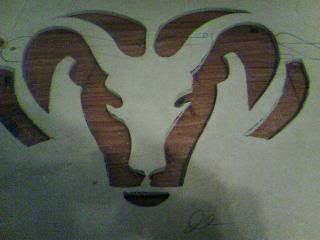
Once you cut everything out you should have something like this

you can then apply the fabric ( i dont have any pictures yet of this)
Once you apply the fabric you can then add the plexiglass or whatever type of plastic you have to the back of the board
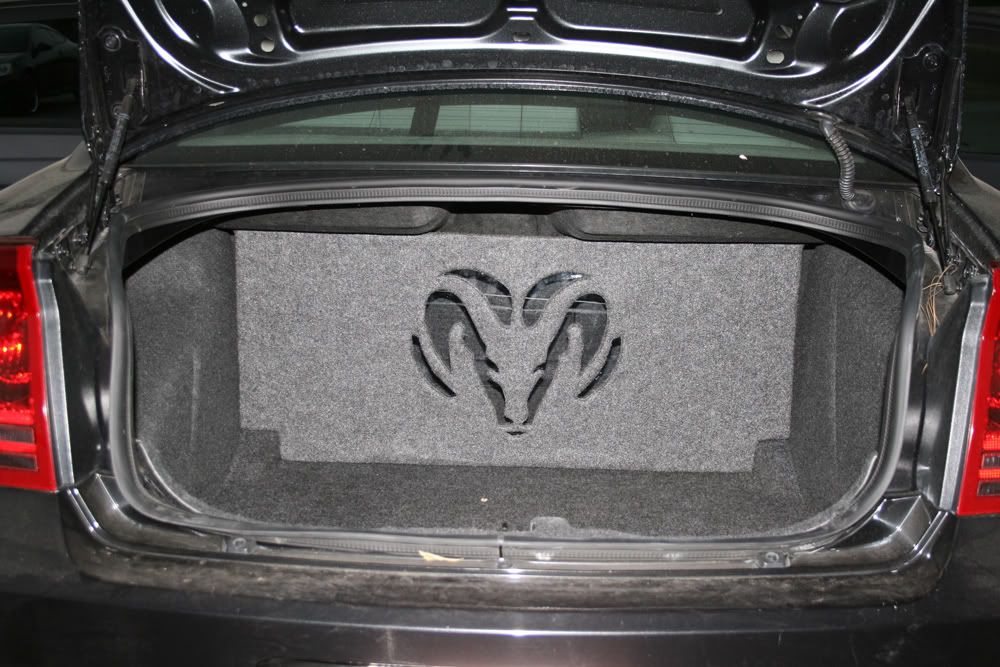
This is the end result of one of the cut outs i have done
Everything cut out
Applied fabric & plexiglass

Supplies:
Jigsaw
MDF 1/4 INCH Board...its the cheapest board that i found $3.88 for a 24 x 48 at Home Depot
carbon paper
Printed image of what u want to cut out
Glue ( I used Dan Tack) Its an adhesive spray for fabric
Plexiglass or some sort of hard plastic to place behind cut out
So first you would take measurements of the trunk or whatever you plan on doing it on.
Then you would print out your image( the size you would like it)
Heres a pic of some of the supplies i used..In my case my printed image is Pooners crab intakes logo
Once everything is measured and printed you then center the printed image onto the board.
Place the carbon paper under the printed image and tape it down so it wont move..then trace the image with a pen..make sure to press down firmly so the image can transfer onto the board
once you traced everything u can remove the printed paper along with the carbon paper( u will then have something like this)
You then get a dremmel and punch a few holes
once youve done that you can now start sawing away
Once you cut everything out you should have something like this
you can then apply the fabric ( i dont have any pictures yet of this)
Once you apply the fabric you can then add the plexiglass or whatever type of plastic you have to the back of the board
This is the end result of one of the cut outs i have done
Everything cut out
Applied fabric & plexiglass


Comment