
 Tweet
Tweet
I don't have the OnStar service, but I have a Garmin Nuvi 360 that can sync with my phone over bluetooth. I bought their external microphone (https://buy.garmin.com/shop/shop.do?pID=1445) And decided to run it to the space for the microphone behind the map lights.
Not the most difficult thing, but I figured I'd post pics anyway. Sorry they look like crap haha. Usually my phone take pretty good pics, not sure what happened.
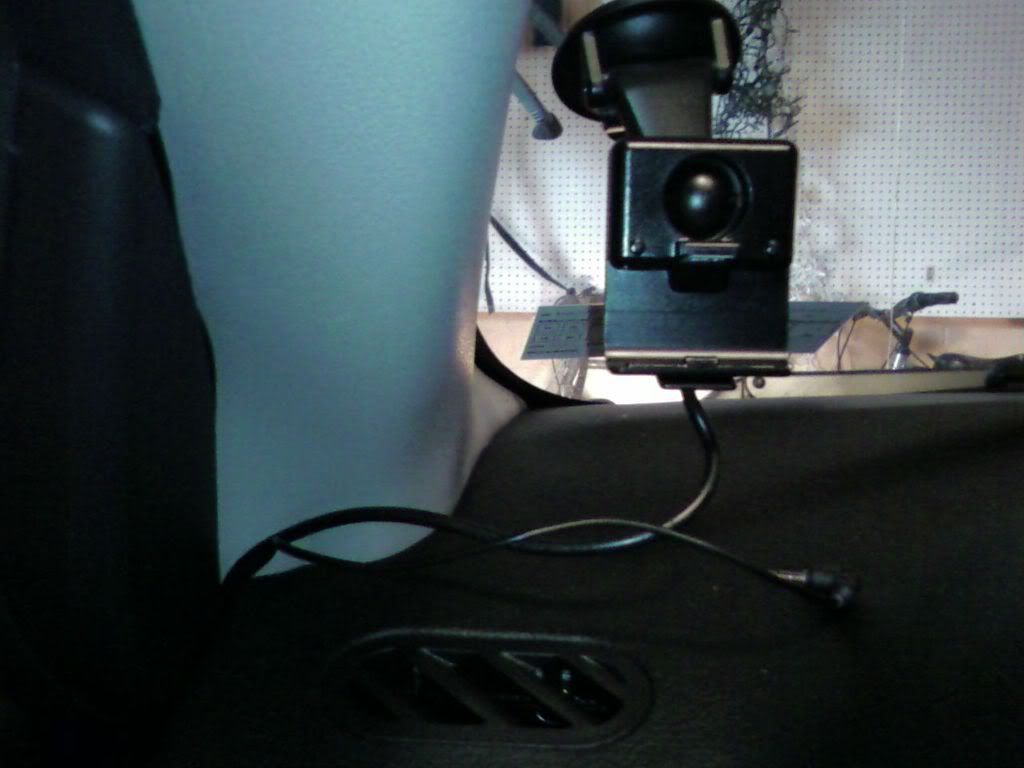
I have my nuvi mounted in the driver's side corner. You can run the wires up along the pillar here. The thicker wire is the power cable which I'm going to hardwire in to free up my cigarette lighter and allow on/off with the car, but thats a spring project.
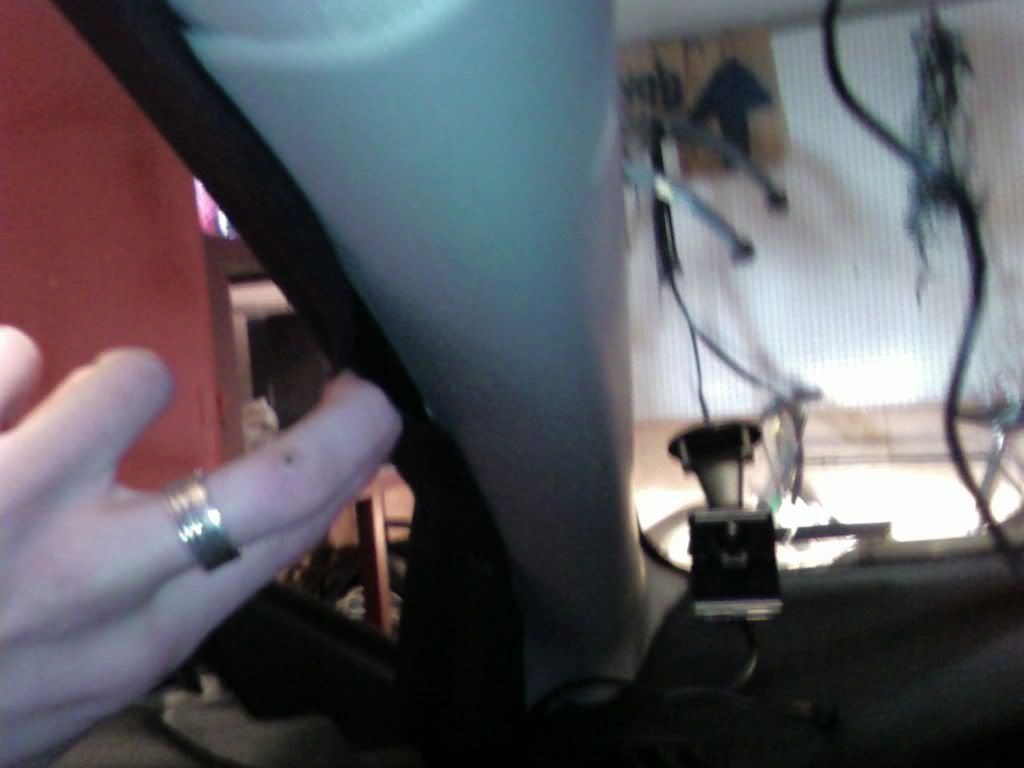
While you could remove the entire covering to run the wire, it will stay in place just fine under the rubber weather stripping here. Just pull it back a little to get the wire started, then run it the whole way up. This will make it way easier in case you ever want to remove the thing.
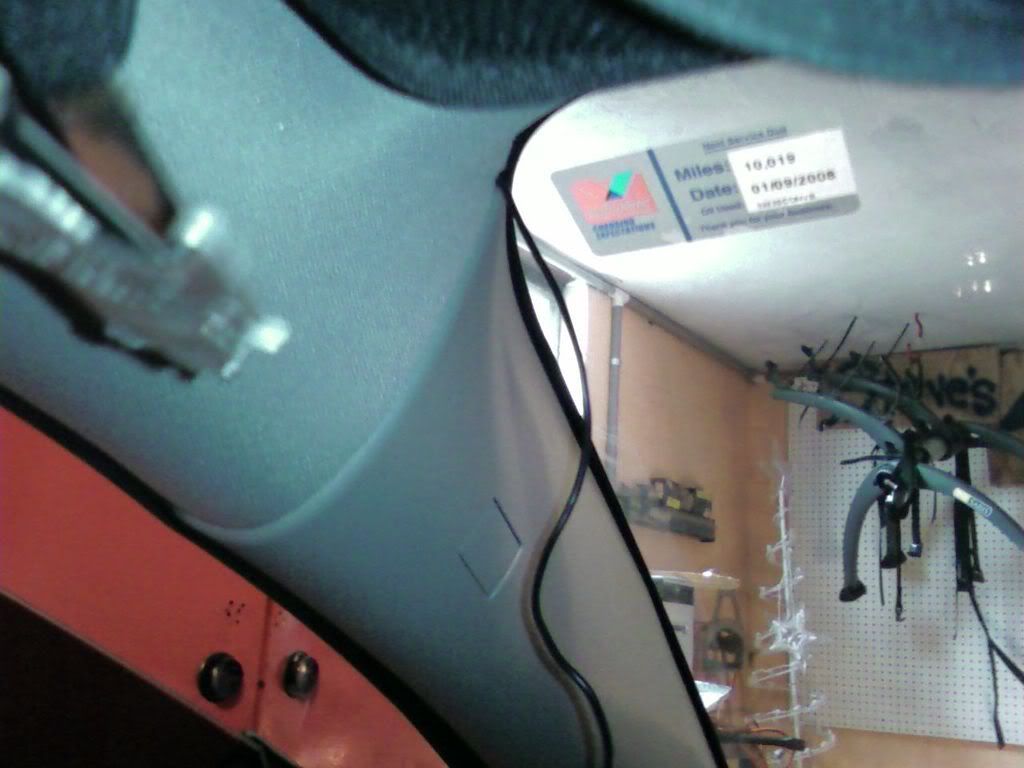
At the top, I just wedged the wire under the pillar. Some blunt rounded object is needed to help push it under. I wouldn't use something like a screwdriver since it could punch a hole in the thin wire. I use the end of one of the mounting clips that came with the mic and it worked fine
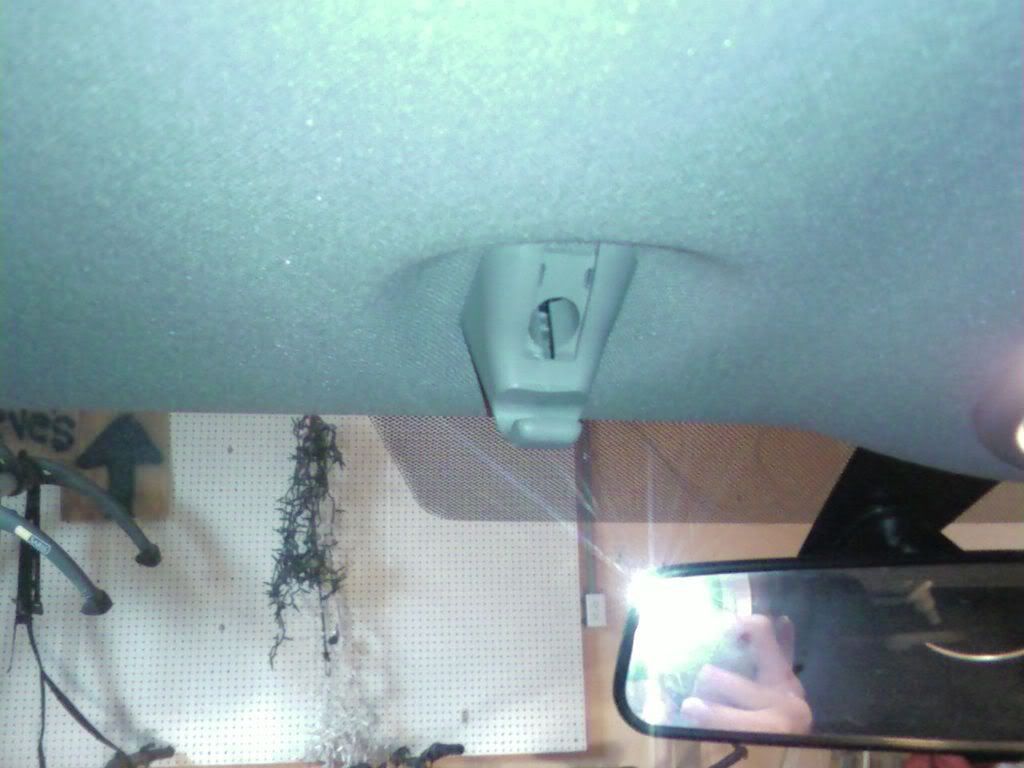
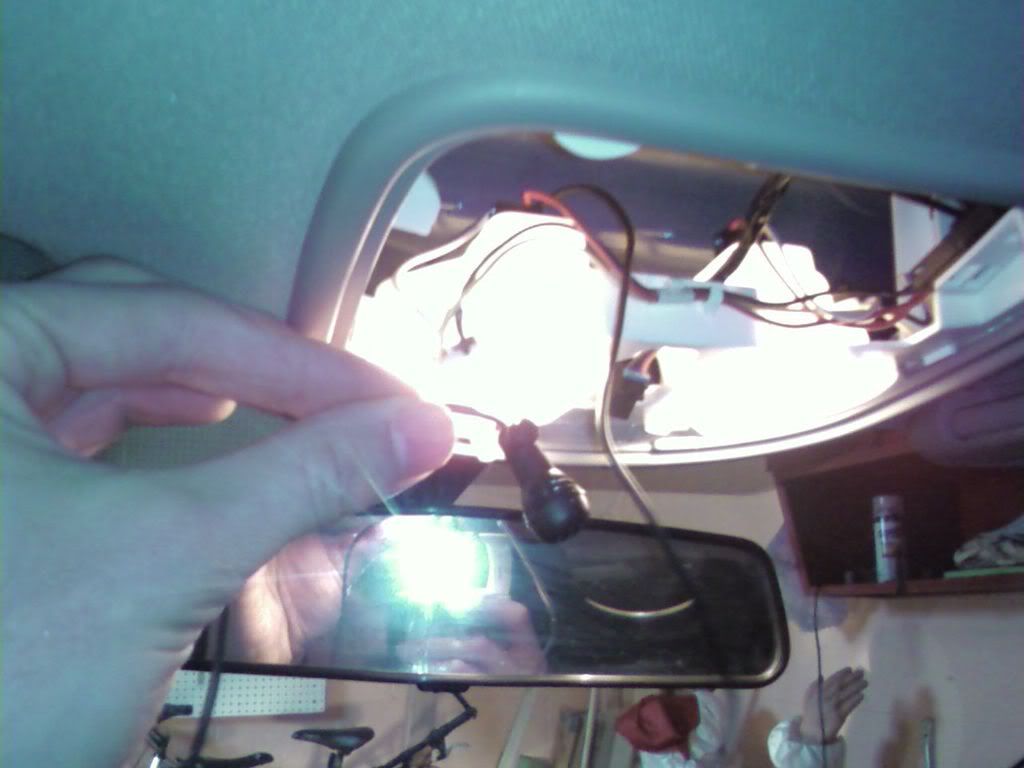
Pull off the plastic cover from the visor mount and take out the screw. This will let you pull down the headliner enough to get the microphone through and feed the wire in. Keep one of those extender magnet screw-picker-upper things handy because as you're working overhead you will lose this screw in between the seat and armrest. Collect around $0.75 from there while you search for the screw.
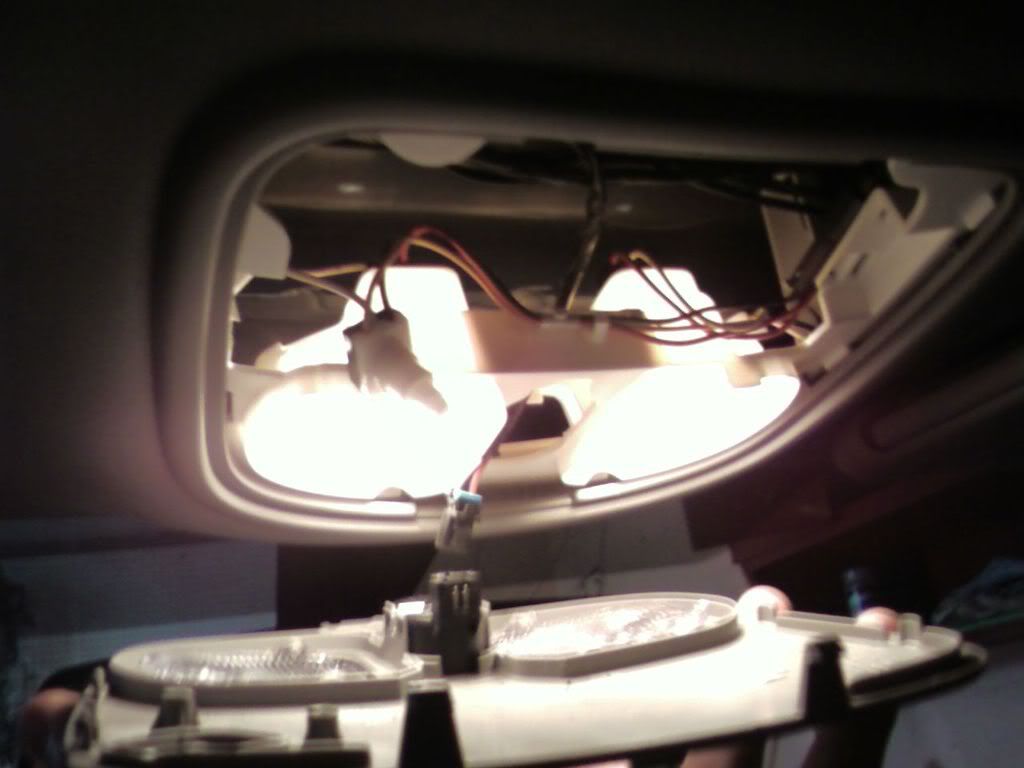
The maplight section is two parts. You want to remove the center section and leave the outer ring in place. Its easy enough to just pry with your fingers from the front gently. 2 clips hold that in place and then you can work your way back. Be careful because you'll need to disconnect the sunroof button before you can take the whole piece down. This is a good time to clean out all the nasty bugs that have collected in there. I found it helpful to pull the driver's side maplight button forward. It just clips into place, so pull it towards you and it should easily come out and give you some more room to fiddle around in there.
Hooray for hidden microphones!
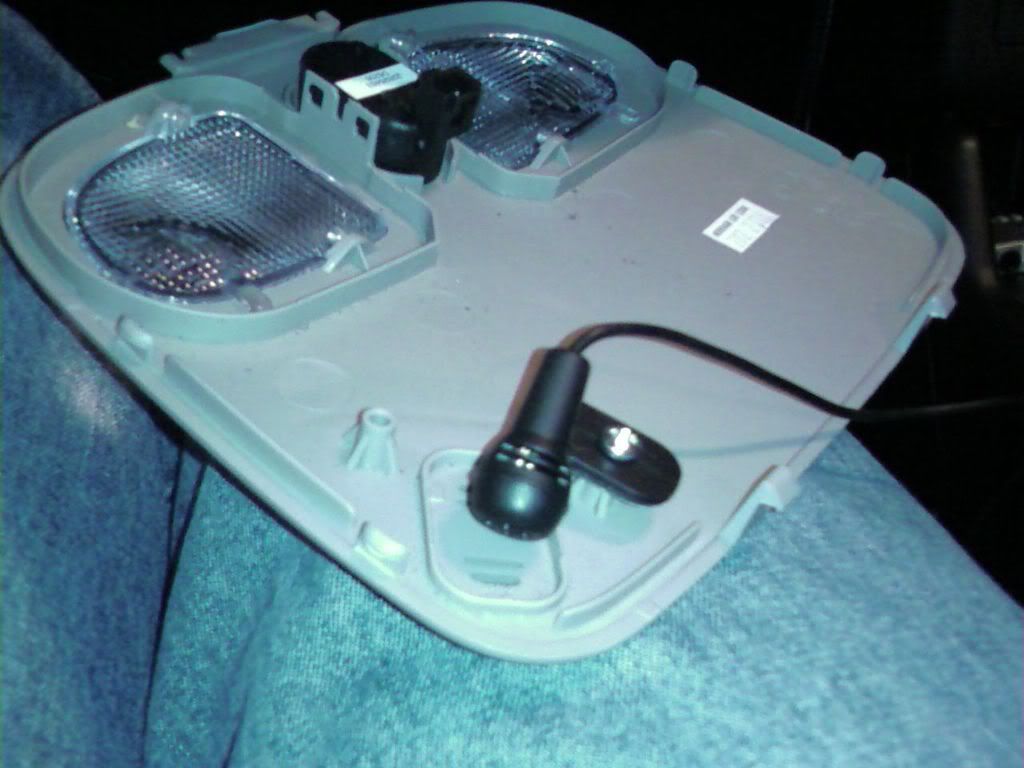
My kit came with 3 different types of mounts. This one was the best and has an adhesive backing. I was going to just stick it to the cover, but decided to use a tiny screw and bolt it to the raised up spacers. Then you can aim it down a bit more towards the driver.
Hope that helps if anyone wants to do this.
The only issue I'm having is that people are saying they're hearing some extra noise now. I think its picking up the sound of the air going past the roof as I drive. I'm going to try a little dynamat or something similar around the microphone so it will only be getting the sound from the car interior.
Not the most difficult thing, but I figured I'd post pics anyway. Sorry they look like crap haha. Usually my phone take pretty good pics, not sure what happened.
I have my nuvi mounted in the driver's side corner. You can run the wires up along the pillar here. The thicker wire is the power cable which I'm going to hardwire in to free up my cigarette lighter and allow on/off with the car, but thats a spring project.
While you could remove the entire covering to run the wire, it will stay in place just fine under the rubber weather stripping here. Just pull it back a little to get the wire started, then run it the whole way up. This will make it way easier in case you ever want to remove the thing.
At the top, I just wedged the wire under the pillar. Some blunt rounded object is needed to help push it under. I wouldn't use something like a screwdriver since it could punch a hole in the thin wire. I use the end of one of the mounting clips that came with the mic and it worked fine
Pull off the plastic cover from the visor mount and take out the screw. This will let you pull down the headliner enough to get the microphone through and feed the wire in. Keep one of those extender magnet screw-picker-upper things handy because as you're working overhead you will lose this screw in between the seat and armrest. Collect around $0.75 from there while you search for the screw.
The maplight section is two parts. You want to remove the center section and leave the outer ring in place. Its easy enough to just pry with your fingers from the front gently. 2 clips hold that in place and then you can work your way back. Be careful because you'll need to disconnect the sunroof button before you can take the whole piece down. This is a good time to clean out all the nasty bugs that have collected in there. I found it helpful to pull the driver's side maplight button forward. It just clips into place, so pull it towards you and it should easily come out and give you some more room to fiddle around in there.
Hooray for hidden microphones!
My kit came with 3 different types of mounts. This one was the best and has an adhesive backing. I was going to just stick it to the cover, but decided to use a tiny screw and bolt it to the raised up spacers. Then you can aim it down a bit more towards the driver.
Hope that helps if anyone wants to do this.
The only issue I'm having is that people are saying they're hearing some extra noise now. I think its picking up the sound of the air going past the roof as I drive. I'm going to try a little dynamat or something similar around the microphone so it will only be getting the sound from the car interior.


 )
)
Comment