
 Tweet
Tweet
Hey G6'ers, i want to provide a how-to on how to install my HID kits, since i dont feel that the supplied instructions are nearly adequate from the manufacturer (although i will be creating my own soon).
This will be a step by step how-to on how to install my digital ballast kits.
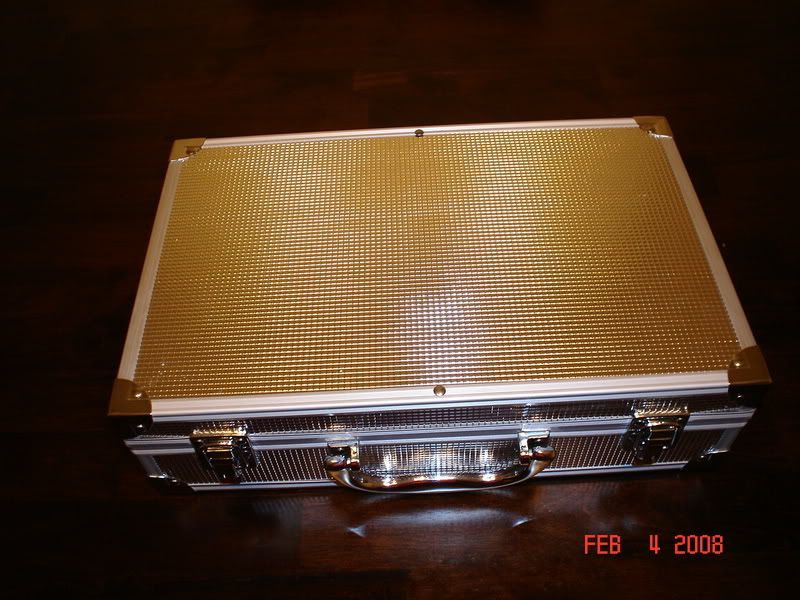
Step 1)
Your HID kit will arrive in a steel case for protection during shipping:
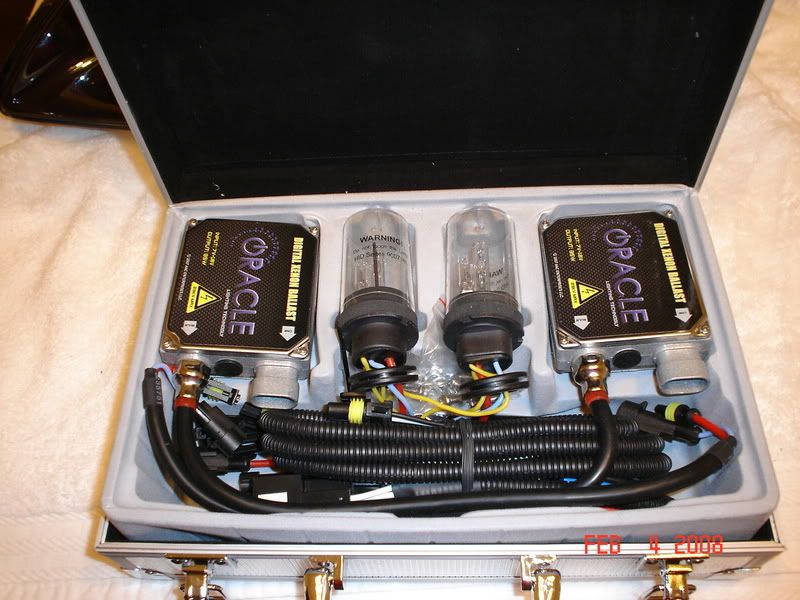
Step 2)
Open the case and inspect for any shipping damage or missing parts. Here is what the inside of the case will look llike:
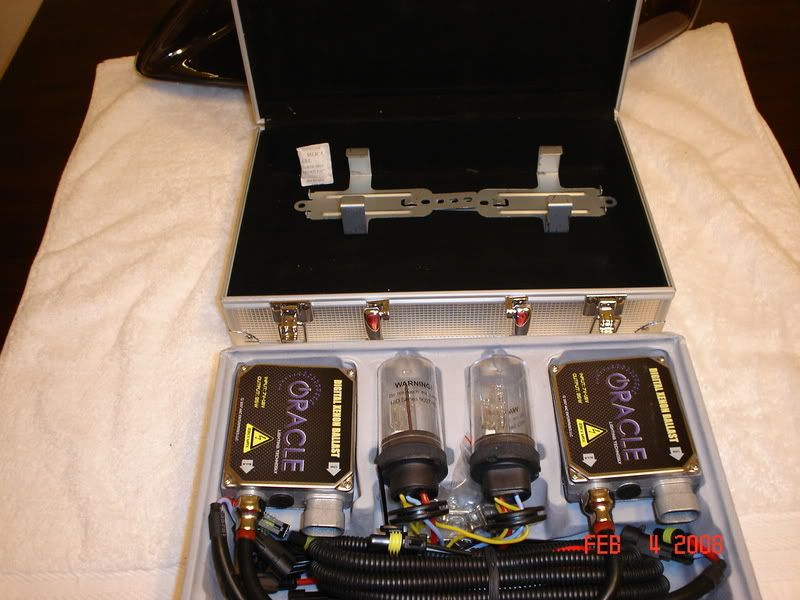
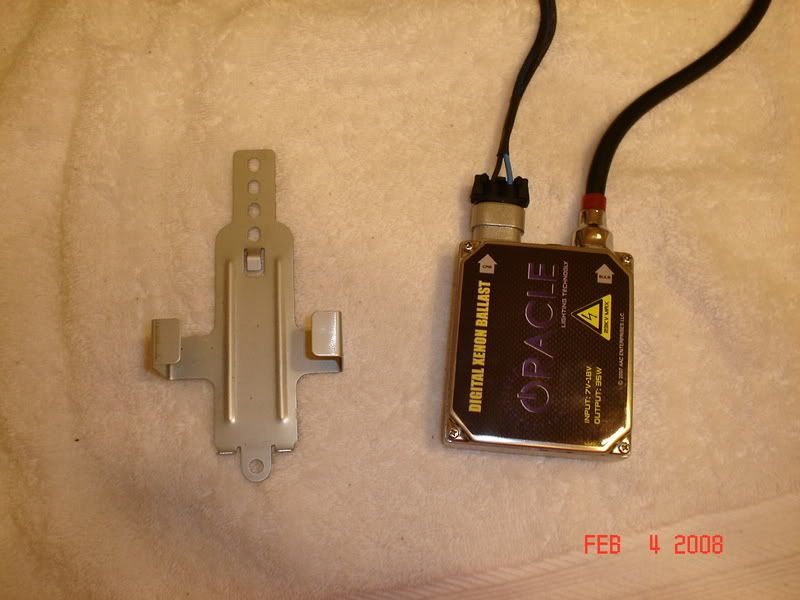
Step 3) Remove the inner liner. The brackets for the ballasts are stored underneath:
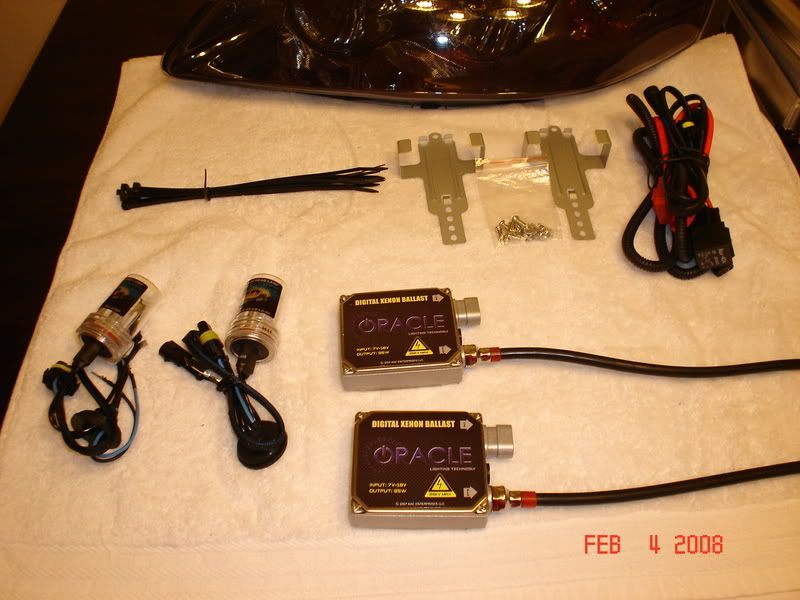
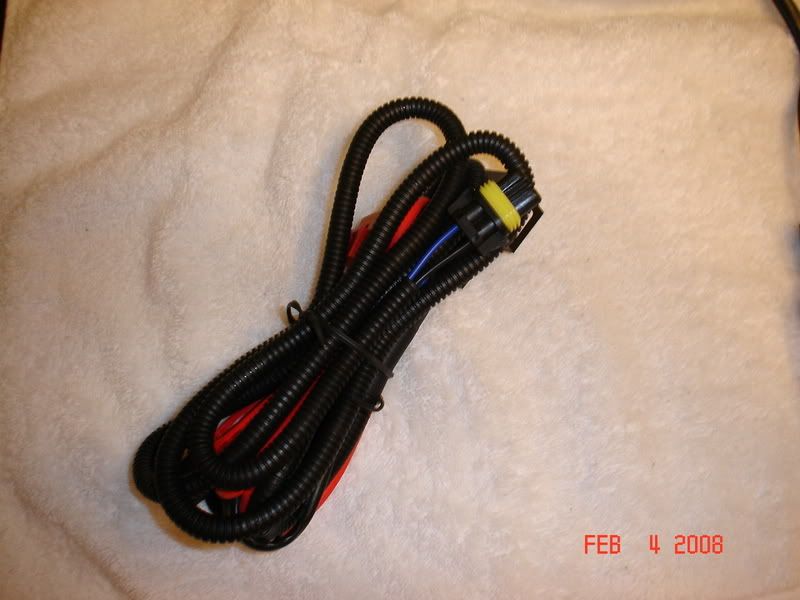
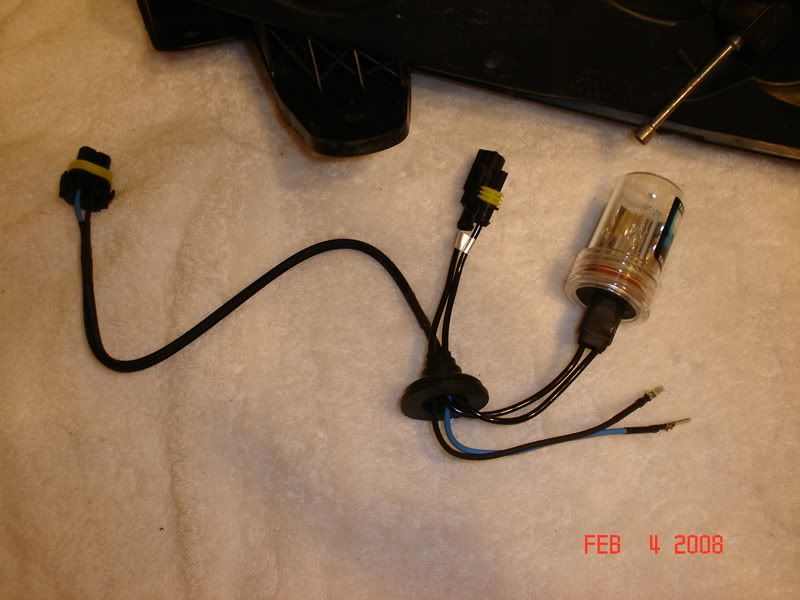
Step 4) Lay all of your parts out. You should have (2) HID bulbs/wiring (2) digital ballasts (2) mounting brackets (1) relay harness (1) pack of zip ties, and (1) pack of mounting hardware. The relay harness is not needed for this install on the G6, it may be set aside.
Here is a picture of the relay wiring kit. It is not needed, set it aside:
Step 5) On the backside of your headlight, remove the bulb cover as shown:
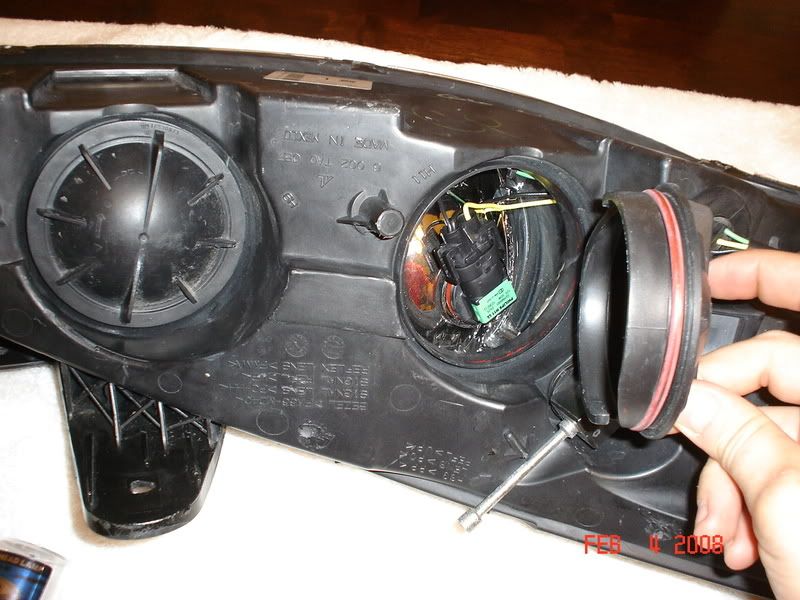
Step 6) Remove the stock bulb and disconnect it from the harness:
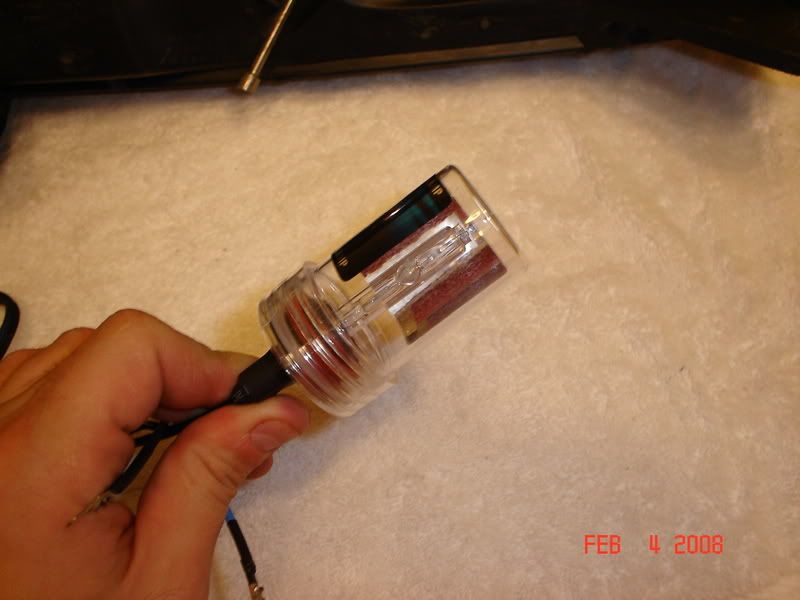
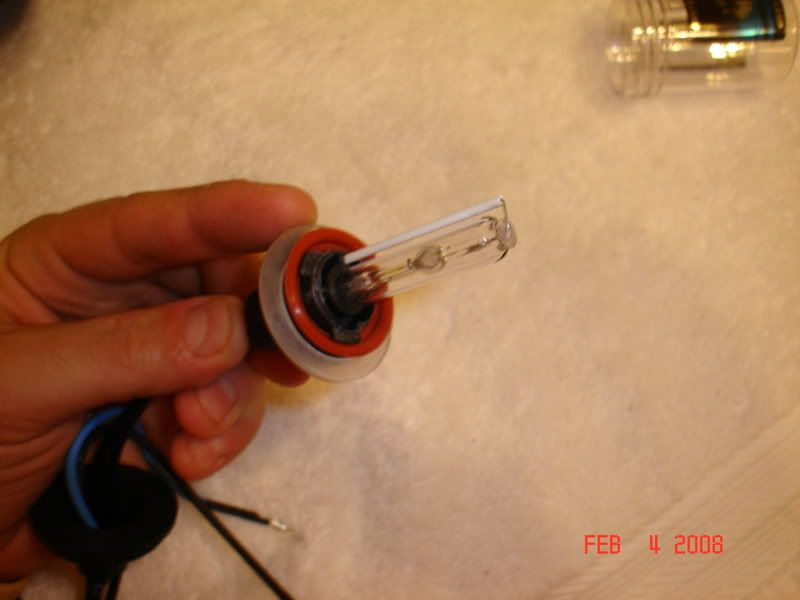
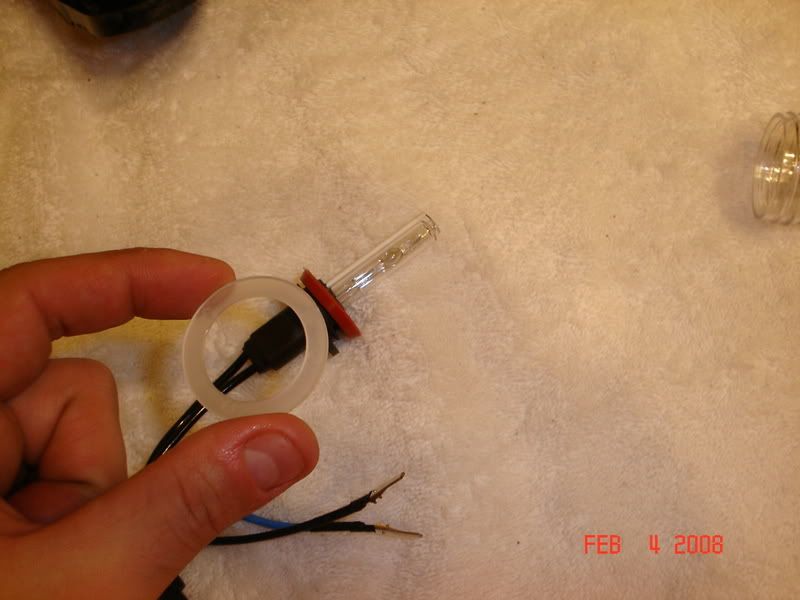
Step 7) Remove the plastic screw-on protective housing from the HID bulb. You will have to also remove the plastic o-ring spacer over the top of the bulb and set it aside.
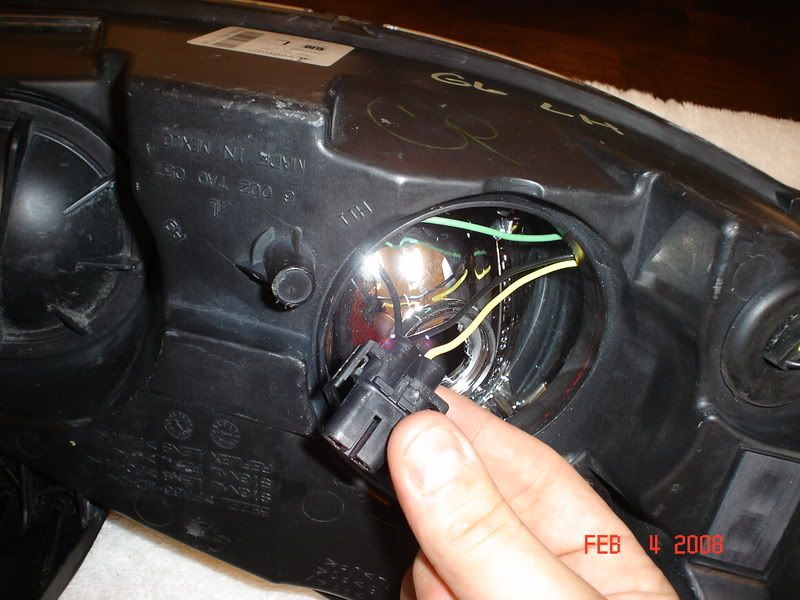
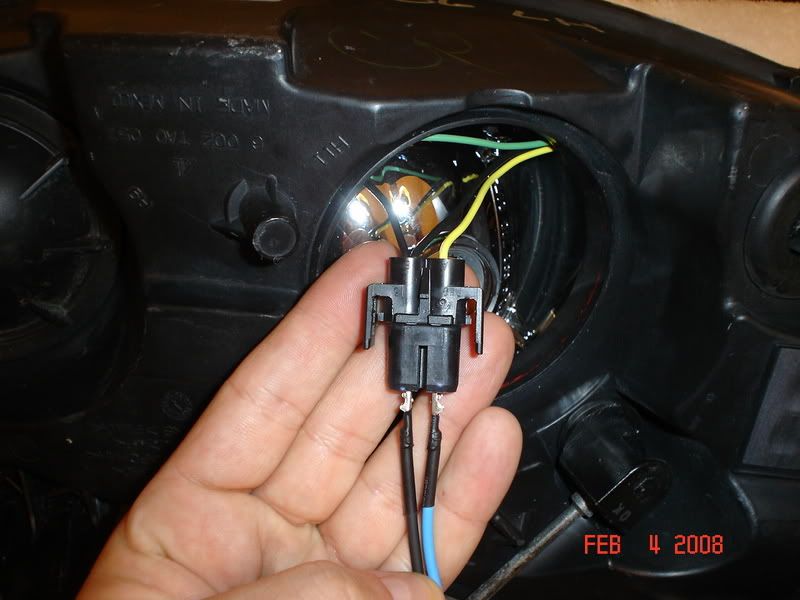
Step 8 ) With the HID bulb and wiring laid out, you will note 2 spade connectors, one a black wire (negative), and a blue wire (positive). Install these into the stock male plug from which you just removed the stock bulb from. Black goes to black, Blue goes to yellow.
With the spade connectors installed in OEM bulb wiring plug:

A better view:
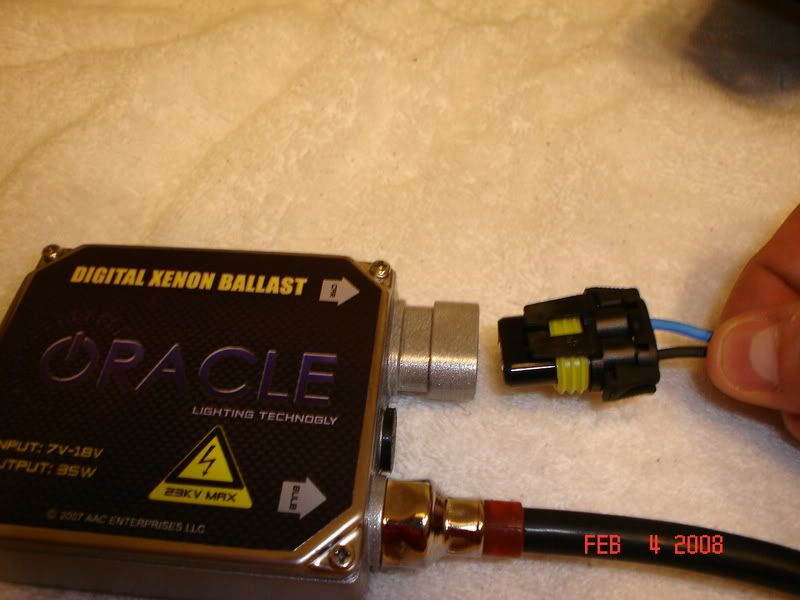
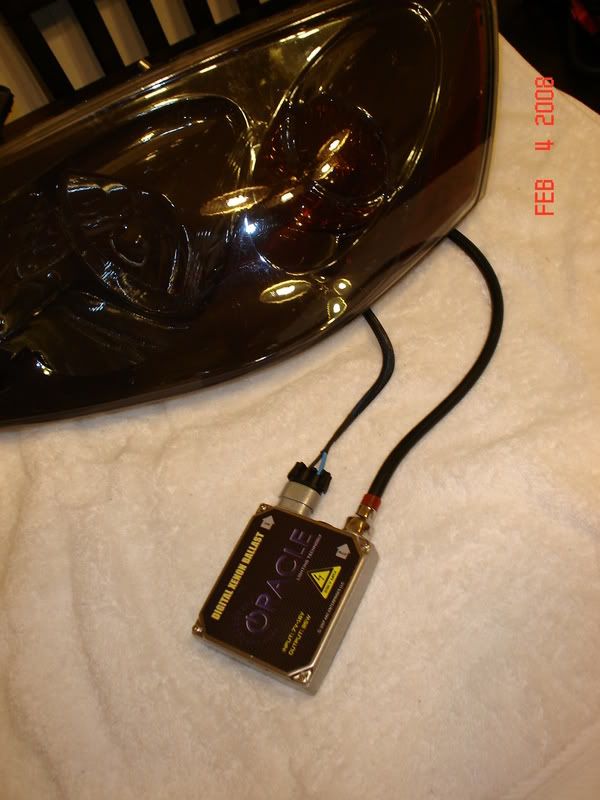
Step 9) Install the quick connect plugs from the bulbs to the ballast wiring as shown:
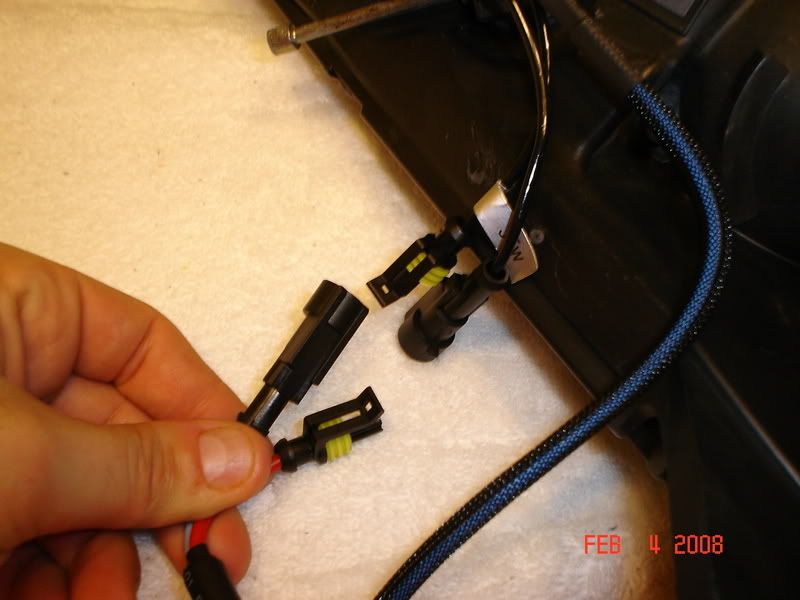
Step 10)
Plug the male bulb quick cohttp://www.g6performance.com/phpBB3/p ... =post&f=29
G6 Performance • Post a new topicnnect into the ballast:
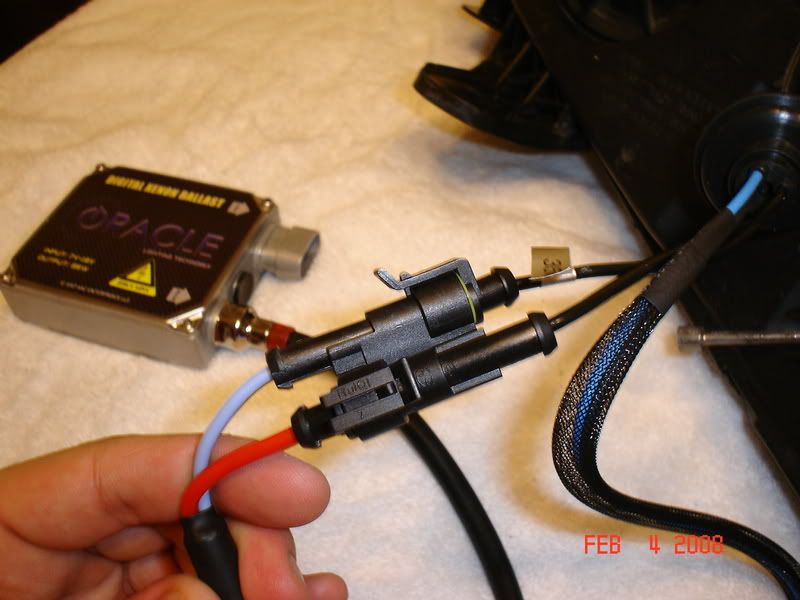
Step 11) Here is a view of the ballast wiring installed:
Step 12) A slit will need to be made here to run the bulb wiring into the back of the headlight. It should be noted that this will need to be done prior to installing the ballast wiring.
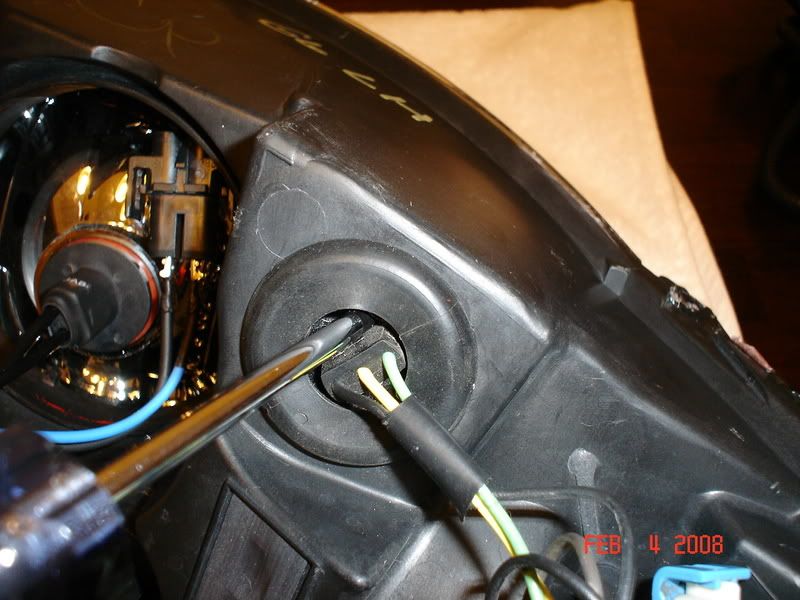
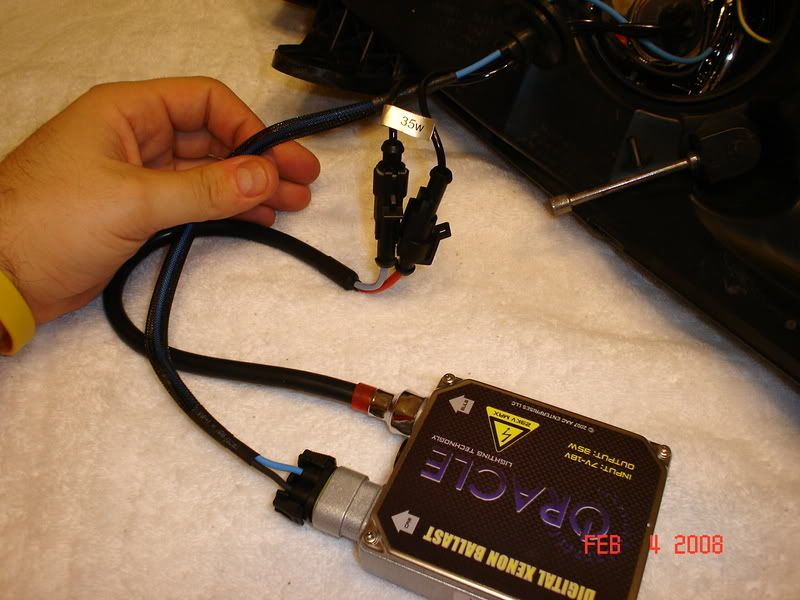
Here is a picture of how the ballast will be hooked up after all wiring is completed:
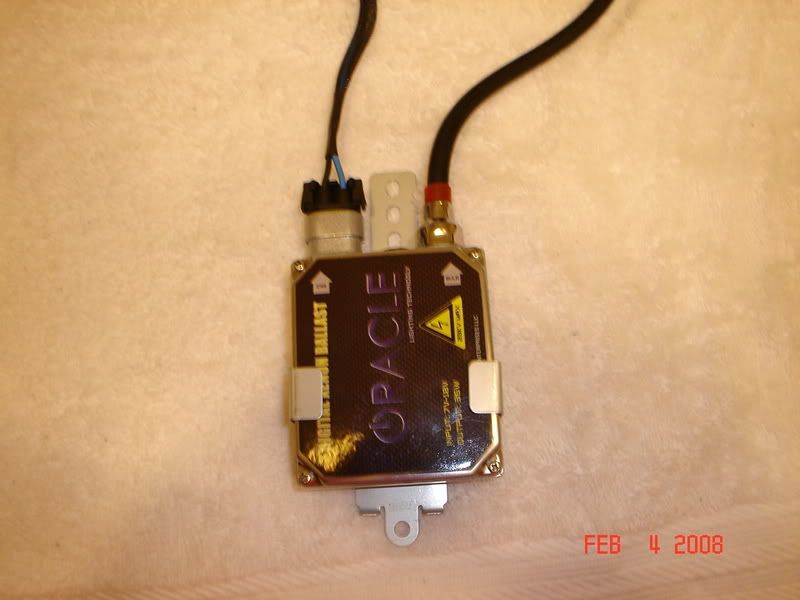
Finally, mount the bracketry to a secure location on the vehicle- typically, the radiator core support or strut tower are ideal places, depending on vehicle:
That's it.
The plug and play capability of this kit makes the install time about 15 to 20 minutes from start to finish. For someone not mechanically inclined, I would suggest enrolling the help of a friend to help prevent any damage to the vehicle or wiring system.
I hope this helps. Enjoy your HID kit!
This will be a step by step how-to on how to install my digital ballast kits.
Step 1)
Your HID kit will arrive in a steel case for protection during shipping:
Step 2)
Open the case and inspect for any shipping damage or missing parts. Here is what the inside of the case will look llike:
Step 3) Remove the inner liner. The brackets for the ballasts are stored underneath:
Step 4) Lay all of your parts out. You should have (2) HID bulbs/wiring (2) digital ballasts (2) mounting brackets (1) relay harness (1) pack of zip ties, and (1) pack of mounting hardware. The relay harness is not needed for this install on the G6, it may be set aside.
Here is a picture of the relay wiring kit. It is not needed, set it aside:
Step 5) On the backside of your headlight, remove the bulb cover as shown:
Step 6) Remove the stock bulb and disconnect it from the harness:
Step 7) Remove the plastic screw-on protective housing from the HID bulb. You will have to also remove the plastic o-ring spacer over the top of the bulb and set it aside.
Step 8 ) With the HID bulb and wiring laid out, you will note 2 spade connectors, one a black wire (negative), and a blue wire (positive). Install these into the stock male plug from which you just removed the stock bulb from. Black goes to black, Blue goes to yellow.
With the spade connectors installed in OEM bulb wiring plug:
A better view:
Step 9) Install the quick connect plugs from the bulbs to the ballast wiring as shown:
Step 10)
Plug the male bulb quick cohttp://www.g6performance.com/phpBB3/p ... =post&f=29
G6 Performance • Post a new topicnnect into the ballast:
Step 11) Here is a view of the ballast wiring installed:
Step 12) A slit will need to be made here to run the bulb wiring into the back of the headlight. It should be noted that this will need to be done prior to installing the ballast wiring.
Here is a picture of how the ballast will be hooked up after all wiring is completed:
Finally, mount the bracketry to a secure location on the vehicle- typically, the radiator core support or strut tower are ideal places, depending on vehicle:
That's it.
The plug and play capability of this kit makes the install time about 15 to 20 minutes from start to finish. For someone not mechanically inclined, I would suggest enrolling the help of a friend to help prevent any damage to the vehicle or wiring system.
I hope this helps. Enjoy your HID kit!


Comment