
 Tweet
Tweet
Doing this was a little trouble but with the right tools and patience you can get it done in a weekend. TAKE YOUR TIME. DO NOT RUSH
Taking the skirts off can be a little tricky. You will need...
Panel puller
7mm socket
7mm wrench
small flat screwdriver
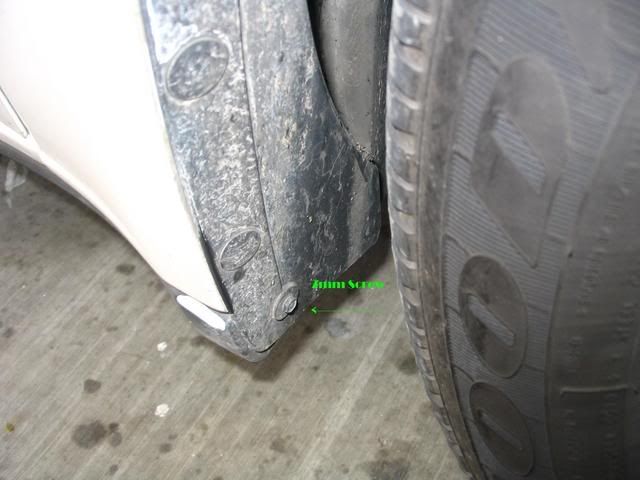
There are screws on the ends of each skirt in the fender well...
After those are removes use your panel puller to pry the panel clips from the top. the bottom ones can be turned 90* to pull them out. Here is what it looks like from behind.

Note: Don't worry if you break some clips you can get something that will work at Auto Zone for about $4. I used 1/2" vinyl rivets.
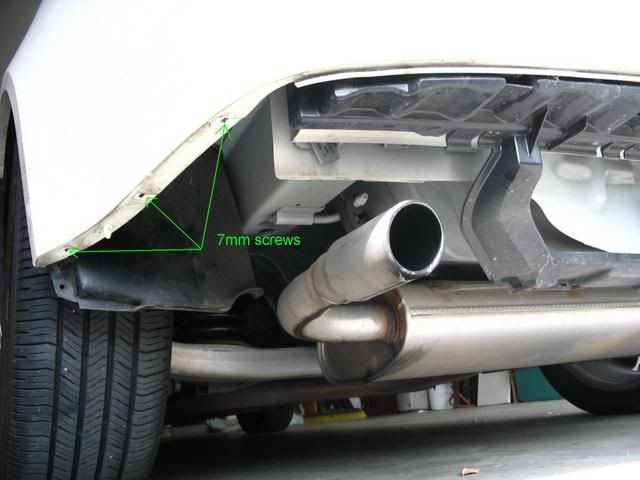
For the valence there are also 7mm screws in the fender well. After those are out there are three 7mm screws inside the bumper. those need to come out.
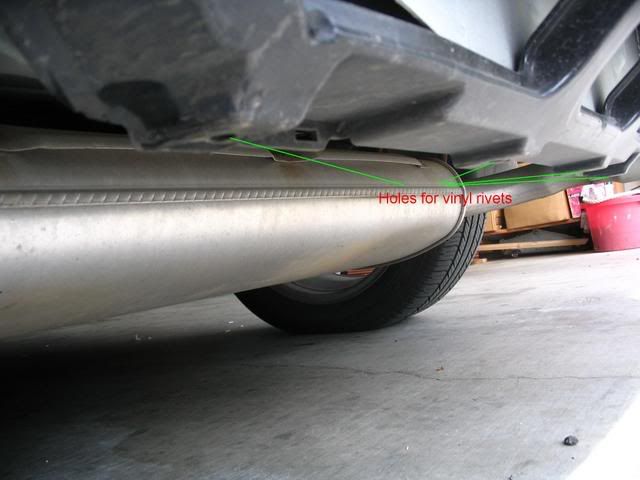
After that is removed you need to take out the four vinyl rivets underneath the valence.
The rest is held on by clips made into the valence. If you push your flat head screwdriver in these clips they easlily can be removed.
To paint you will need to go to you local paint supply store and get...
Degreaser and wax remover
Adhesion promoter (do not skip this step)
Paint (your paint code is in the glove box) 1/2 pint
Reducer (enough for paint and clear coat)
1 pint clear coat
400 grit sand paper
2000 grit sand paper
Sandable Primer
Reducer for primer
Sealant
I'm not an expert at painting so the paint supply store will be able to tell you how to paint your pieces. Just take your time and it will come out great.
First thing you need to do is get all of the oil and wax off the parts. Simple green works great with a scrub brush. Then you need to use the wax remover/ degreaser. It comes in a big can. Use a lot.
Next you need to apply two nice coats of adheasion promoter. This is a clear primer. DO NOT SKIP THIS STEP
After the promoter use your sandable primer. This is mixed with a 1:1 ratio. This dries quickly so you don't have to wait around too long after it dries.
Next sand all of your parts with 400 grit sanpaper just to scuff them. A light sand goes well unless you have drips.
Now take tac cloth and get all of the dust off.
Next spray your sealant. I think this is a 7:1 ratio but ask your paint supplier. This will take over night to dry so STOP.
The next day you can paint. Three good coats of color, not letting them dry in between coats should do it. Make sure you get the parts that will be showing when you look down at them while they are on your car.
Next is you clear. My clear was 2:1 ratio but yours may be different. Again ask your paint supplier.
Let dry....
Now take the 2000 grit sand paper and wet sand all of the imperfections in the paint. Everything goes on opposite from taking it off. I put a blanket down so the parts don't get scuffed on the cement.
Good Luck.
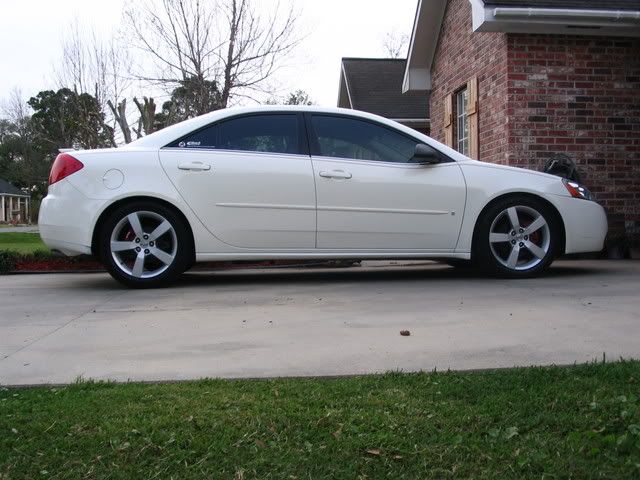
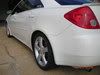
Before...
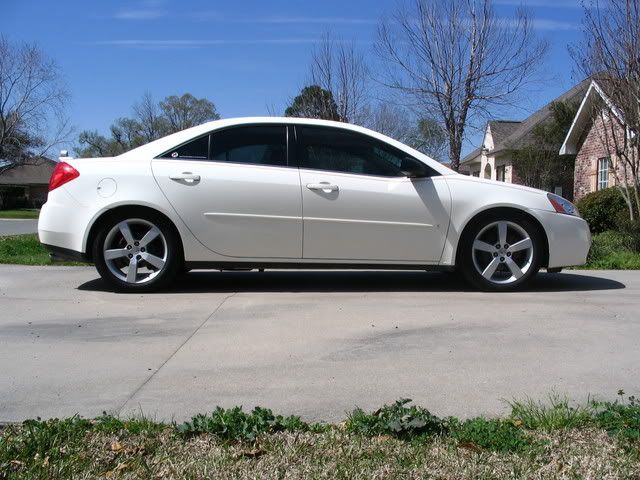
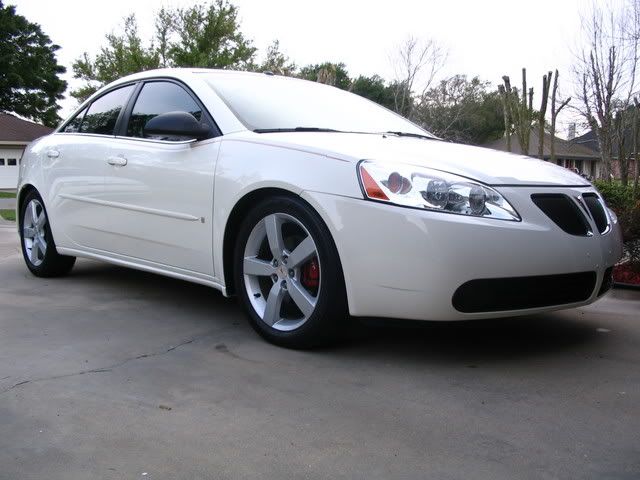
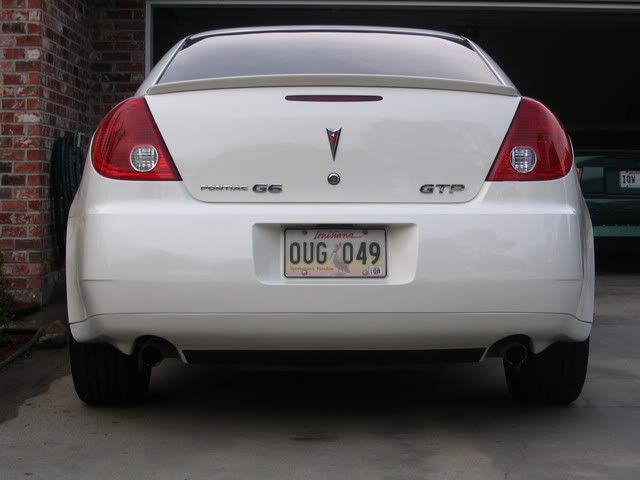
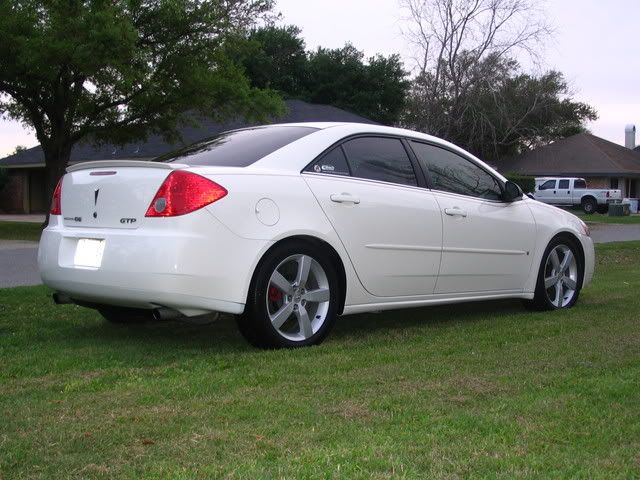
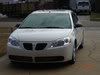
After...
Taking the skirts off can be a little tricky. You will need...
Panel puller
7mm socket
7mm wrench
small flat screwdriver
There are screws on the ends of each skirt in the fender well...
After those are removes use your panel puller to pry the panel clips from the top. the bottom ones can be turned 90* to pull them out. Here is what it looks like from behind.
Note: Don't worry if you break some clips you can get something that will work at Auto Zone for about $4. I used 1/2" vinyl rivets.
For the valence there are also 7mm screws in the fender well. After those are out there are three 7mm screws inside the bumper. those need to come out.
After that is removed you need to take out the four vinyl rivets underneath the valence.
The rest is held on by clips made into the valence. If you push your flat head screwdriver in these clips they easlily can be removed.
To paint you will need to go to you local paint supply store and get...
Degreaser and wax remover
Adhesion promoter (do not skip this step)
Paint (your paint code is in the glove box) 1/2 pint
Reducer (enough for paint and clear coat)
1 pint clear coat
400 grit sand paper
2000 grit sand paper
Sandable Primer
Reducer for primer
Sealant
I'm not an expert at painting so the paint supply store will be able to tell you how to paint your pieces. Just take your time and it will come out great.
First thing you need to do is get all of the oil and wax off the parts. Simple green works great with a scrub brush. Then you need to use the wax remover/ degreaser. It comes in a big can. Use a lot.
Next you need to apply two nice coats of adheasion promoter. This is a clear primer. DO NOT SKIP THIS STEP
After the promoter use your sandable primer. This is mixed with a 1:1 ratio. This dries quickly so you don't have to wait around too long after it dries.
Next sand all of your parts with 400 grit sanpaper just to scuff them. A light sand goes well unless you have drips.
Now take tac cloth and get all of the dust off.
Next spray your sealant. I think this is a 7:1 ratio but ask your paint supplier. This will take over night to dry so STOP.
The next day you can paint. Three good coats of color, not letting them dry in between coats should do it. Make sure you get the parts that will be showing when you look down at them while they are on your car.
Next is you clear. My clear was 2:1 ratio but yours may be different. Again ask your paint supplier.
Let dry....
Now take the 2000 grit sand paper and wet sand all of the imperfections in the paint. Everything goes on opposite from taking it off. I put a blanket down so the parts don't get scuffed on the cement.
Good Luck.
Before...
After...


Comment