
 Tweet
Tweet
First, let me start by saying that prying apart two brand new headlights and cutting/grinding/heating/drilling/etc is not only a bad idea, it is stressful.
There were a couple times I was thinking I ruined these headlights. This is a “How to” for those that may be considering prying their lights open and screwing with them, and hopefully will deter them. There are especially better alternatives now that halos/r8 Eagle Eyes are available.
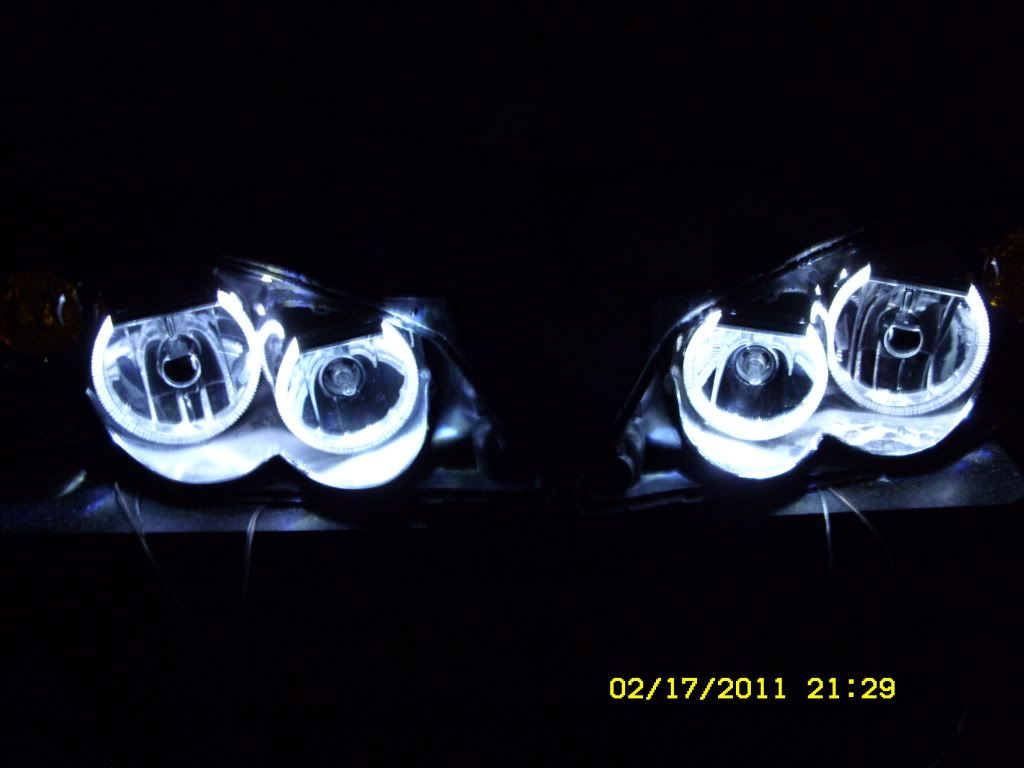
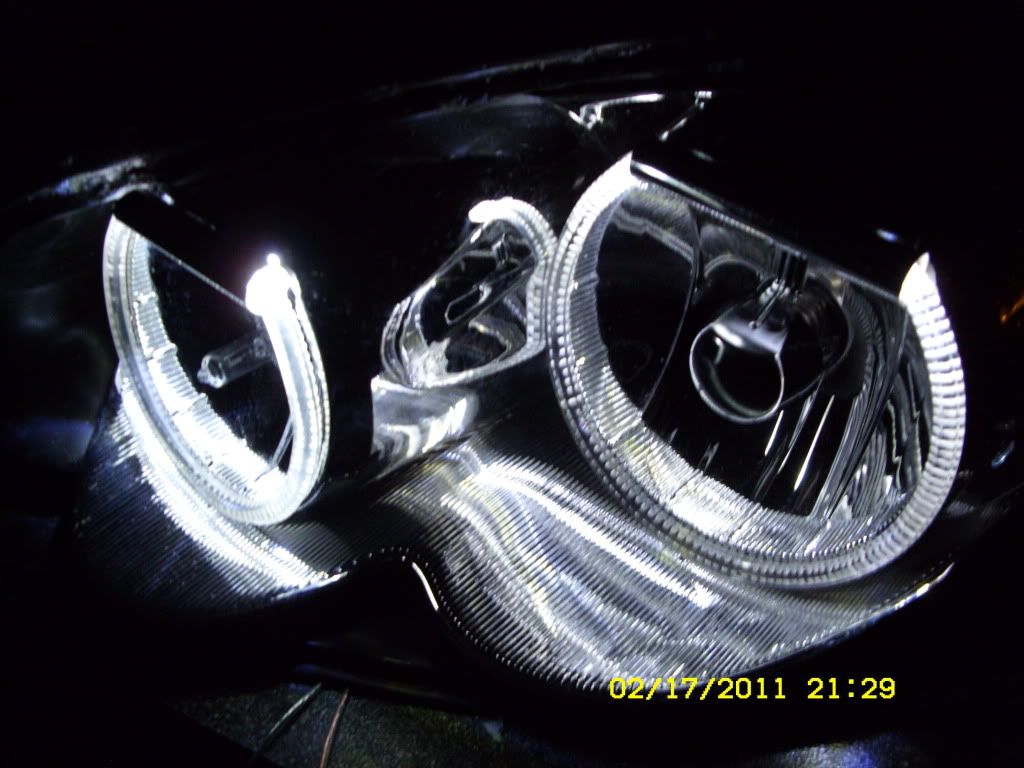
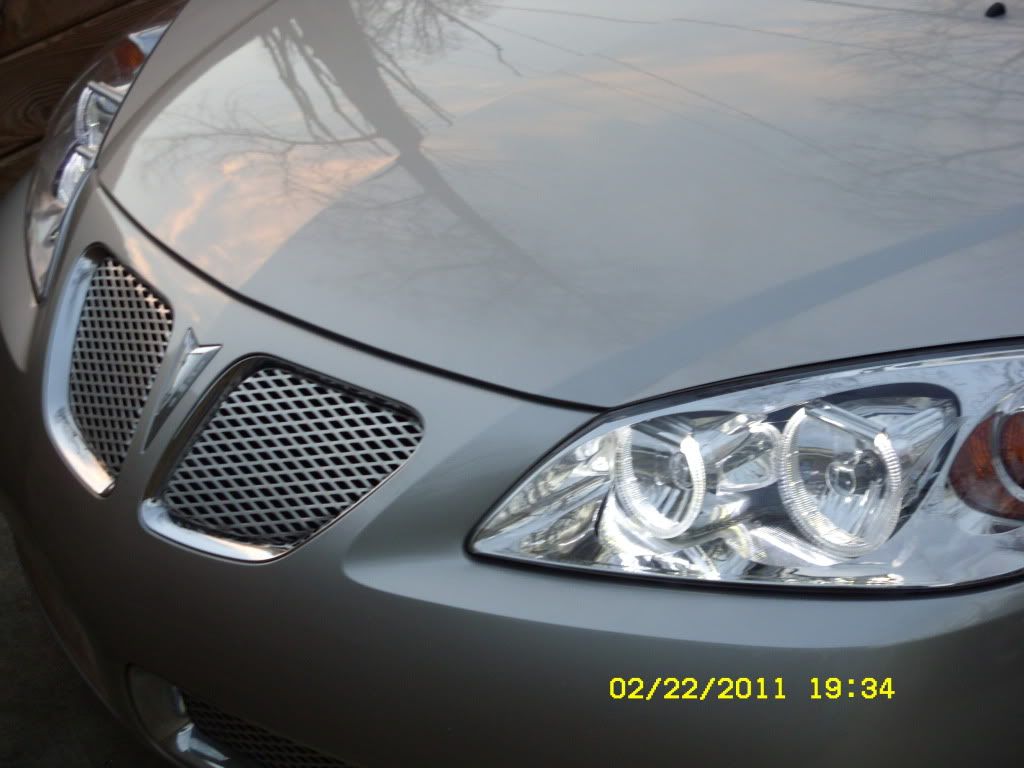
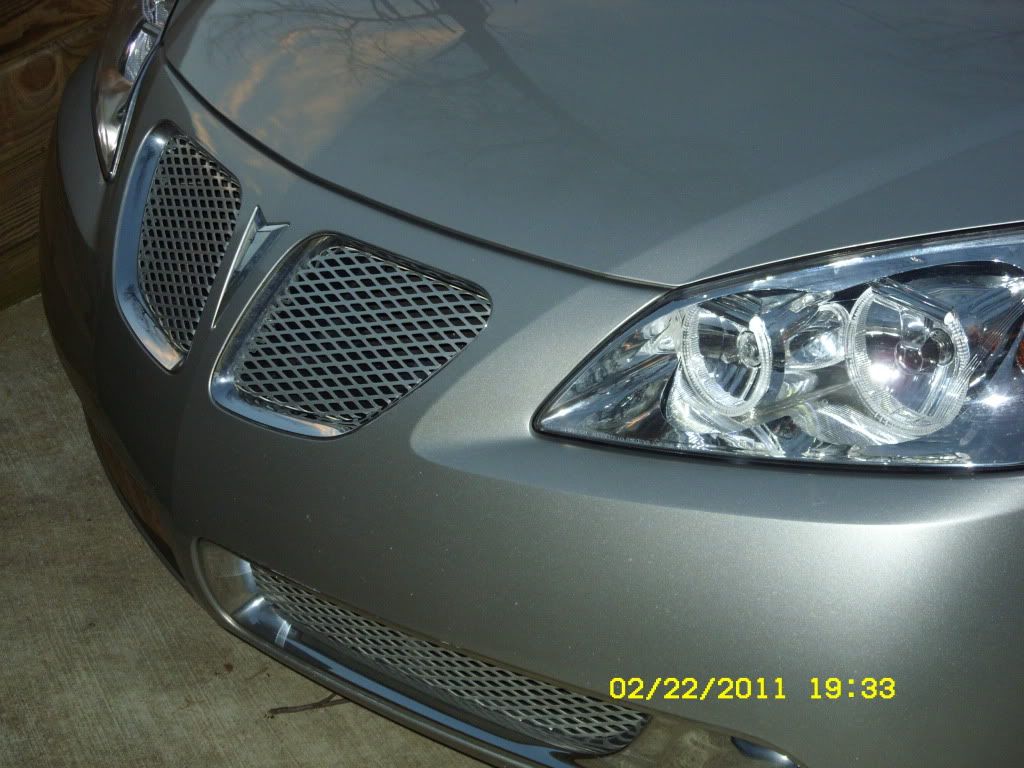
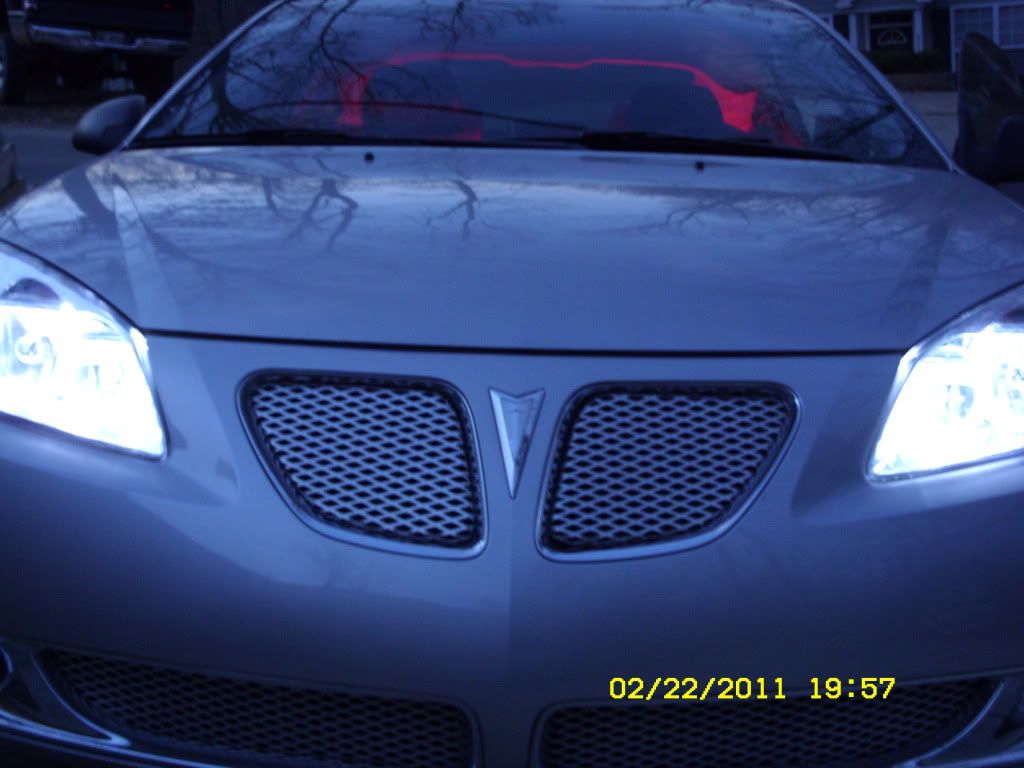
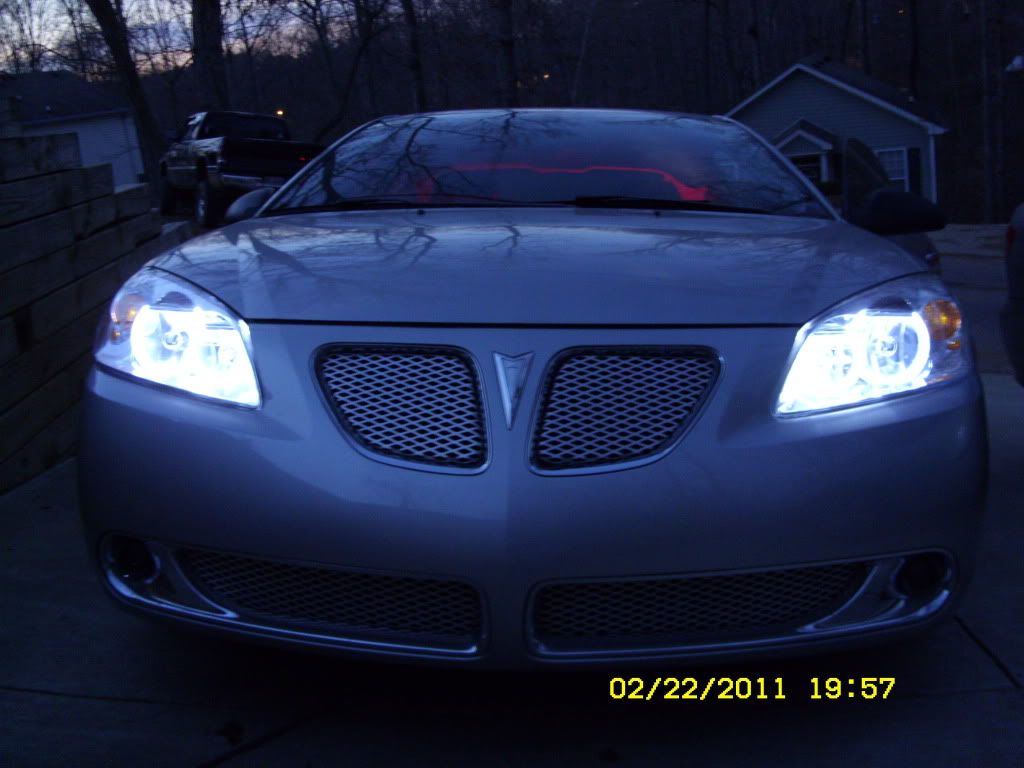
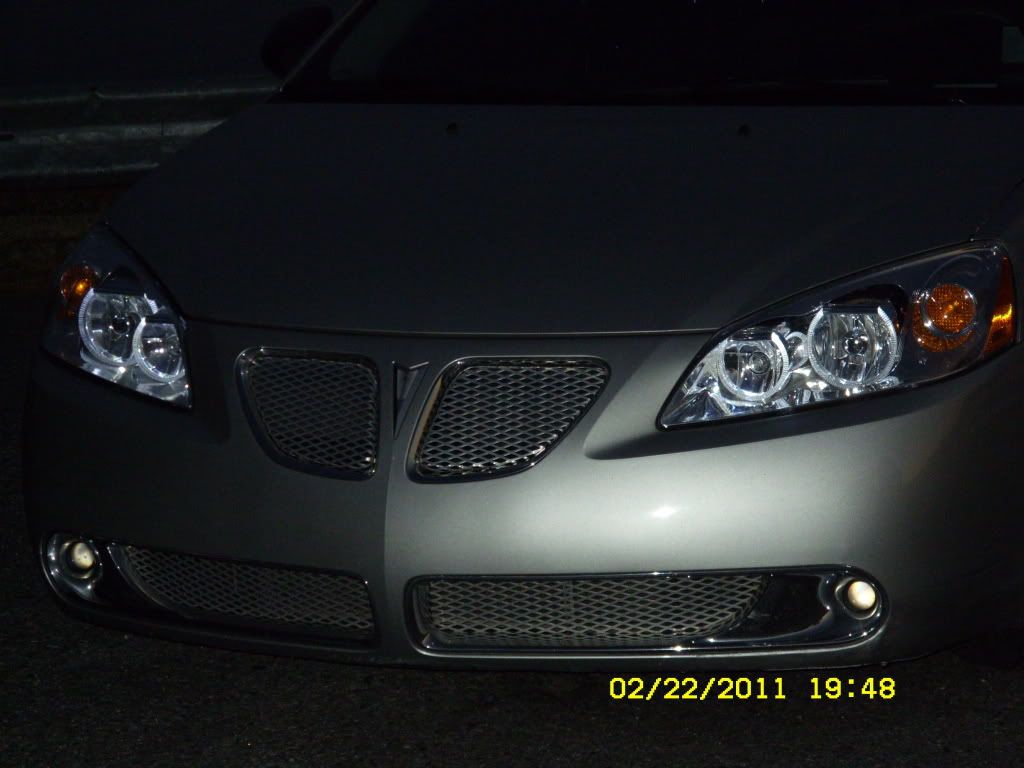
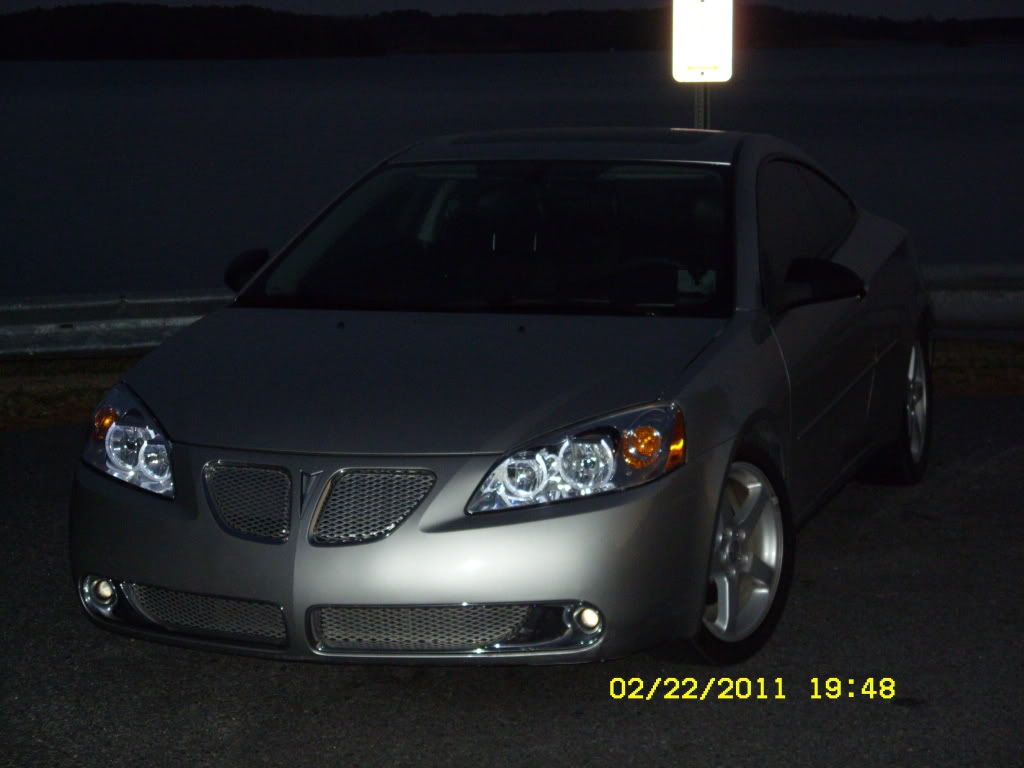
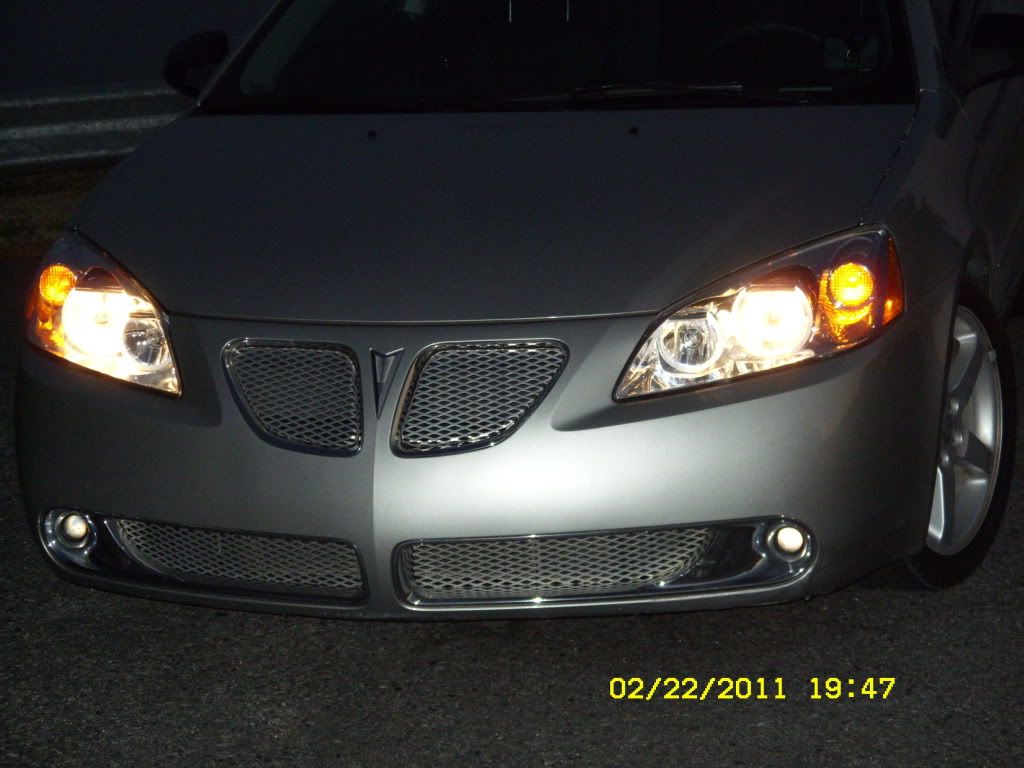
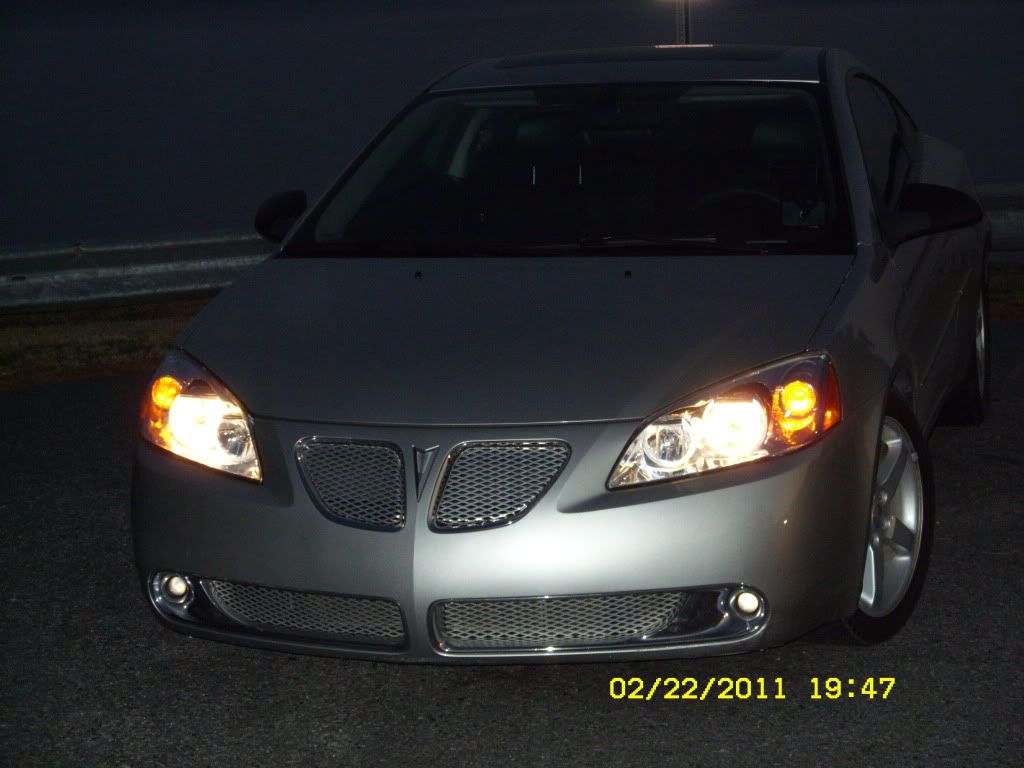
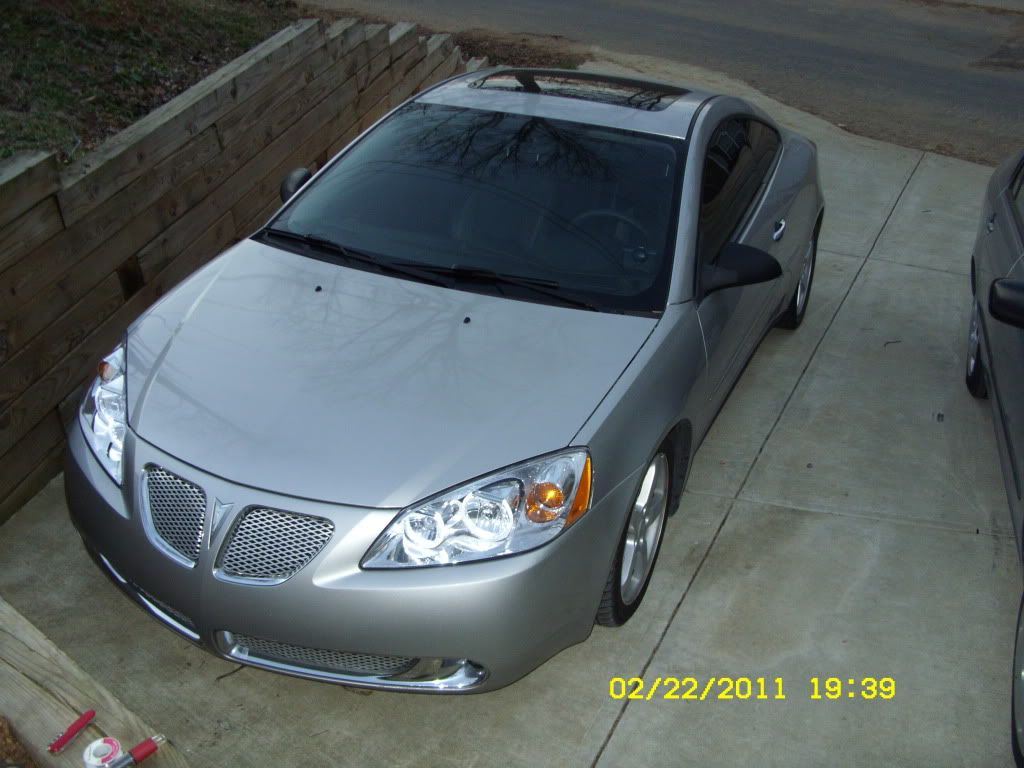
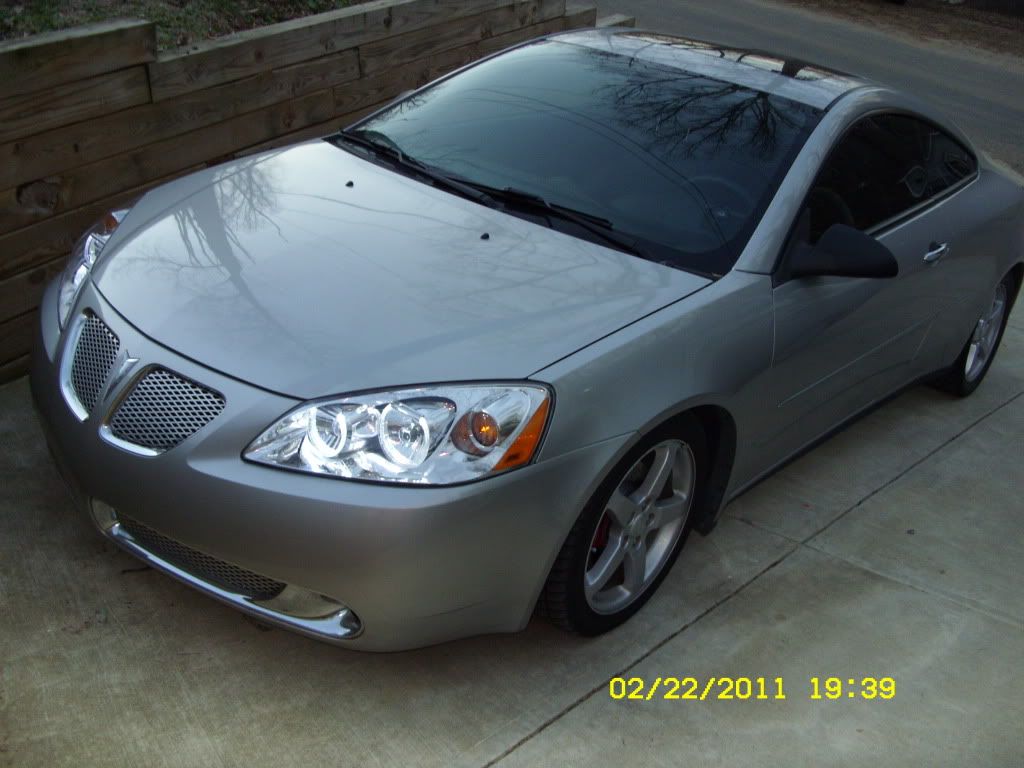
With that being said, here is a chronological view of my headlights. Ultimately it took 3 months because I ordered some daytime running light bulbs from China that took two months to arrive.
Tools needed:
Dremel and accessories (MUST)
Butane torch
Screwdriver(s)
Soldering iron
Needle nose pliers
Clamps
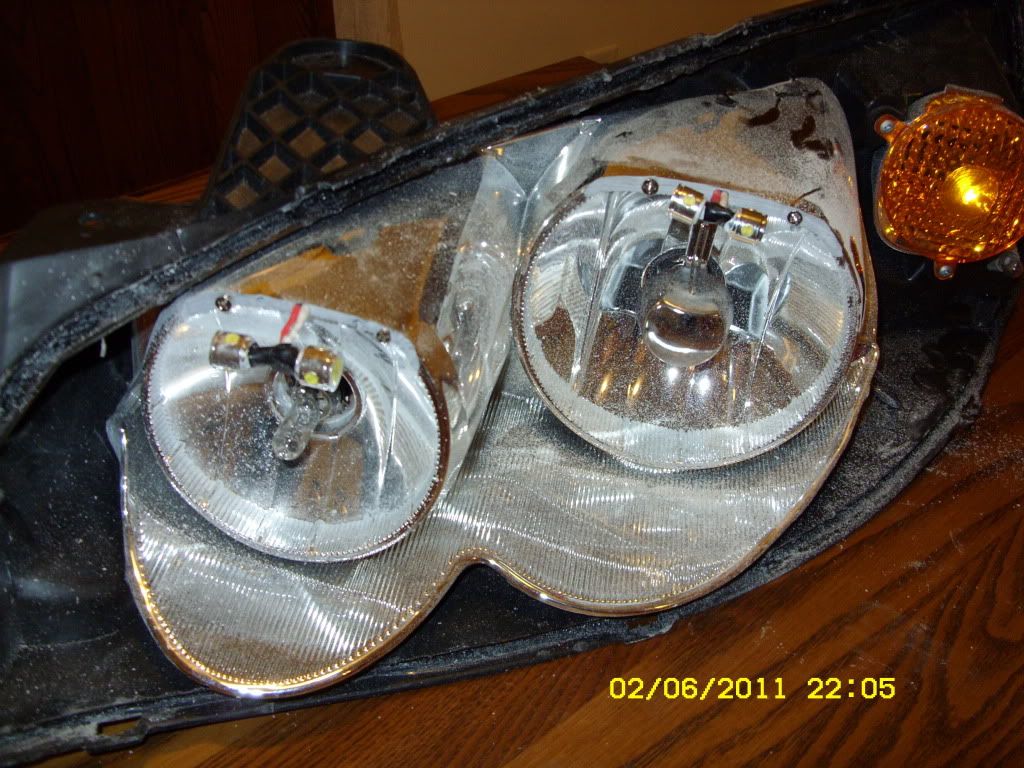
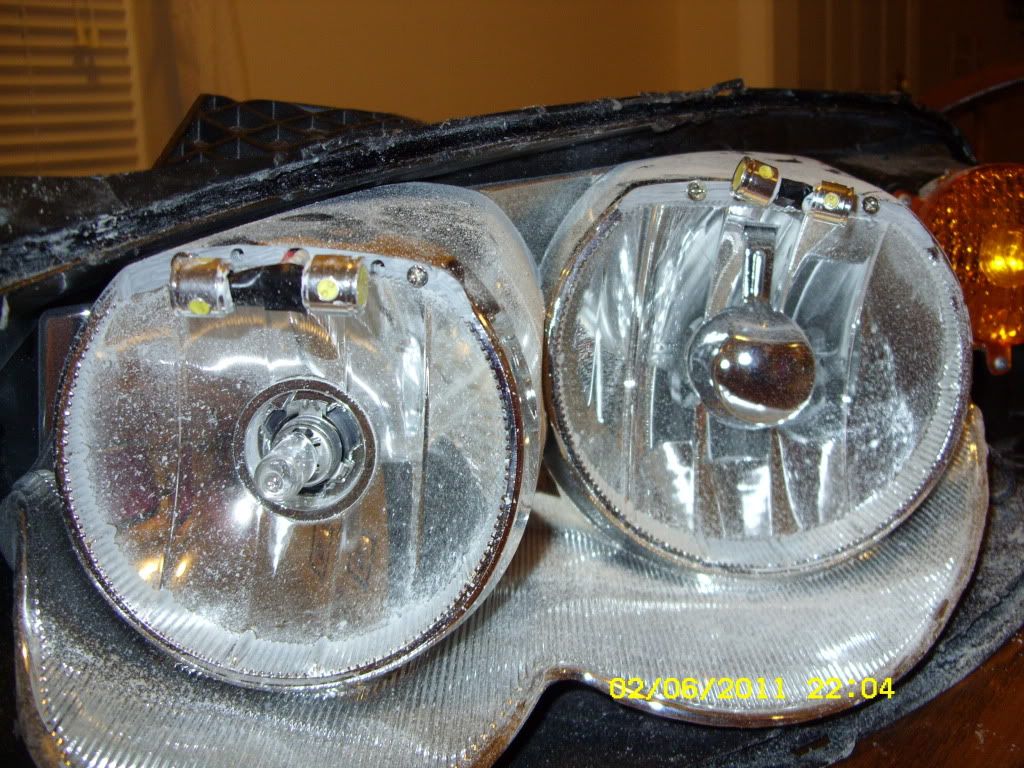
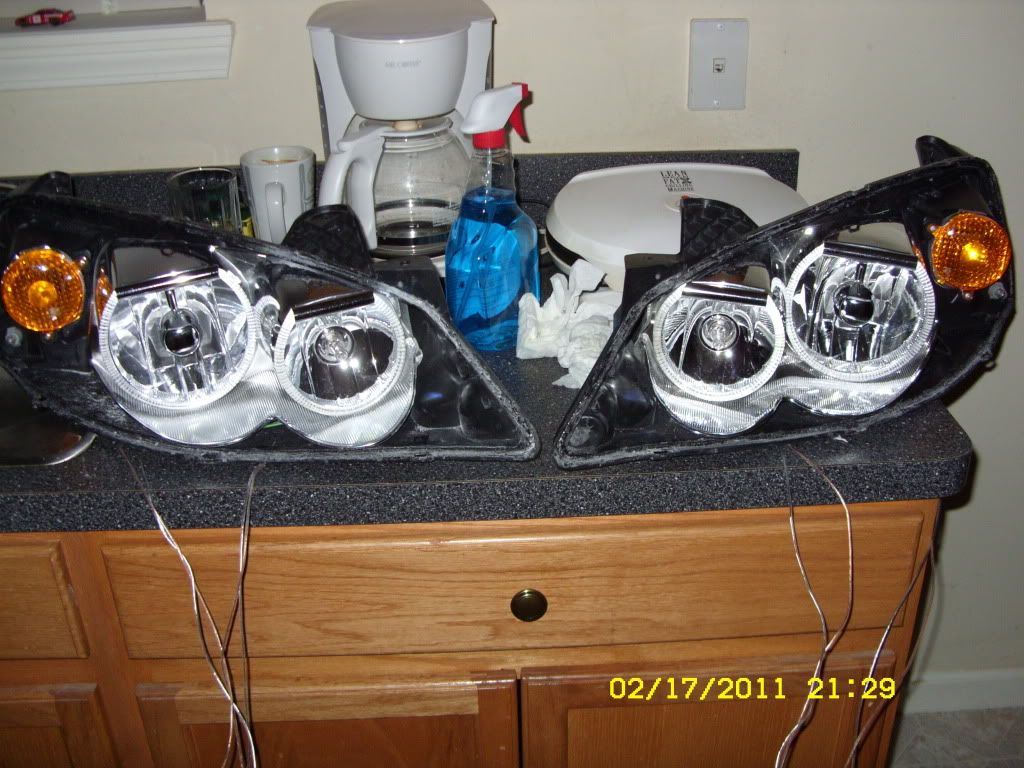
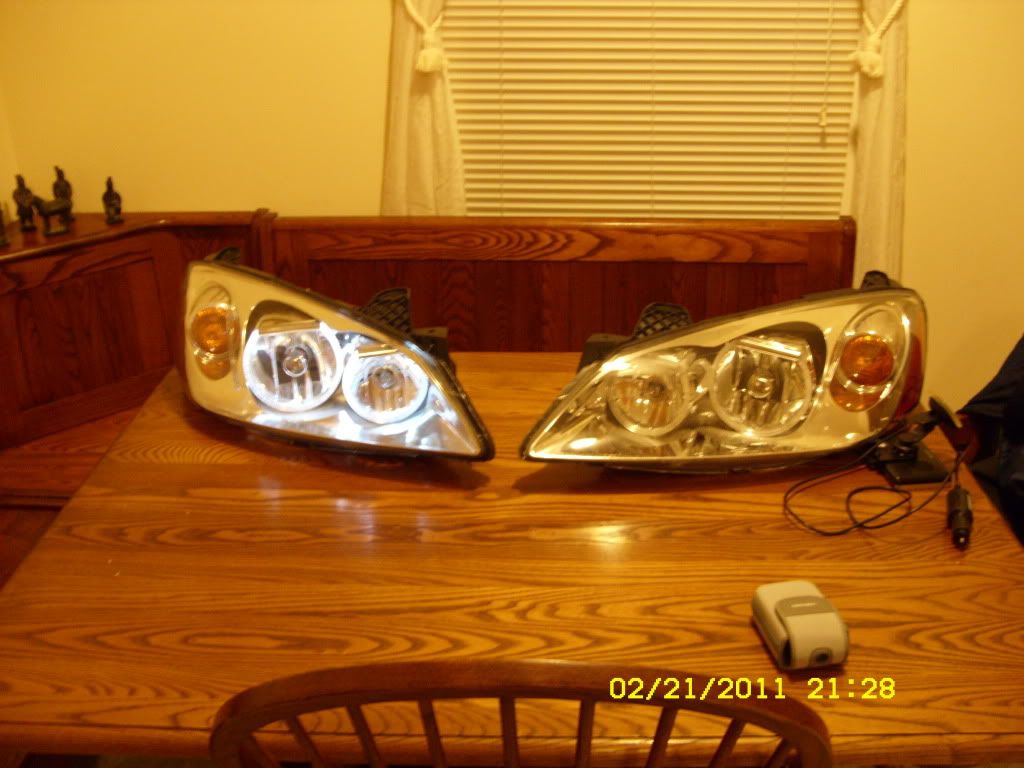
This is what I started with:
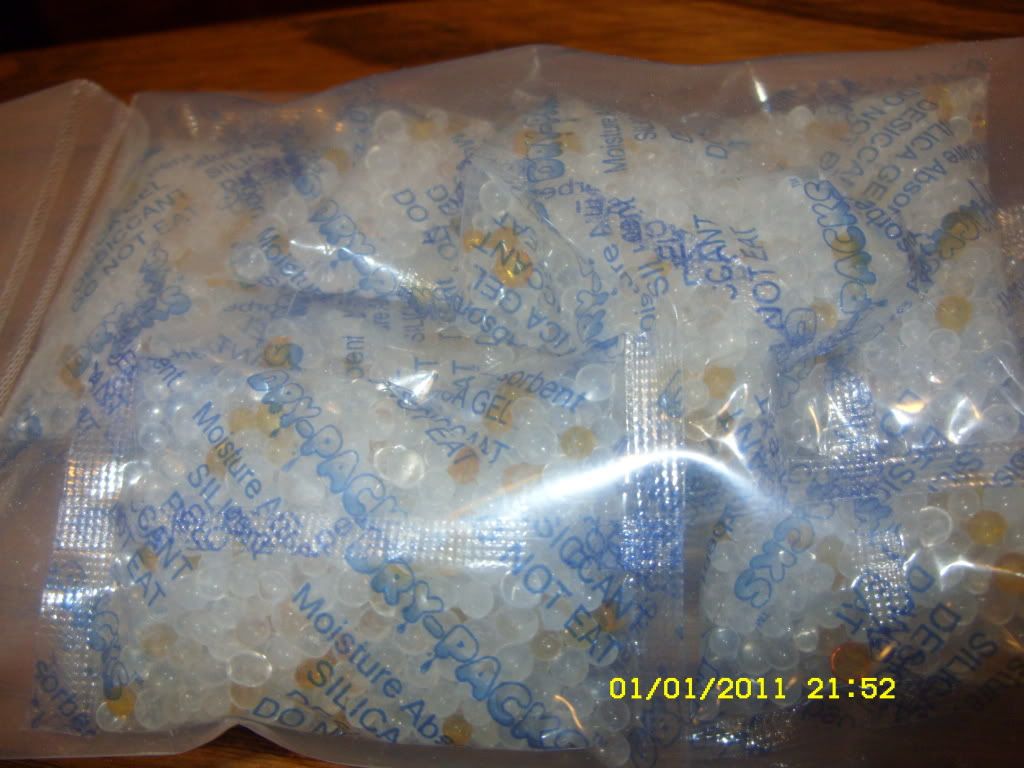
8 Silica Packs:
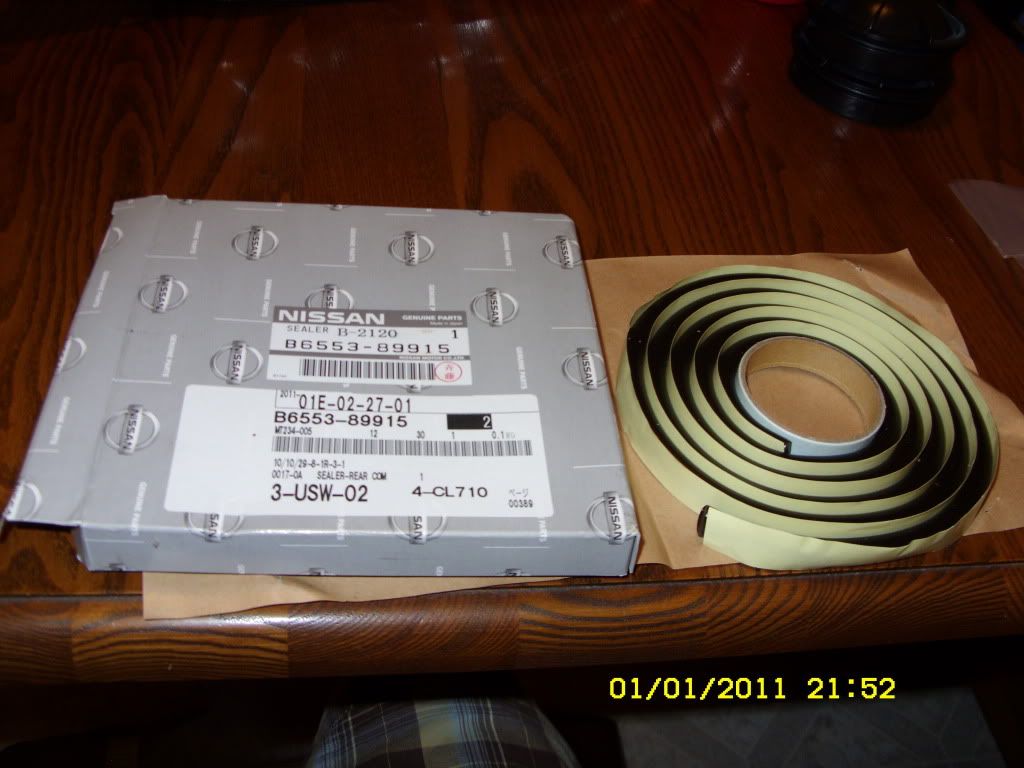
Nissan black sealant:
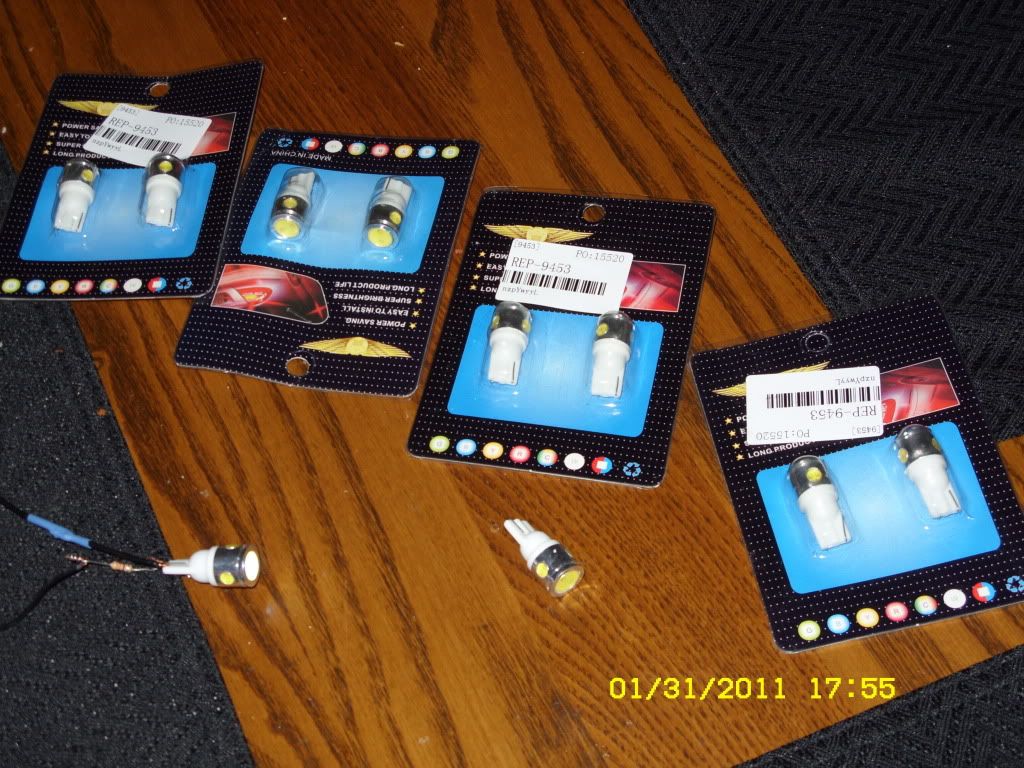
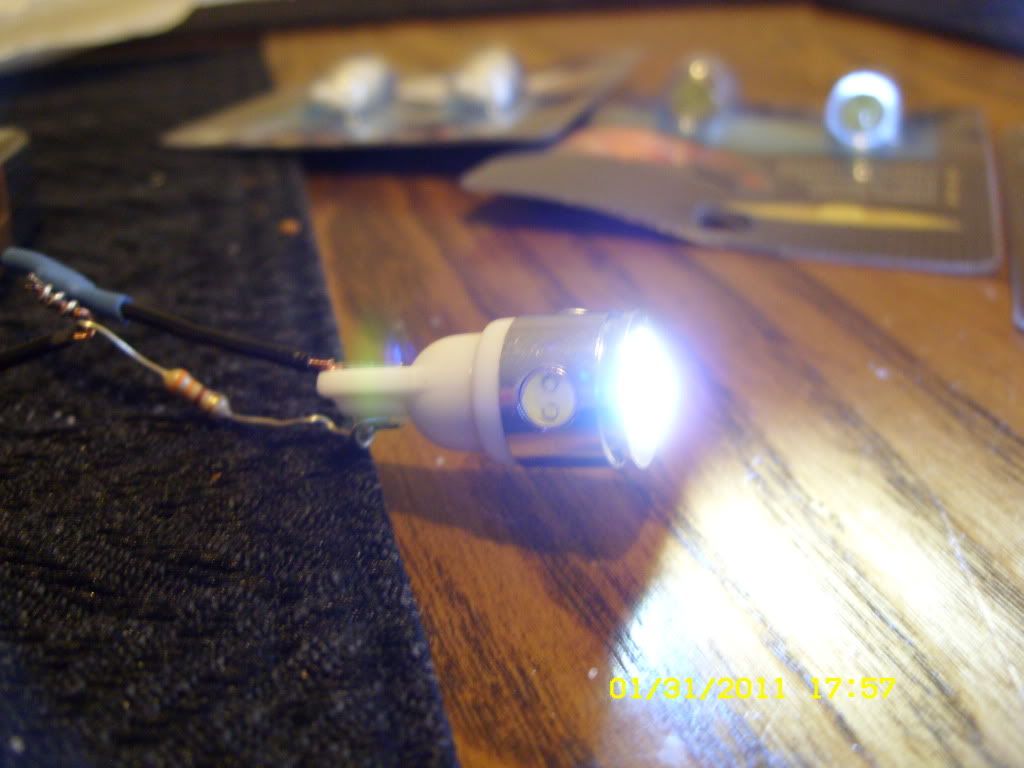
DRL Bulbs:
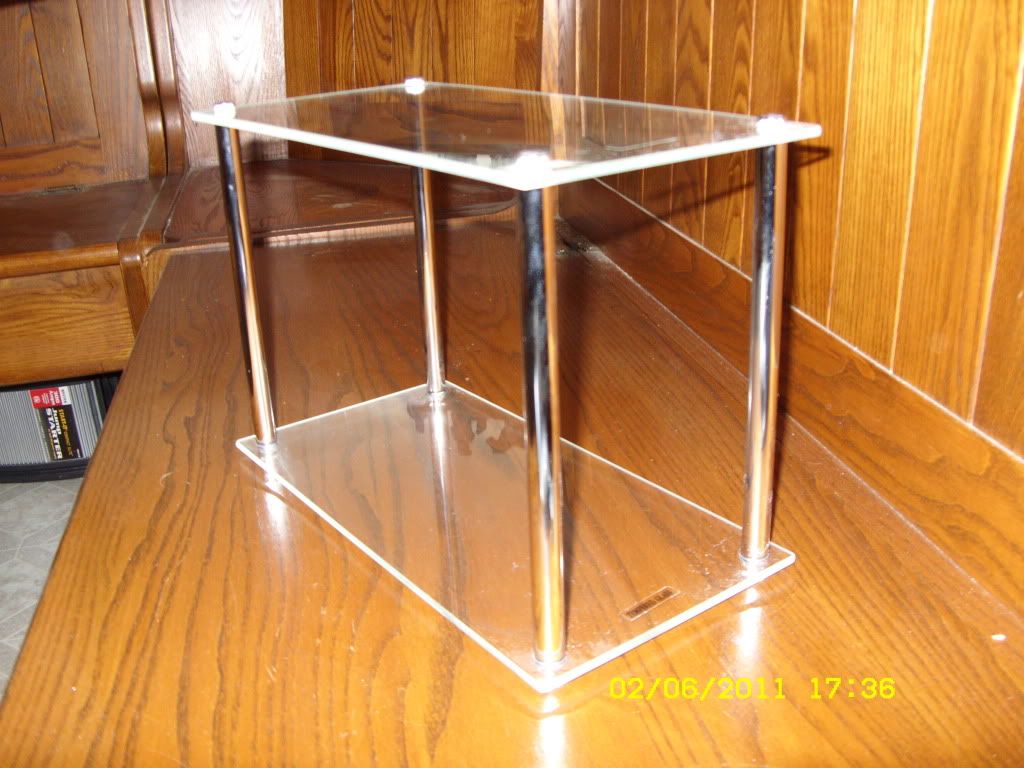
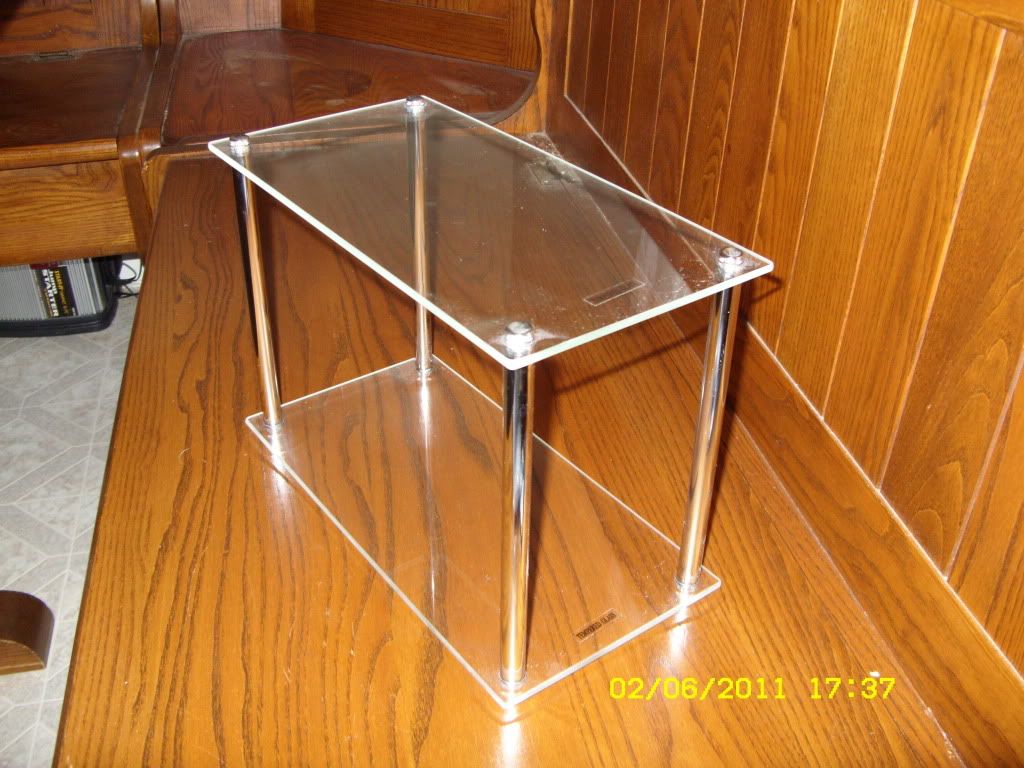
Shelf fixture (an idea a came up with to house the Halos
Blind louver – Clear solid octagon
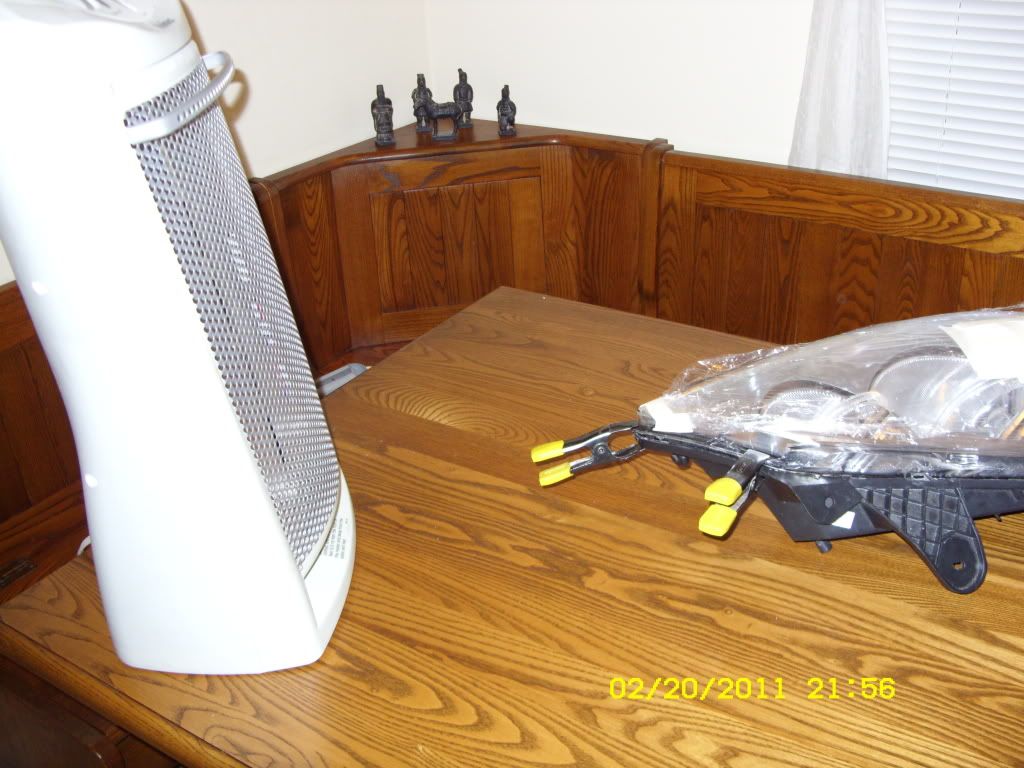
Opening the headlights;
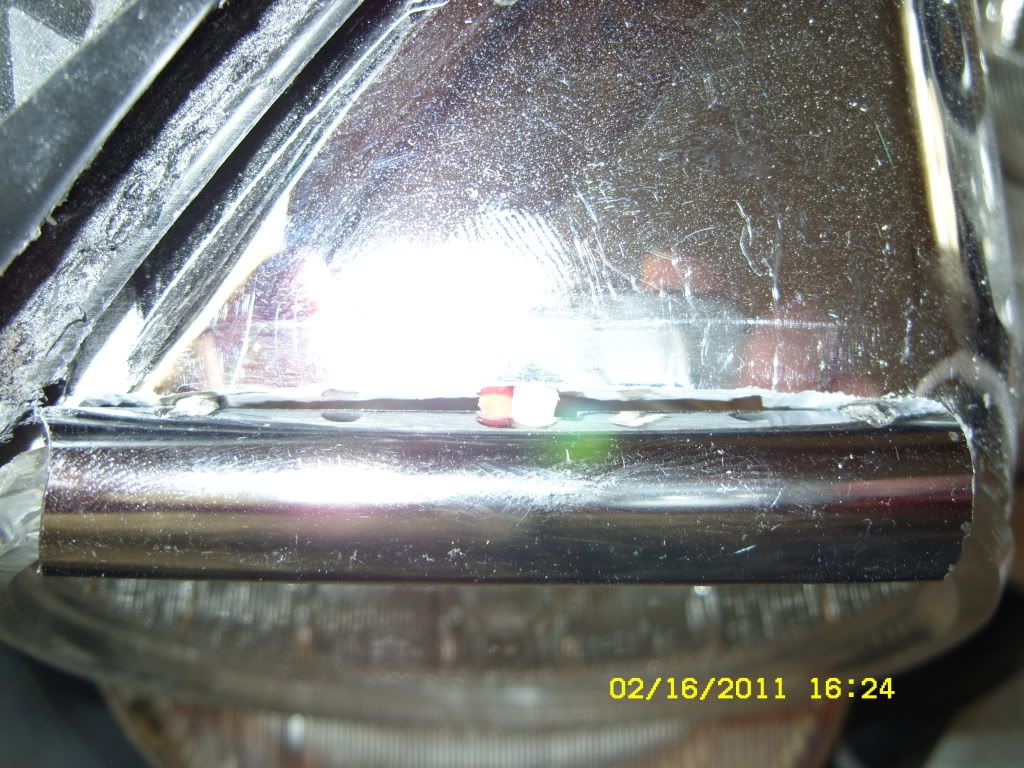
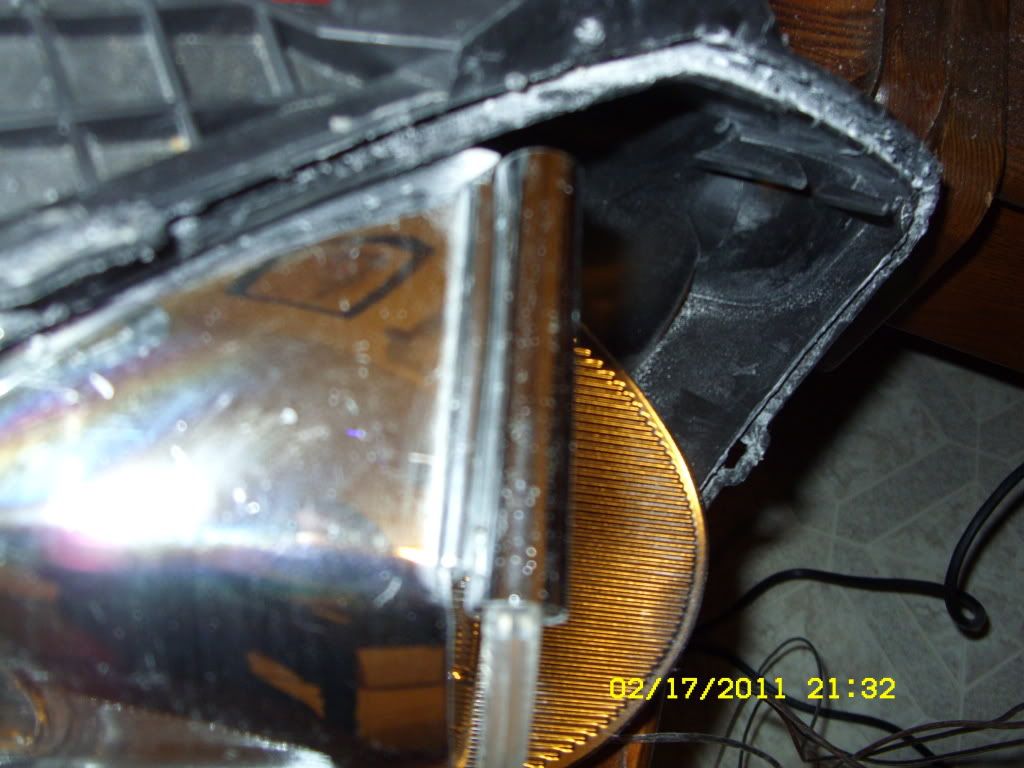
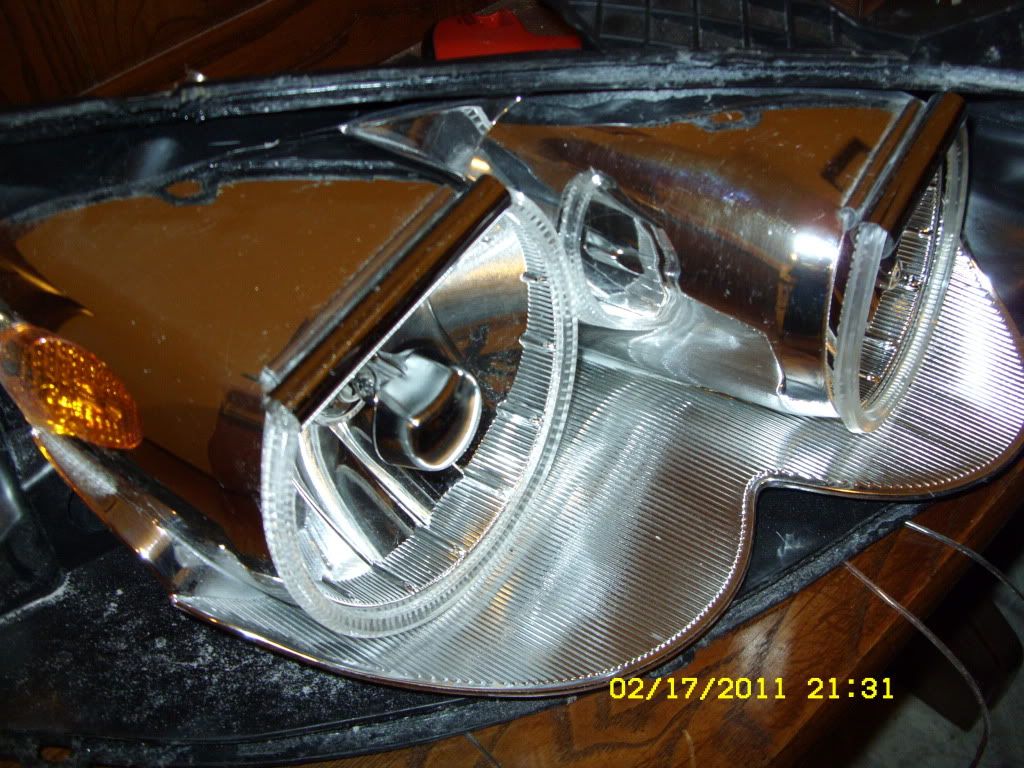
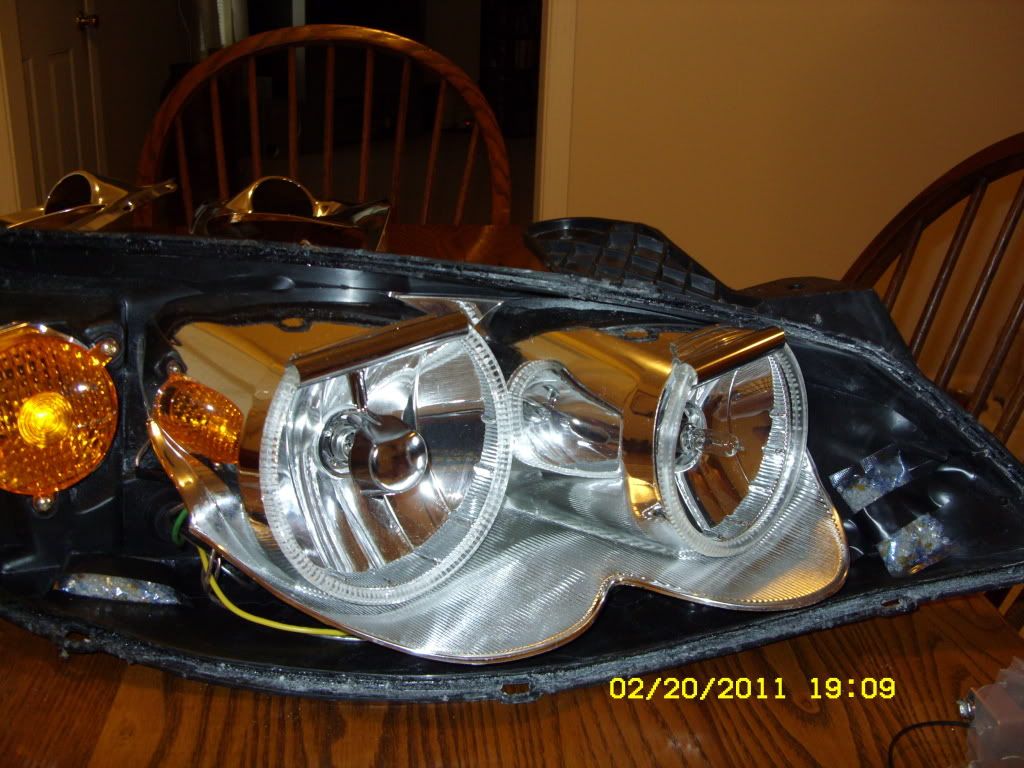
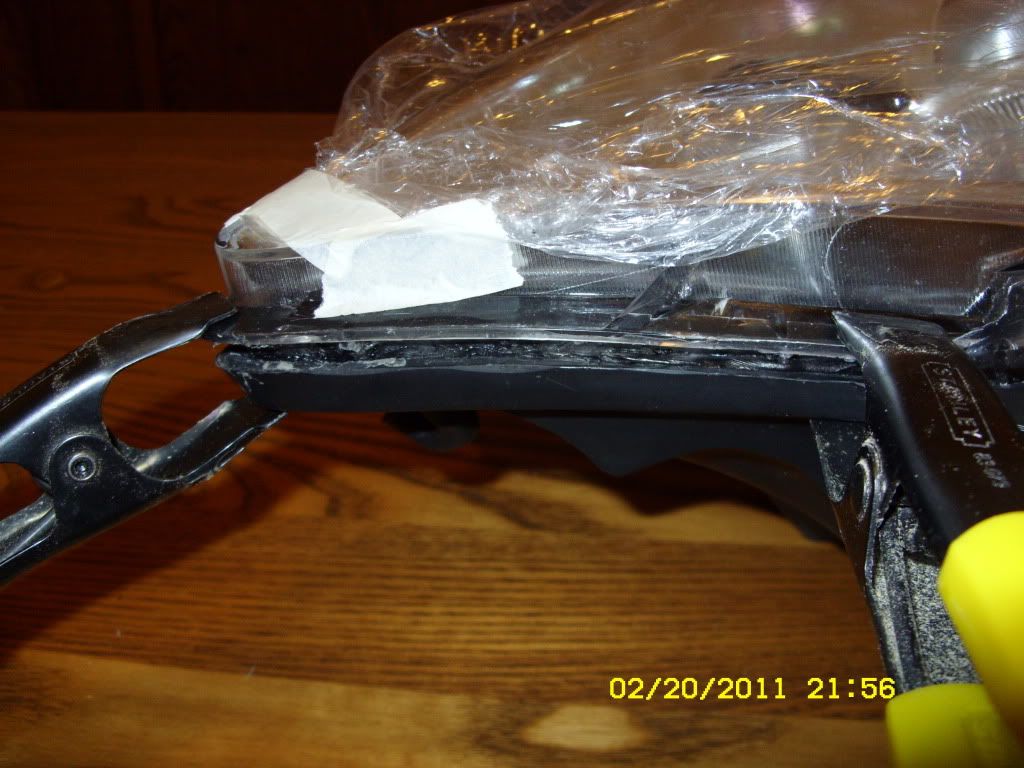
Step 1: Remove the weather strip around the light, then insert screwdrivers around edge. Insert one, twist, then slide the other one in, twist, etc. until the seal is broken.
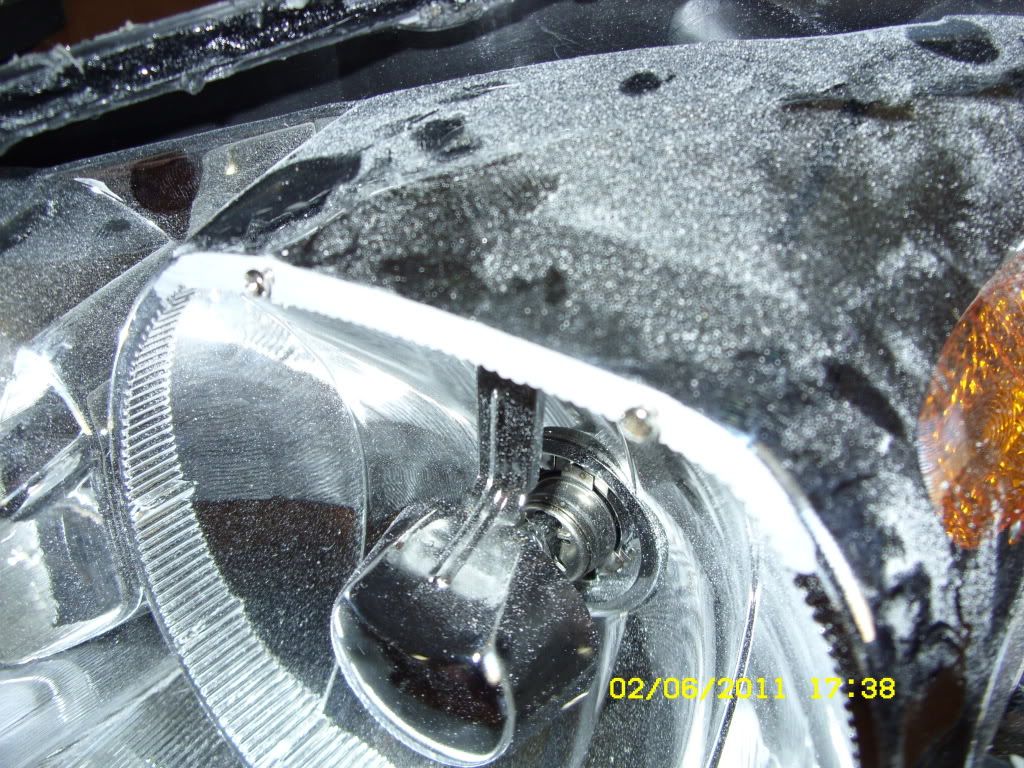
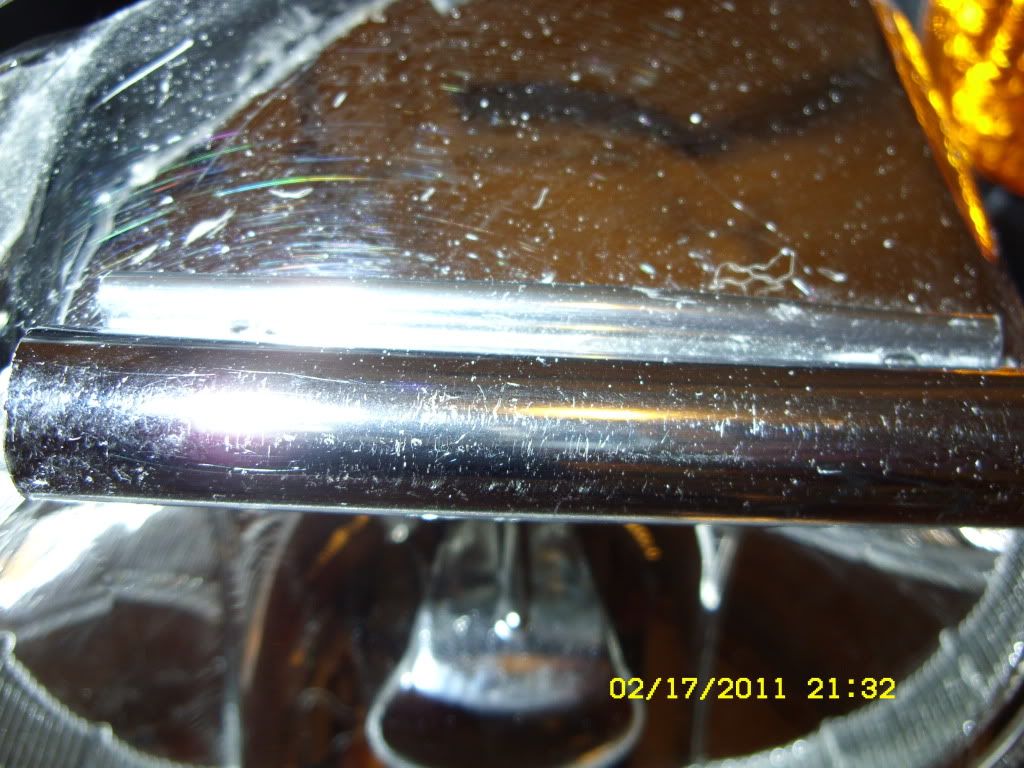
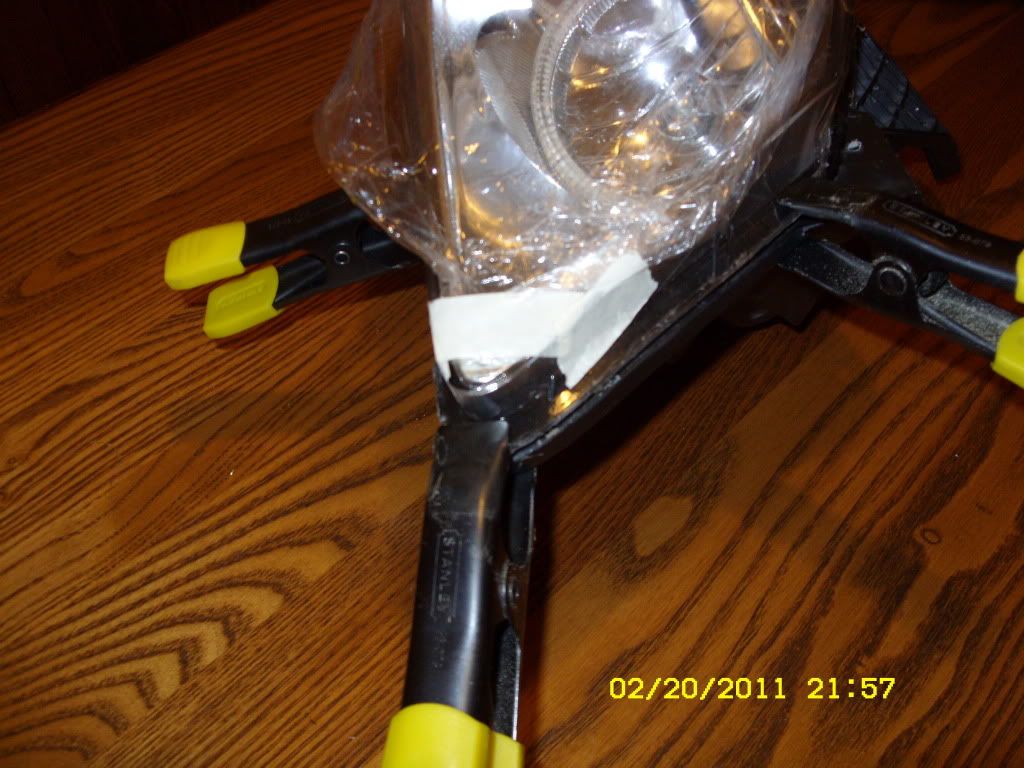
Step 2: Cover the clear acrylic housing with plastic wrap and set it aside where it won’t get scratched. The chrome inside will go with it, but it’s really easy to get out if you wanted to paint it – 2 screws.
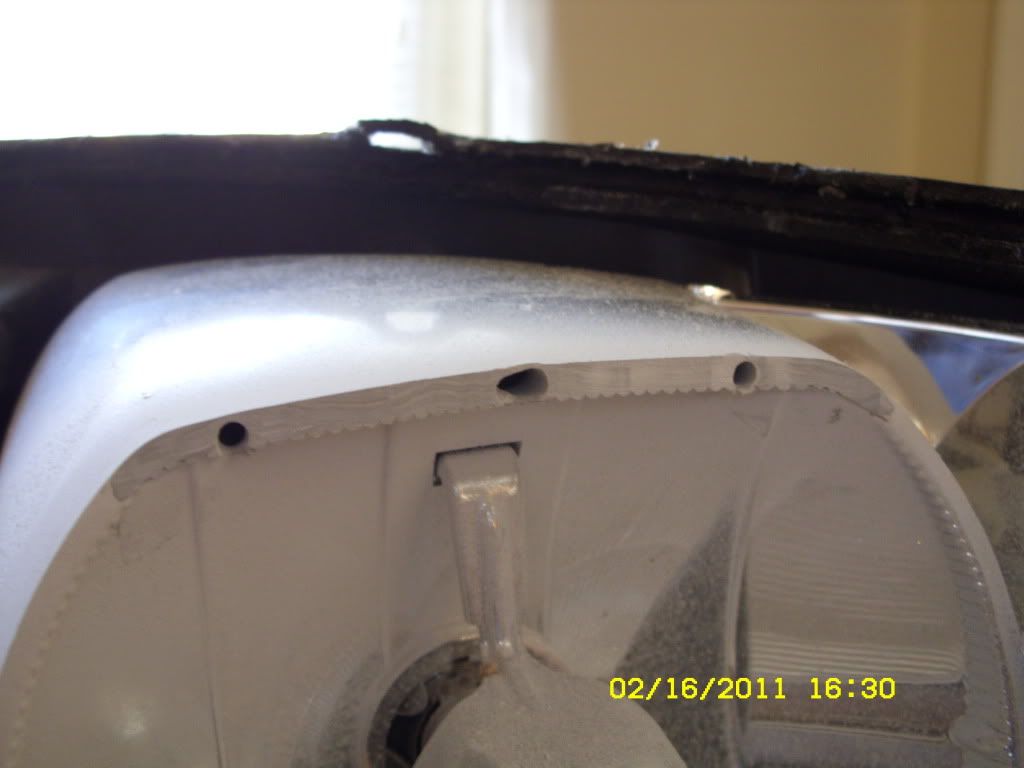
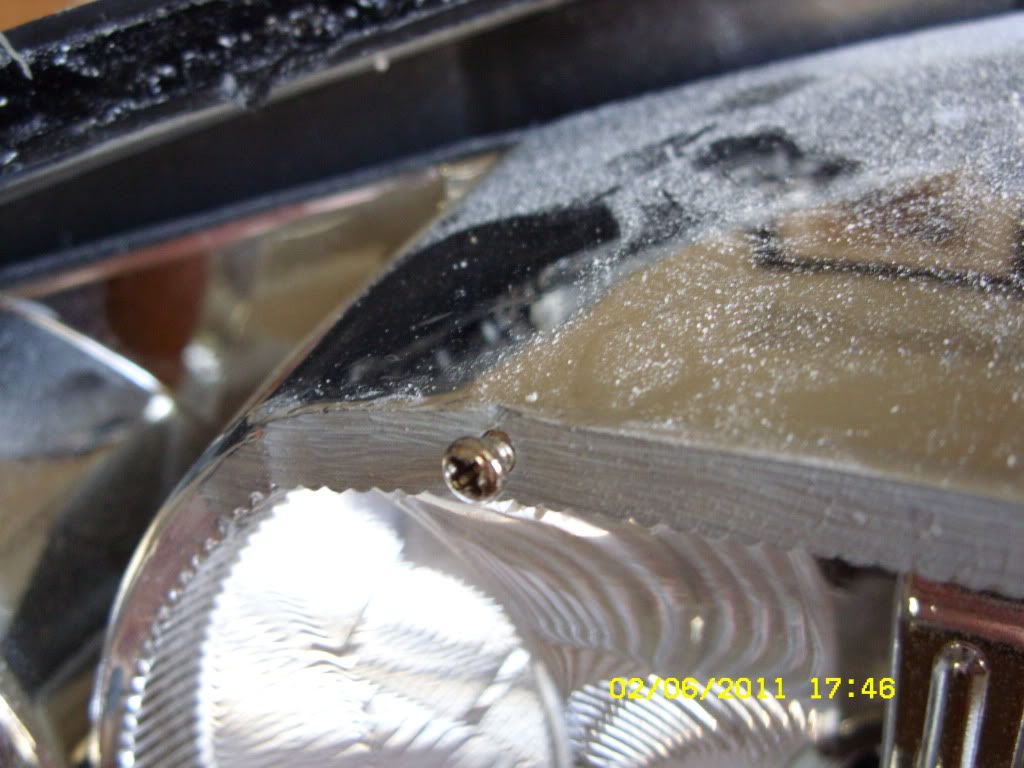
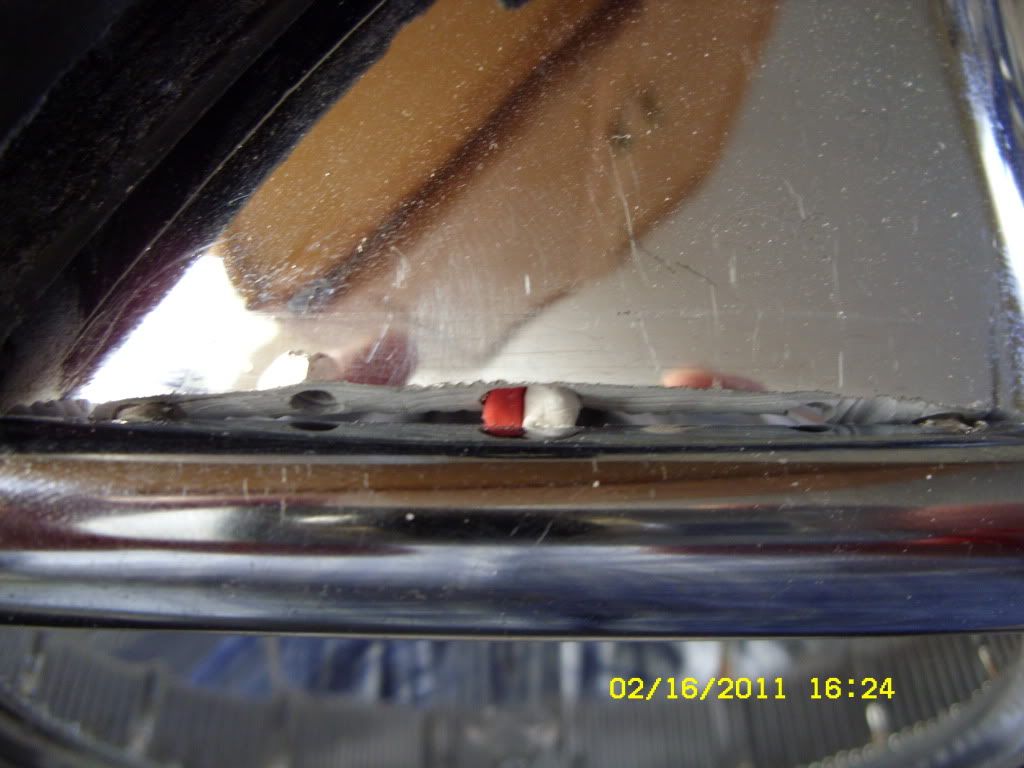
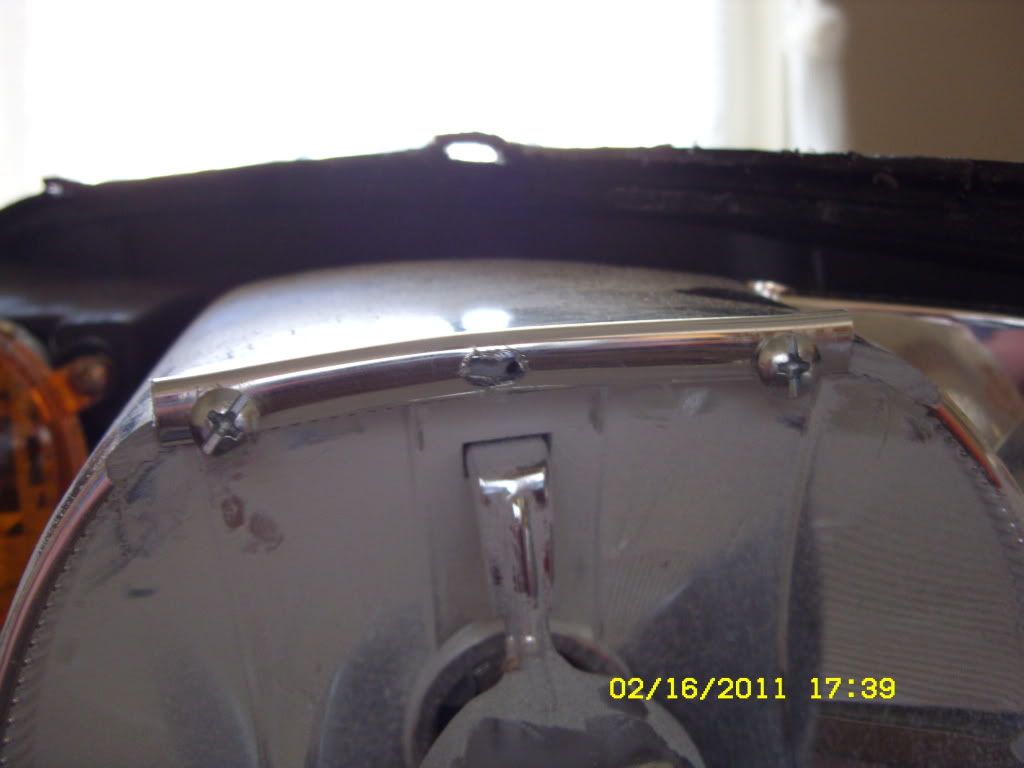
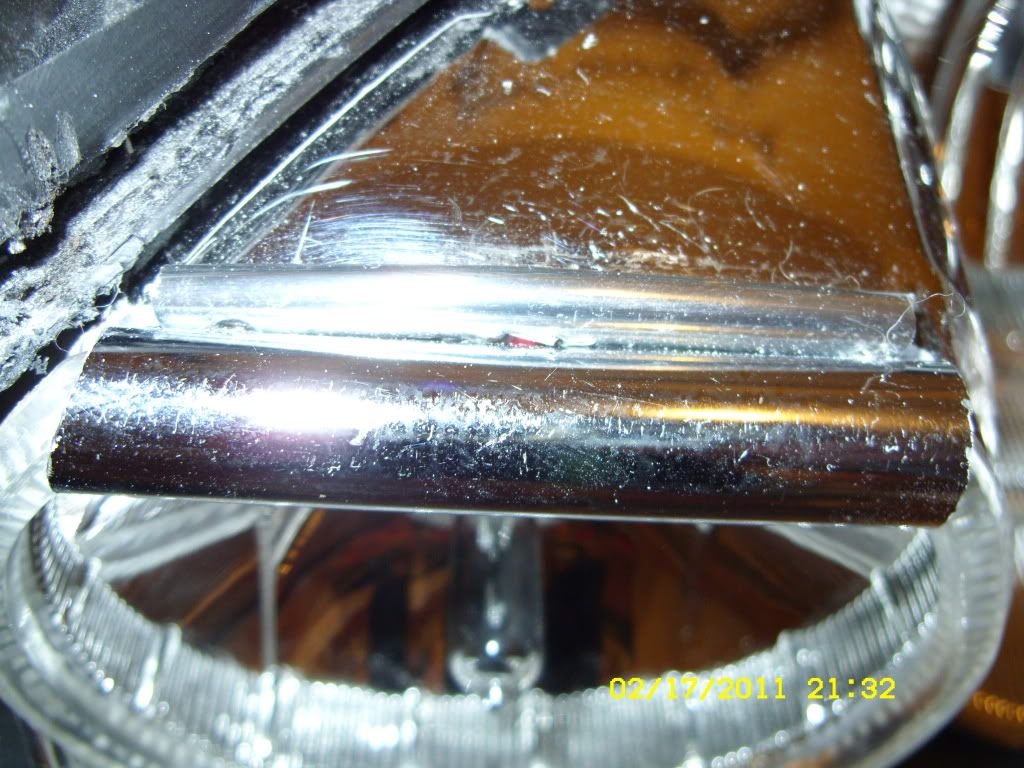
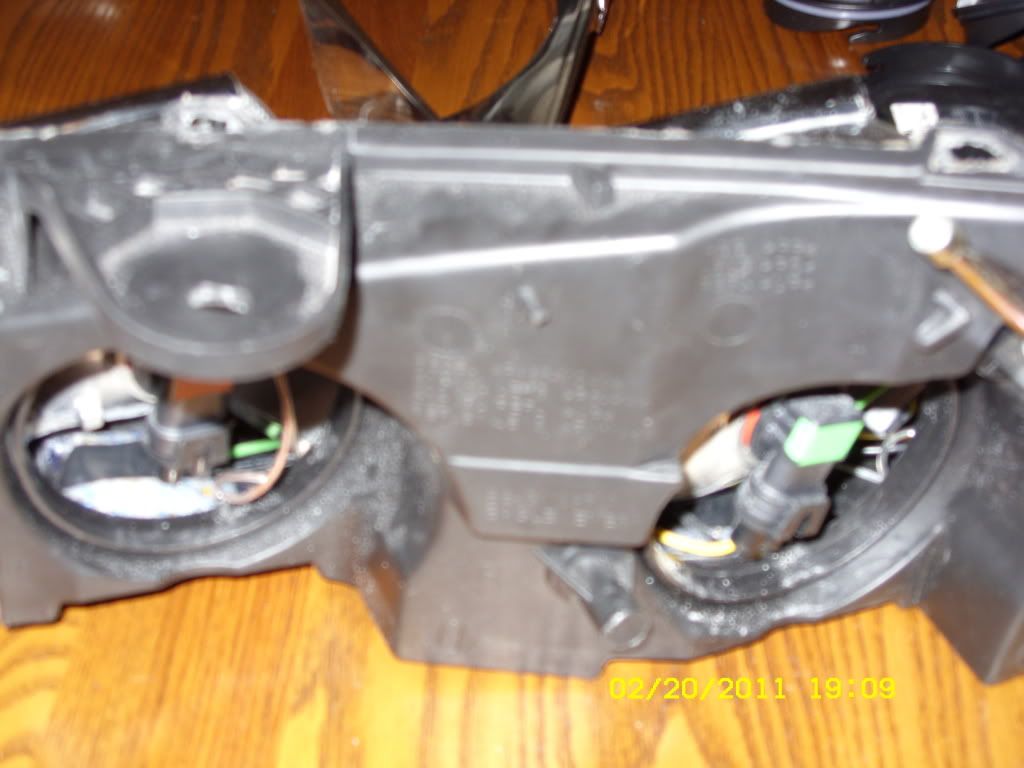
Step 3: Drill the holes that will provide support for the halos, and holes that will allow your wiring to go through. If you’re not really careful you may end up with something like this:
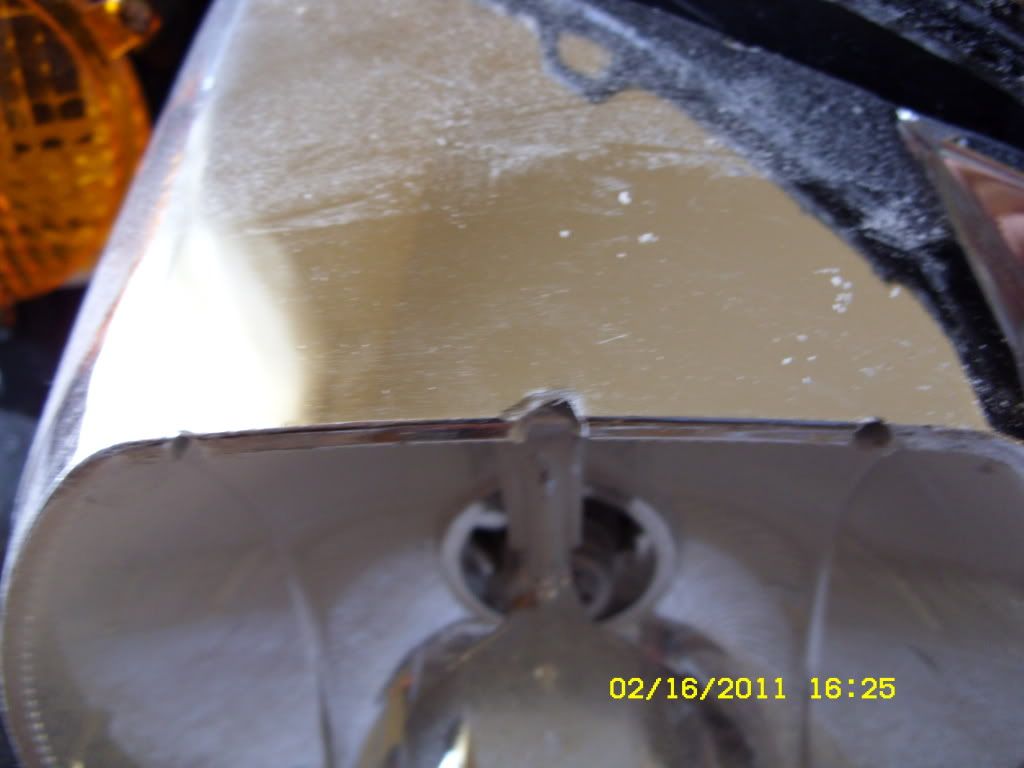

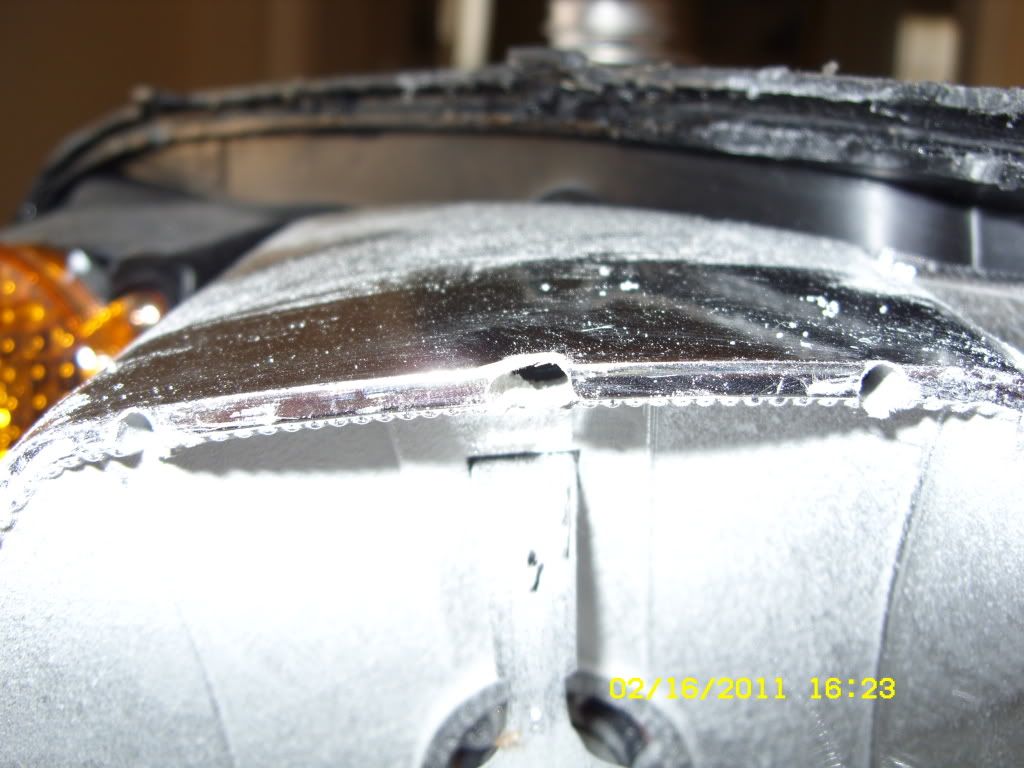
Ouch! Out with the sanding bit for the dremel. Get ready for the dust:
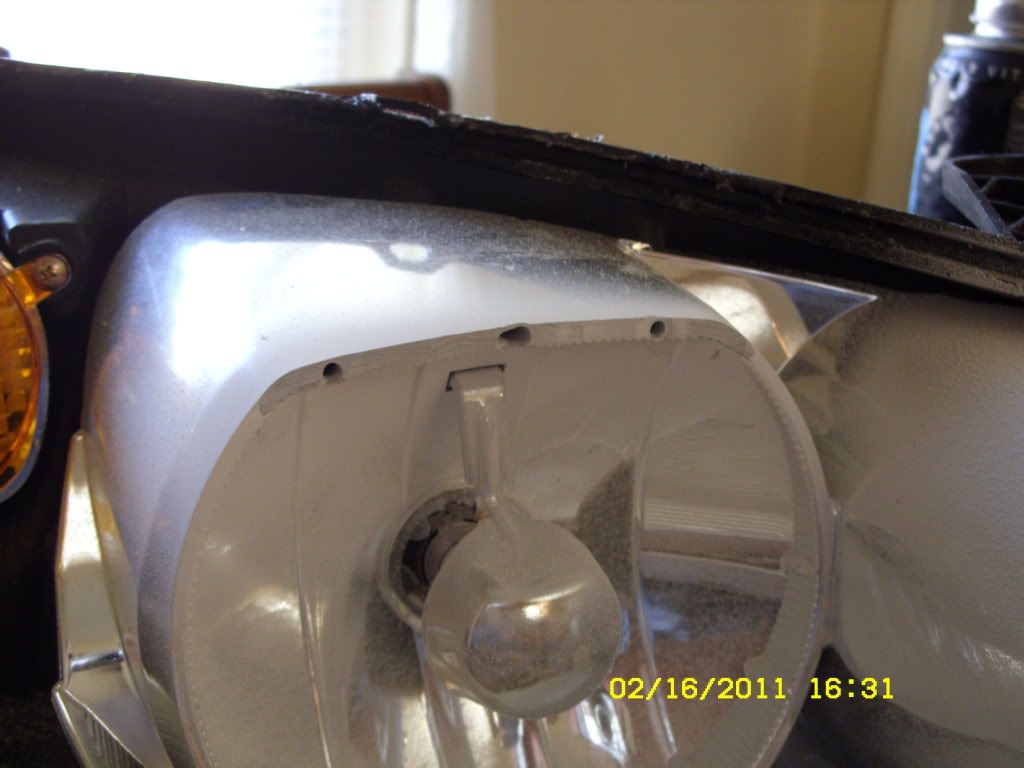
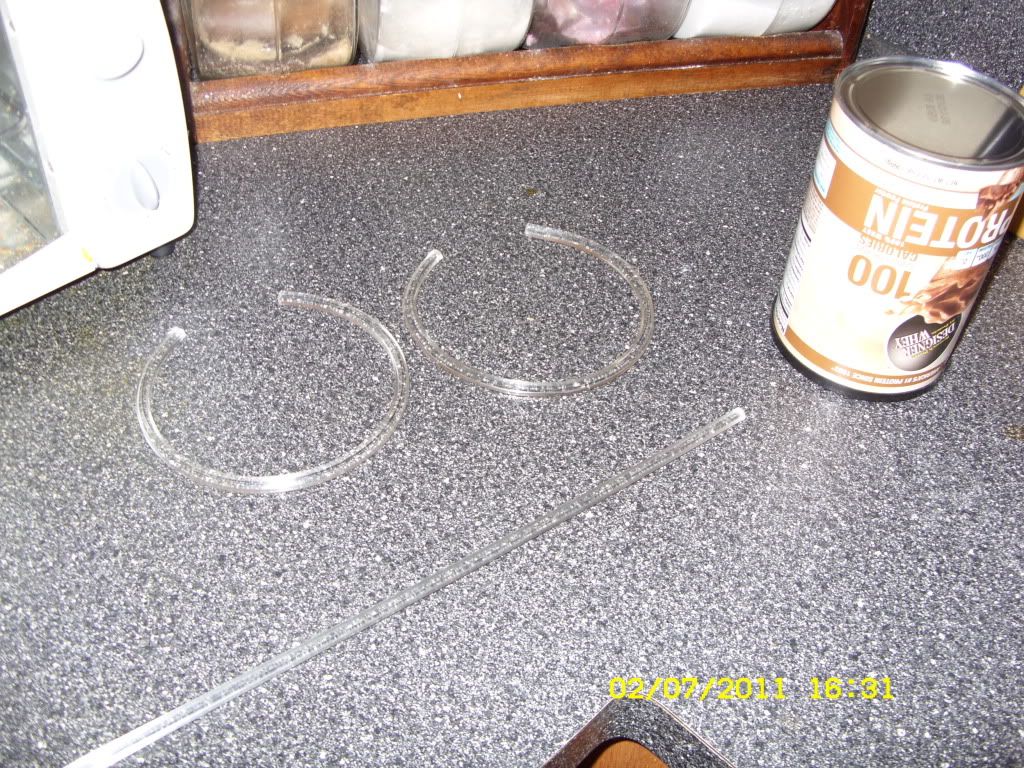
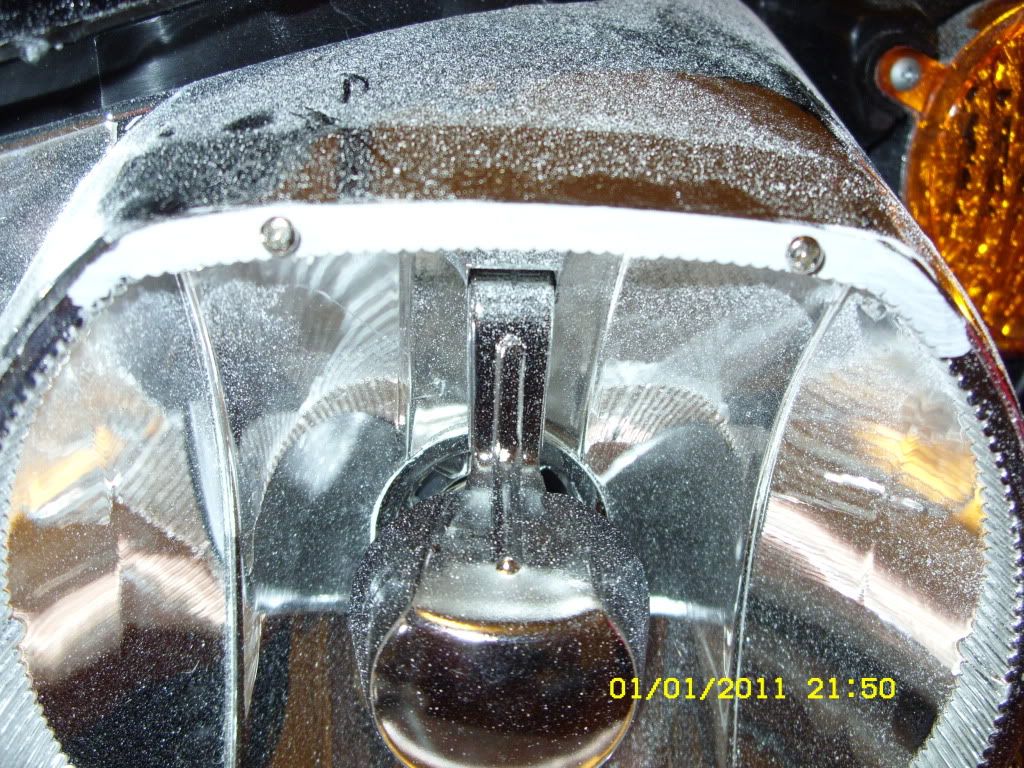
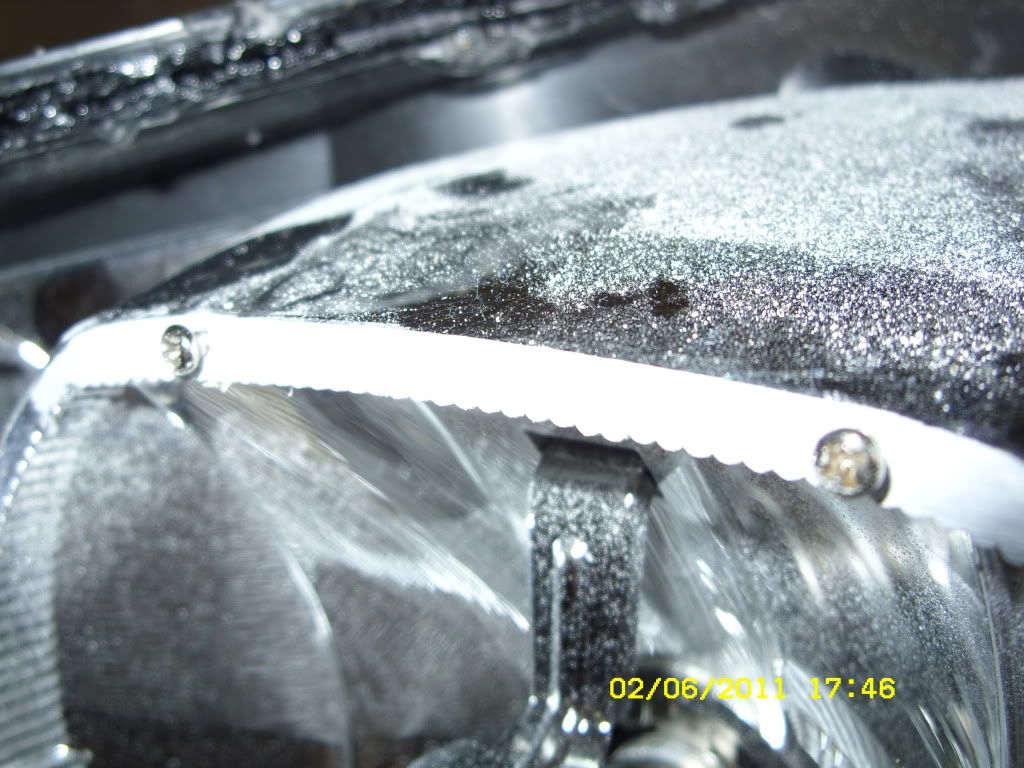
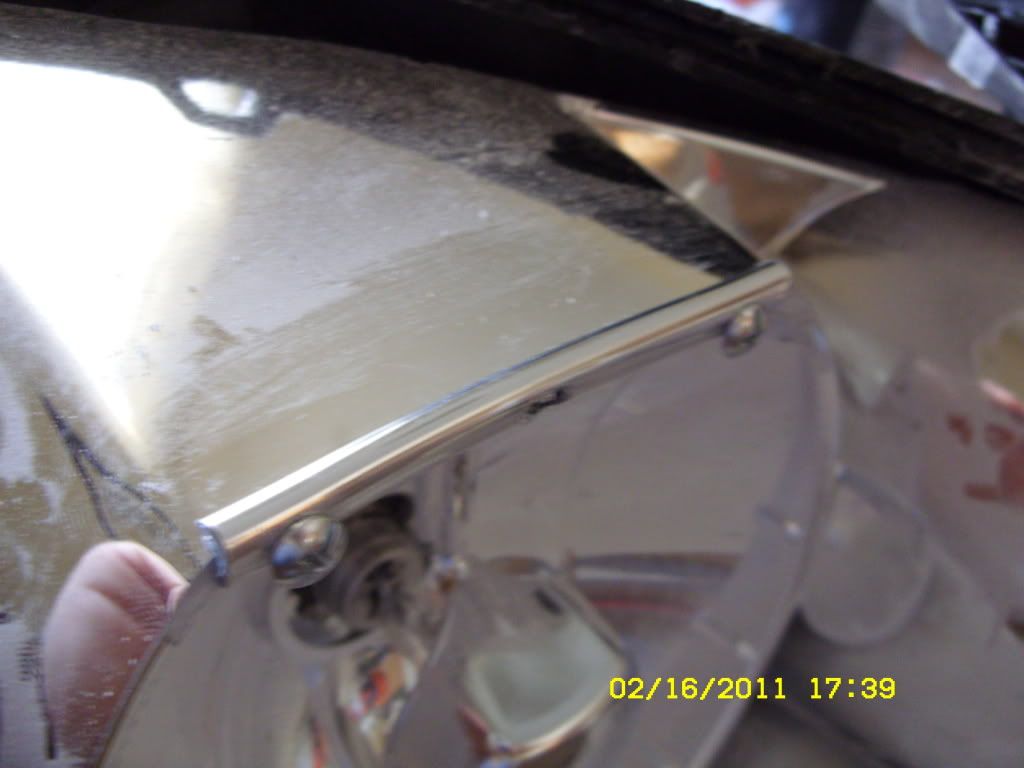
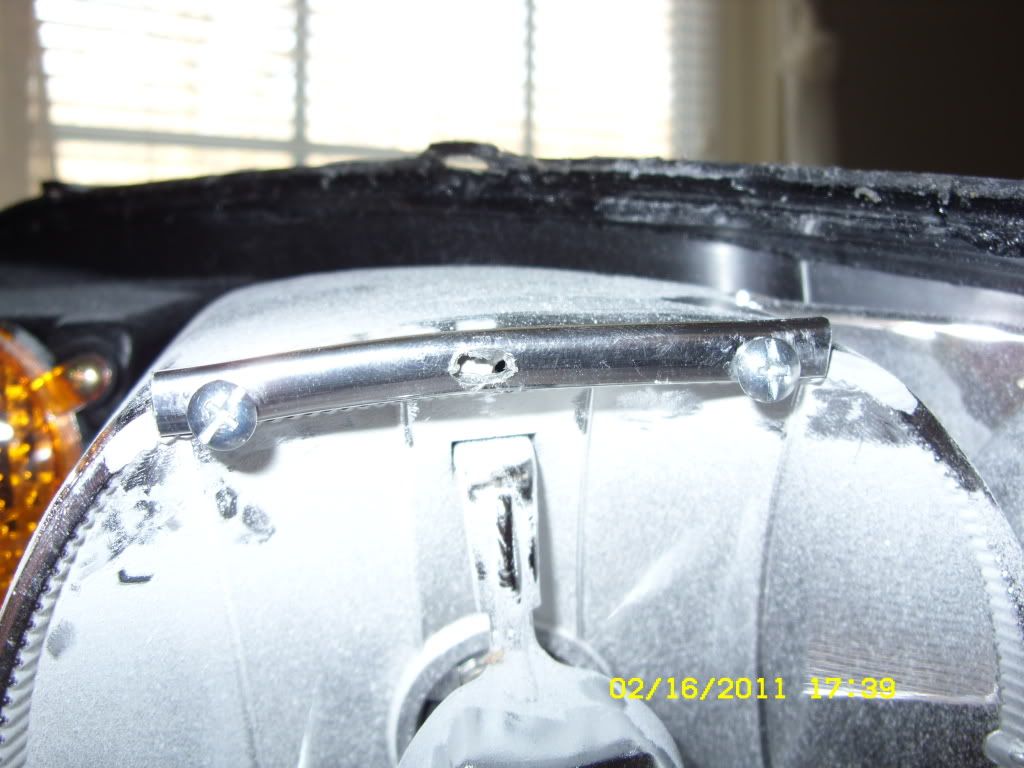
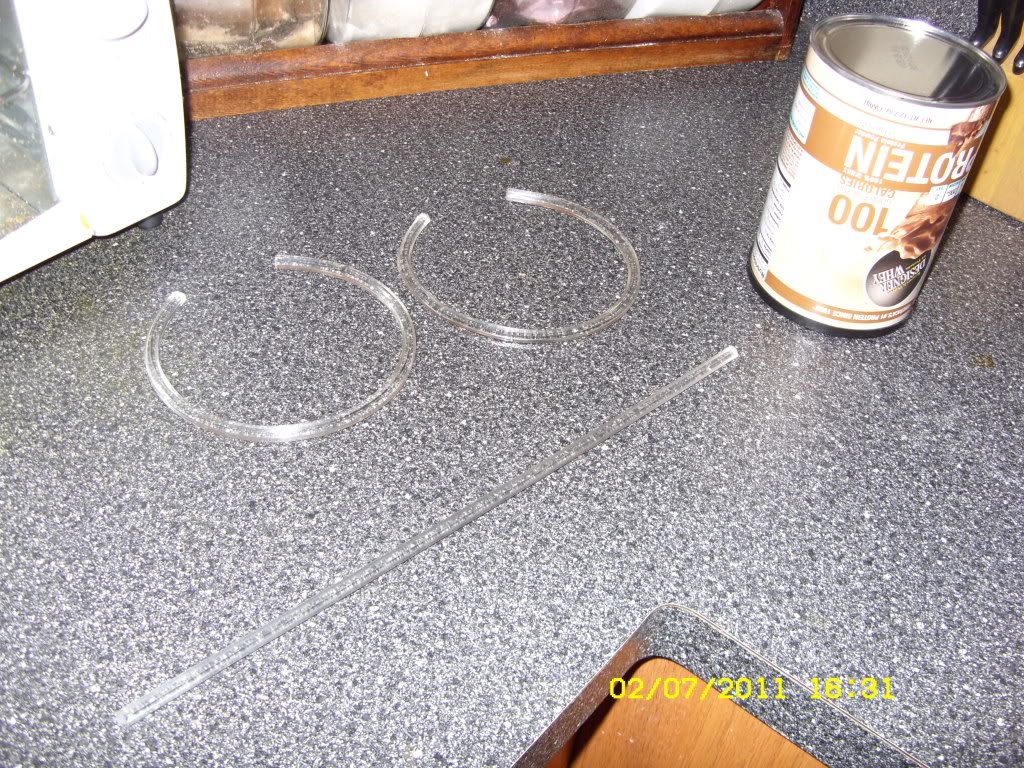
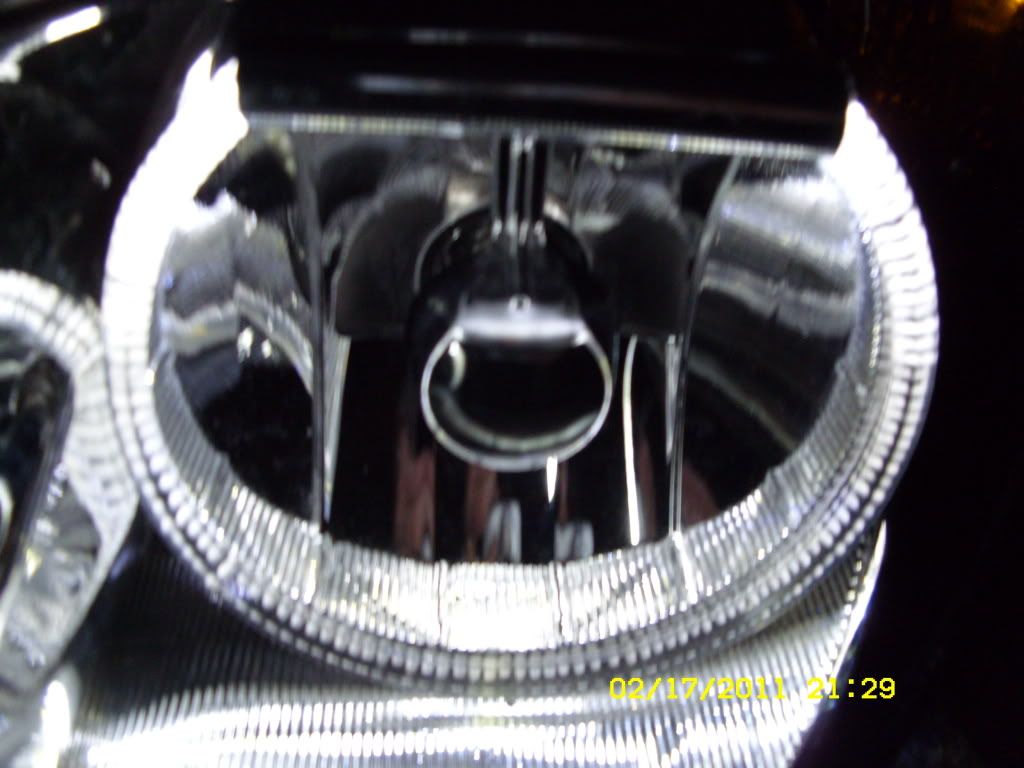
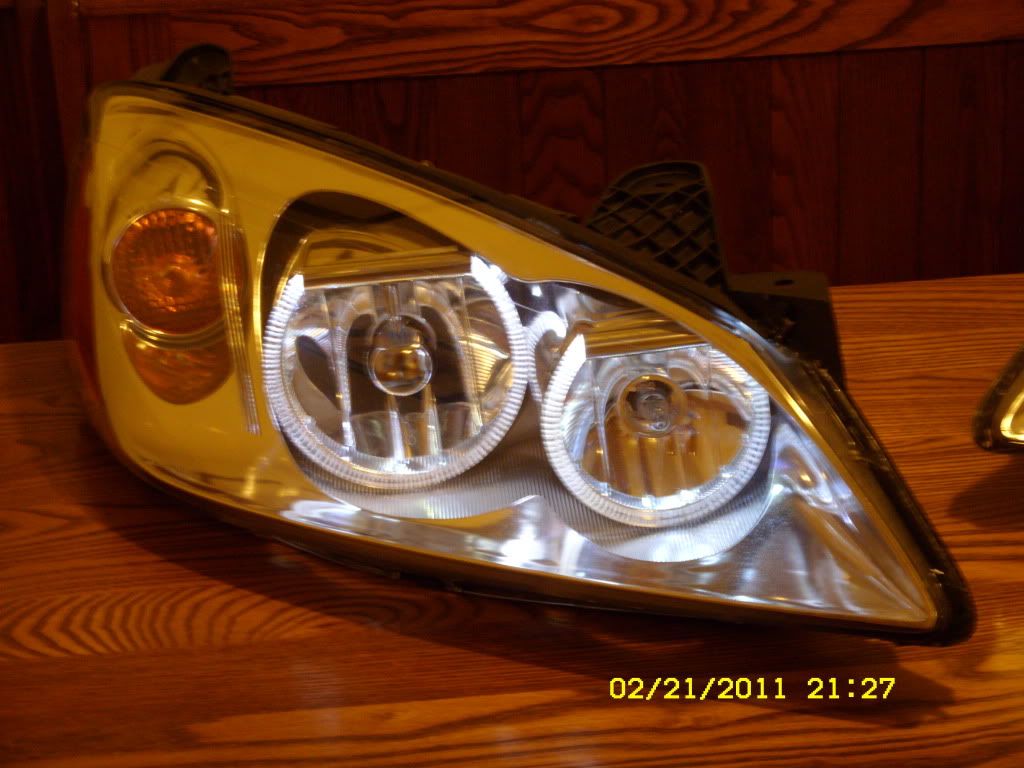
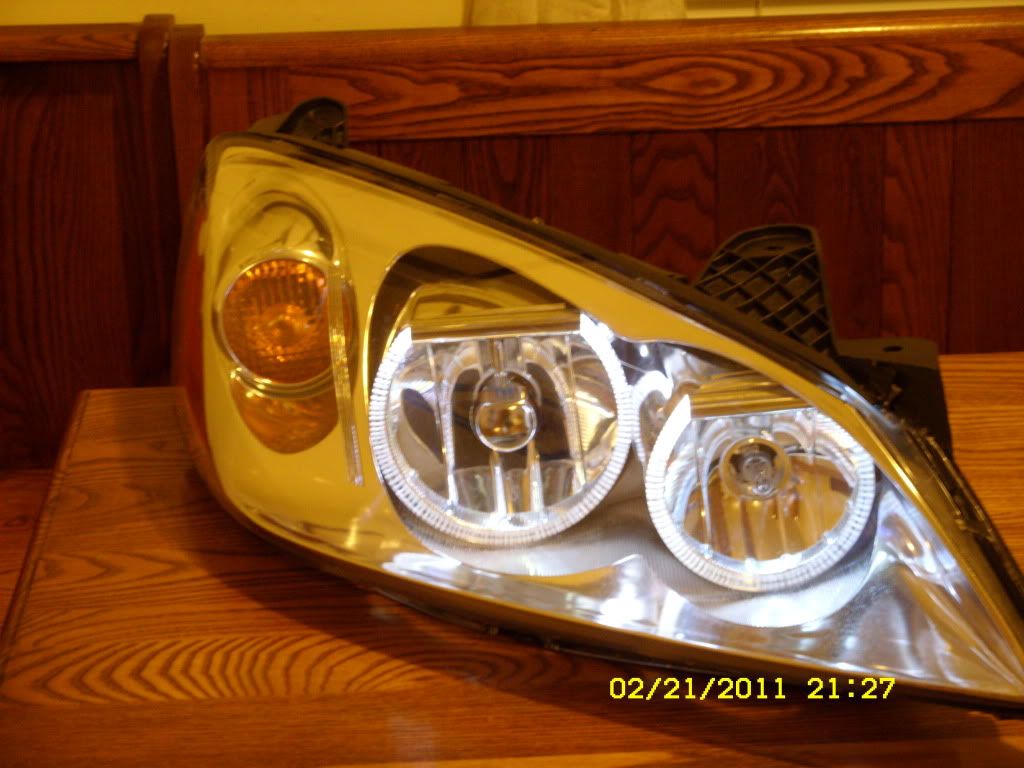
I initially was just going to attach the tubing from the shelf fixture to the light.
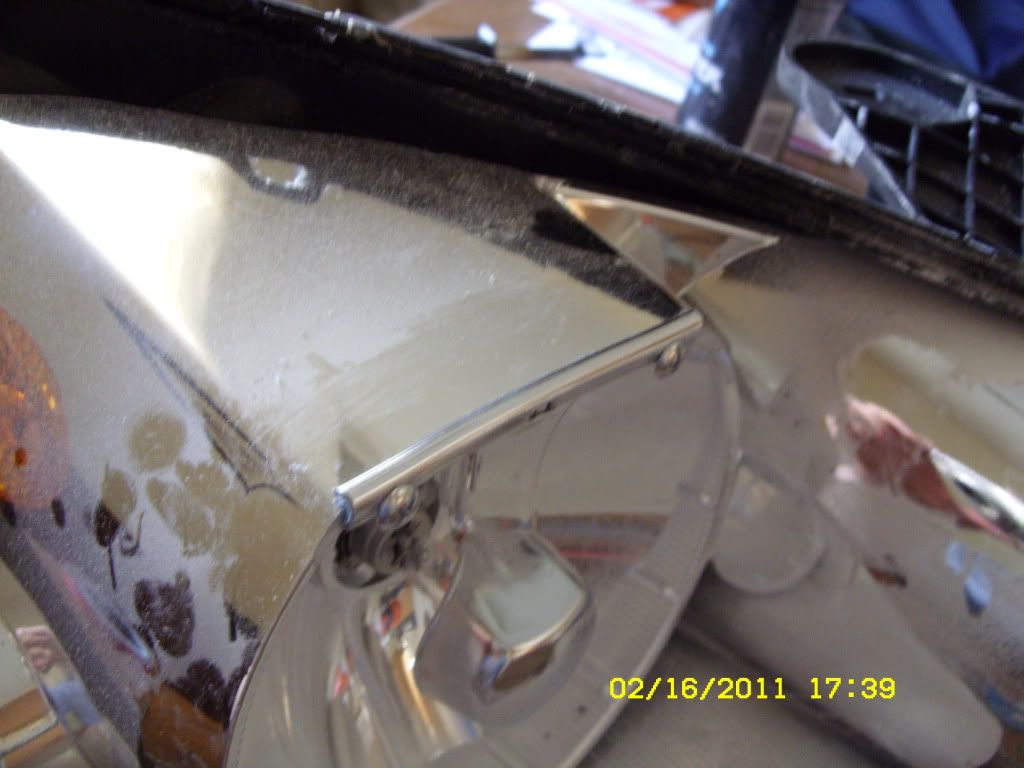
Here it is cut with the dremel without the notch for the wiring. I cut along the tube as well so the lights would slide in easier and the notches could go over the screws:

There were a couple times I was thinking I ruined these headlights. This is a “How to” for those that may be considering prying their lights open and screwing with them, and hopefully will deter them. There are especially better alternatives now that halos/r8 Eagle Eyes are available.
With that being said, here is a chronological view of my headlights. Ultimately it took 3 months because I ordered some daytime running light bulbs from China that took two months to arrive.
Tools needed:
Dremel and accessories (MUST)
Butane torch
Screwdriver(s)
Soldering iron
Needle nose pliers
Clamps
This is what I started with:
8 Silica Packs:
Nissan black sealant:
DRL Bulbs:
Shelf fixture (an idea a came up with to house the Halos
Blind louver – Clear solid octagon
Opening the headlights;
Step 1: Remove the weather strip around the light, then insert screwdrivers around edge. Insert one, twist, then slide the other one in, twist, etc. until the seal is broken.
Step 2: Cover the clear acrylic housing with plastic wrap and set it aside where it won’t get scratched. The chrome inside will go with it, but it’s really easy to get out if you wanted to paint it – 2 screws.
Step 3: Drill the holes that will provide support for the halos, and holes that will allow your wiring to go through. If you’re not really careful you may end up with something like this:
Ouch! Out with the sanding bit for the dremel. Get ready for the dust:
I initially was just going to attach the tubing from the shelf fixture to the light.
Here it is cut with the dremel without the notch for the wiring. I cut along the tube as well so the lights would slide in easier and the notches could go over the screws:


 but just for a very brief time.
Comment