
 Tweet
Tweet
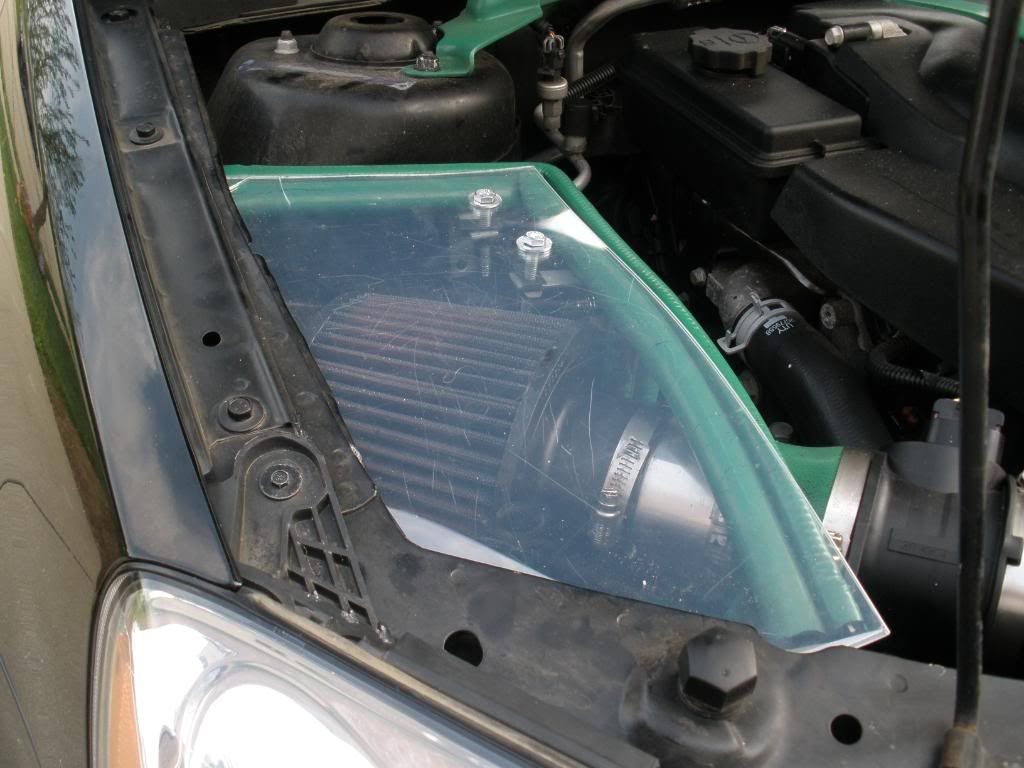
So I took an idea I got from the Aussies and translated it over to an application suitable for our CAB / CRAB. I bought all of my needed parts for this from Lowes for less than $15. Total time for this entire project was about 45 min - an hour. I left the pictures big so you can see the detail. Don't know if this is going to have a HUGE impact on keeping the hot air out, but it sure won't hurt since the lid now keeps about 95% of the engine heated air from going into the CAB.
The following is a shopping list:
1 - 18" x 24" piece of 1/8" acrylic (I used this because I wanted to make a double layer and it was cheaper)
2- 1/2" - 28 nylon lock nuts
1 pack of 4 - 1/4"-28 x 3/4" Hex Cap Screws
1 pack of 3 - 1/4"-20 x 2 " Hex Tap Bolts
2 - 1/4" - 20 U-type Speed Nuts Threaded
2 - 2" L brackets (the ones with the wholes in them)
4 - 1/4" flat washers
You will also need:
1 - piece of cardboard 12" x 18"
1 - Carpenters knife
1 - jig saw w/ fine tooth metal cutting blade
1 - permanent marker
1 - drill
1 - 1/4 drill bit (I used one metal drill bit for the CAB and one regular bit for the acrylic)
1 - 7/16" wrench
1 - 7/16" socket and ratchet
And now how to put it all together
1. Take the cardboard and create a cutout for the lid. I would suggest cutting the bottom angle first then marking off where the sides are. I pushed the cardboard under the edges of where the hood opening sits to use it to help hold the lid down. Get creative with this and just make it happen.
2. Once you have the cardboard cutout done, trice it onto the acrylic (I did this twice since I doubled it up for more protection).
3. Using the jig saw, and moving EXTREMELY SLOWLY (about 1 inch every 10 seconds) cut out the traced lids from the acrylic. I would recommend practicing on a section you won't be using to get used to how fast you can go. The acrylic ships extremely easily, so be careful.
4. With the pad still on your cold air box, take your L brackets and place them where you want them. You see from my pictures where I put these bolts. Because I make the acrylic long enough to slide under the edge of the where the hood sits, I only needed these two bolts to hold it down.
5. Once you have figured out where you want them, mark the wholes with the permanent marker where you will be drilling through the side of the CAB.
6. Using the metal drill bit, drill the wholes through the CAB. I did not have to take the CAB off the car for this, but some may have to.
7. Take one 1/4" x 3/4" hex cap screw, one washer, and attach each of the L brackets to the CAB using the nylon retaining nut. I used the wrench and socket here.
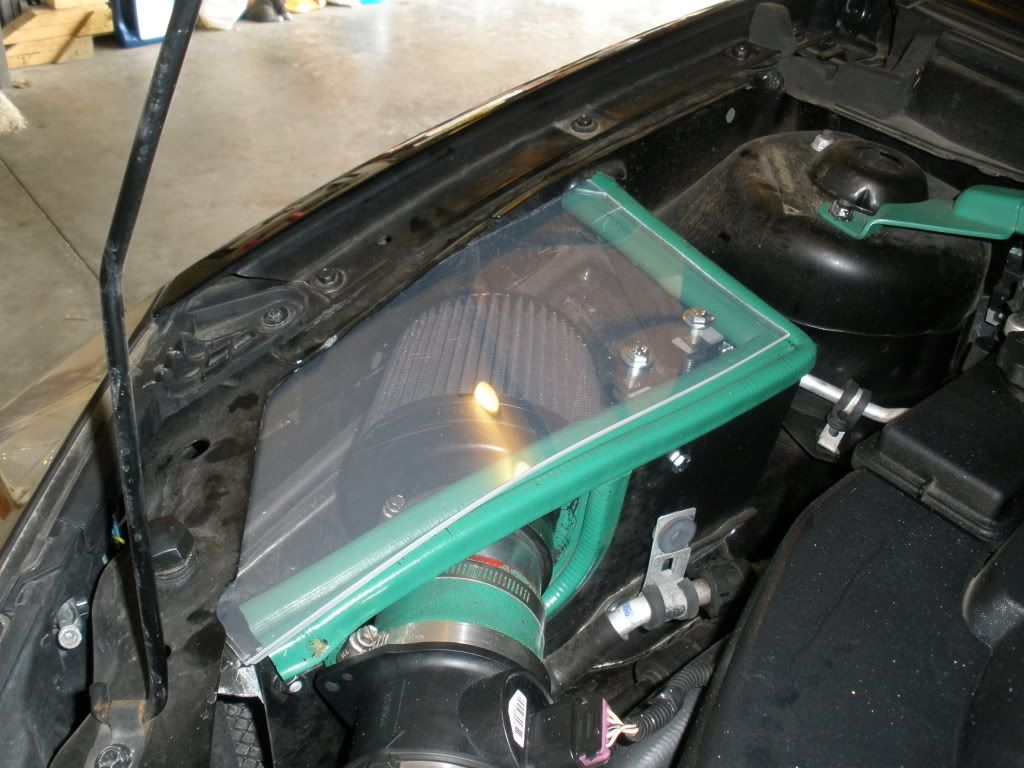
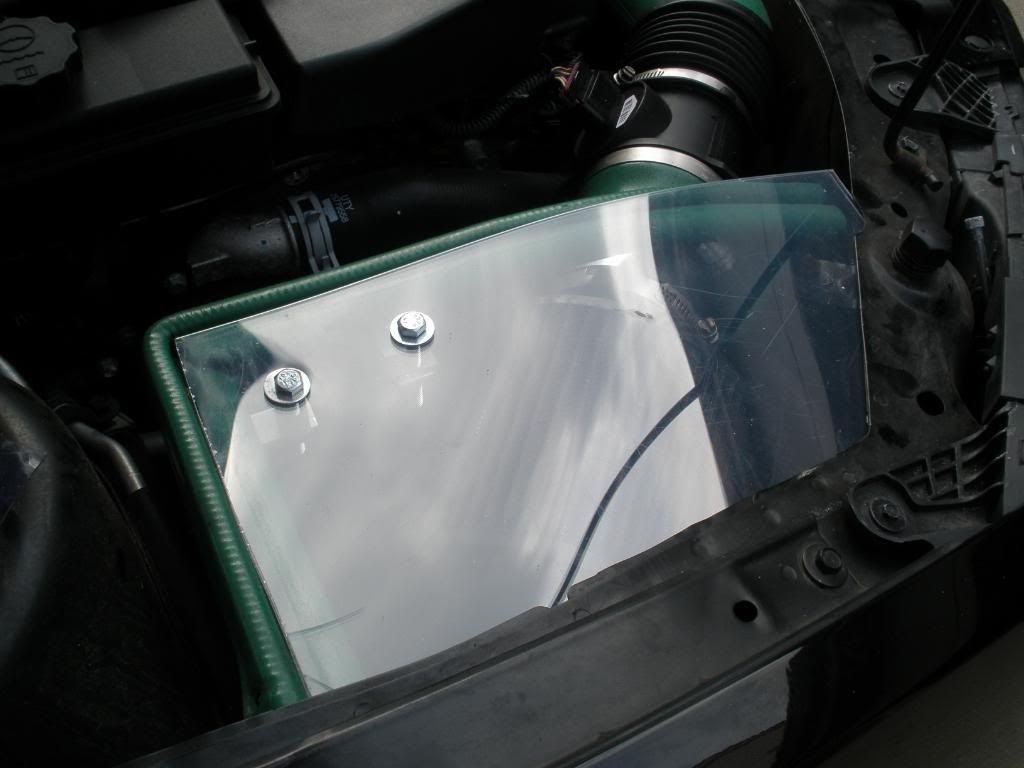
8. Once the L brackets are tightened down to the CAB, place the cut piece(s) of acrylic on top and arrange it like in the pictures below. Pushing the acrylic down against the top of the CAB, mark where the wholes should go using the permanent marker.
9. Drill the holes for the bolts going through the top using the regular drill bit.
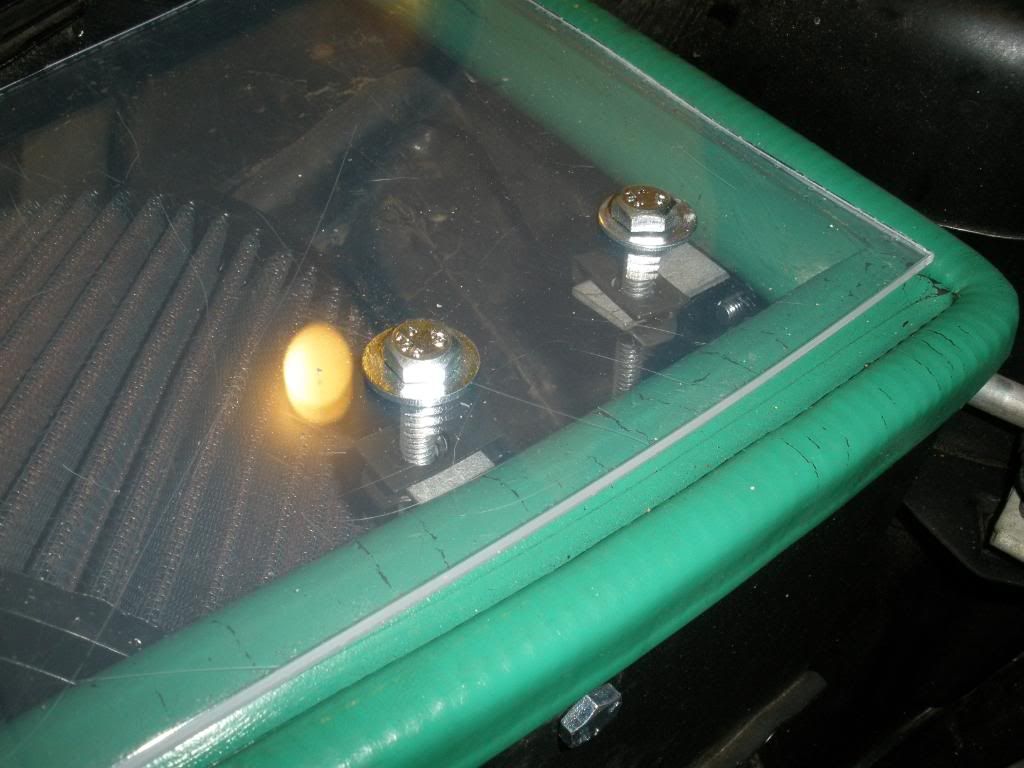
10. Put the 1/4" Speed Nuts Threaded onto the L brackets attached to the CAB.
11. Put the acrylic pieces back onto the CAB and attach them using the 2" - 1/4" bolts and washers. The bolts should run right down into the threaded speed nuts attached to the L brackets. I tightened using the socket and ratchet.
And you're done!! Enjoy the pictures below!
The following is a shopping list:
1 - 18" x 24" piece of 1/8" acrylic (I used this because I wanted to make a double layer and it was cheaper)
2- 1/2" - 28 nylon lock nuts
1 pack of 4 - 1/4"-28 x 3/4" Hex Cap Screws
1 pack of 3 - 1/4"-20 x 2 " Hex Tap Bolts
2 - 1/4" - 20 U-type Speed Nuts Threaded
2 - 2" L brackets (the ones with the wholes in them)
4 - 1/4" flat washers
You will also need:
1 - piece of cardboard 12" x 18"
1 - Carpenters knife
1 - jig saw w/ fine tooth metal cutting blade
1 - permanent marker
1 - drill
1 - 1/4 drill bit (I used one metal drill bit for the CAB and one regular bit for the acrylic)
1 - 7/16" wrench
1 - 7/16" socket and ratchet
And now how to put it all together
1. Take the cardboard and create a cutout for the lid. I would suggest cutting the bottom angle first then marking off where the sides are. I pushed the cardboard under the edges of where the hood opening sits to use it to help hold the lid down. Get creative with this and just make it happen.
2. Once you have the cardboard cutout done, trice it onto the acrylic (I did this twice since I doubled it up for more protection).
3. Using the jig saw, and moving EXTREMELY SLOWLY (about 1 inch every 10 seconds) cut out the traced lids from the acrylic. I would recommend practicing on a section you won't be using to get used to how fast you can go. The acrylic ships extremely easily, so be careful.
4. With the pad still on your cold air box, take your L brackets and place them where you want them. You see from my pictures where I put these bolts. Because I make the acrylic long enough to slide under the edge of the where the hood sits, I only needed these two bolts to hold it down.
5. Once you have figured out where you want them, mark the wholes with the permanent marker where you will be drilling through the side of the CAB.
6. Using the metal drill bit, drill the wholes through the CAB. I did not have to take the CAB off the car for this, but some may have to.
7. Take one 1/4" x 3/4" hex cap screw, one washer, and attach each of the L brackets to the CAB using the nylon retaining nut. I used the wrench and socket here.
8. Once the L brackets are tightened down to the CAB, place the cut piece(s) of acrylic on top and arrange it like in the pictures below. Pushing the acrylic down against the top of the CAB, mark where the wholes should go using the permanent marker.
9. Drill the holes for the bolts going through the top using the regular drill bit.
10. Put the 1/4" Speed Nuts Threaded onto the L brackets attached to the CAB.
11. Put the acrylic pieces back onto the CAB and attach them using the 2" - 1/4" bolts and washers. The bolts should run right down into the threaded speed nuts attached to the L brackets. I tightened using the socket and ratchet.
And you're done!! Enjoy the pictures below!
 About the best I was hoping for here was that I could start to suck up more cold air through the bottom of the CAB vs. hot air from the engine. The concept is good I think. At around $11 in material, it was a fun little project.


Comment