 Tweet
Tweet
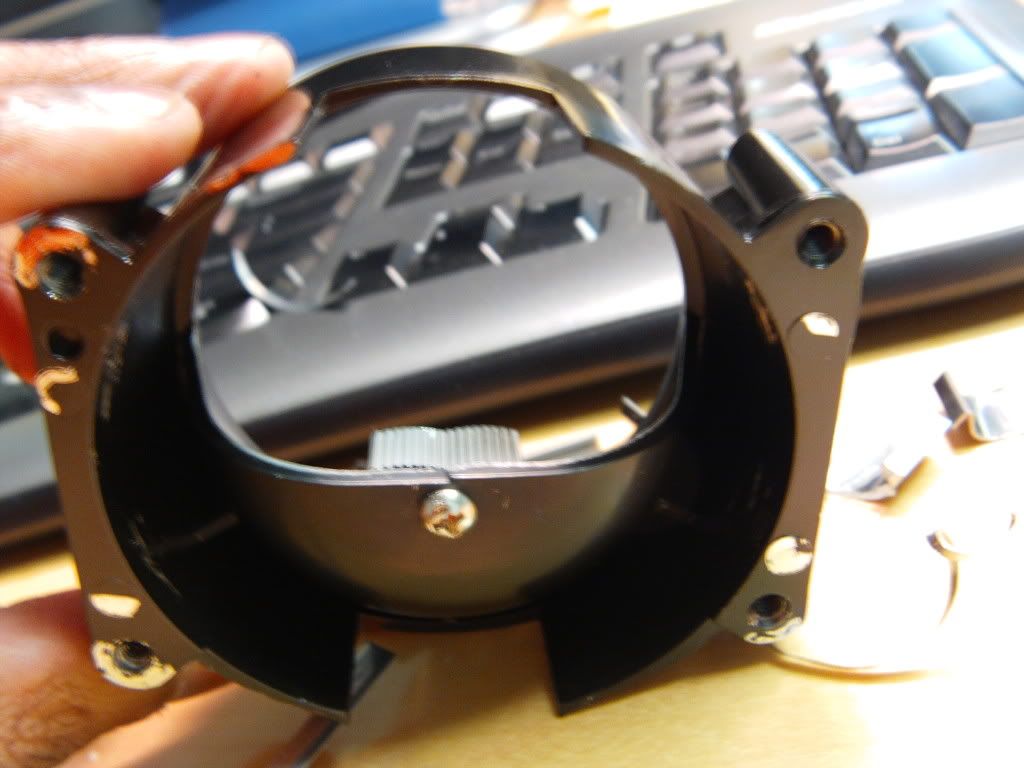
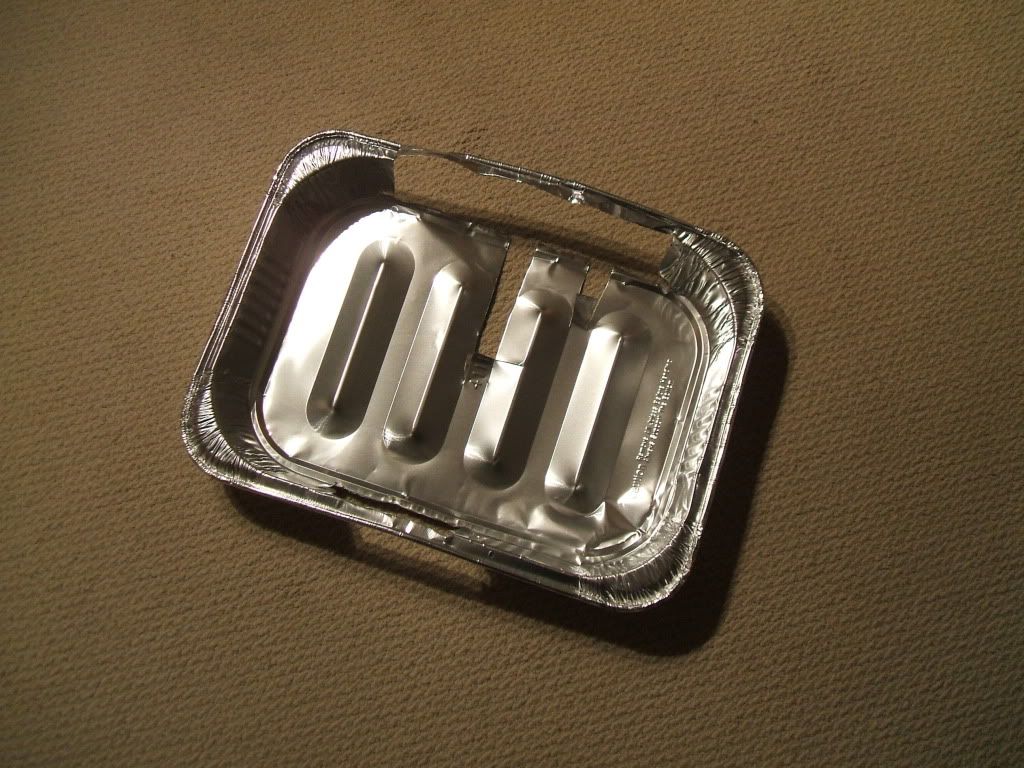
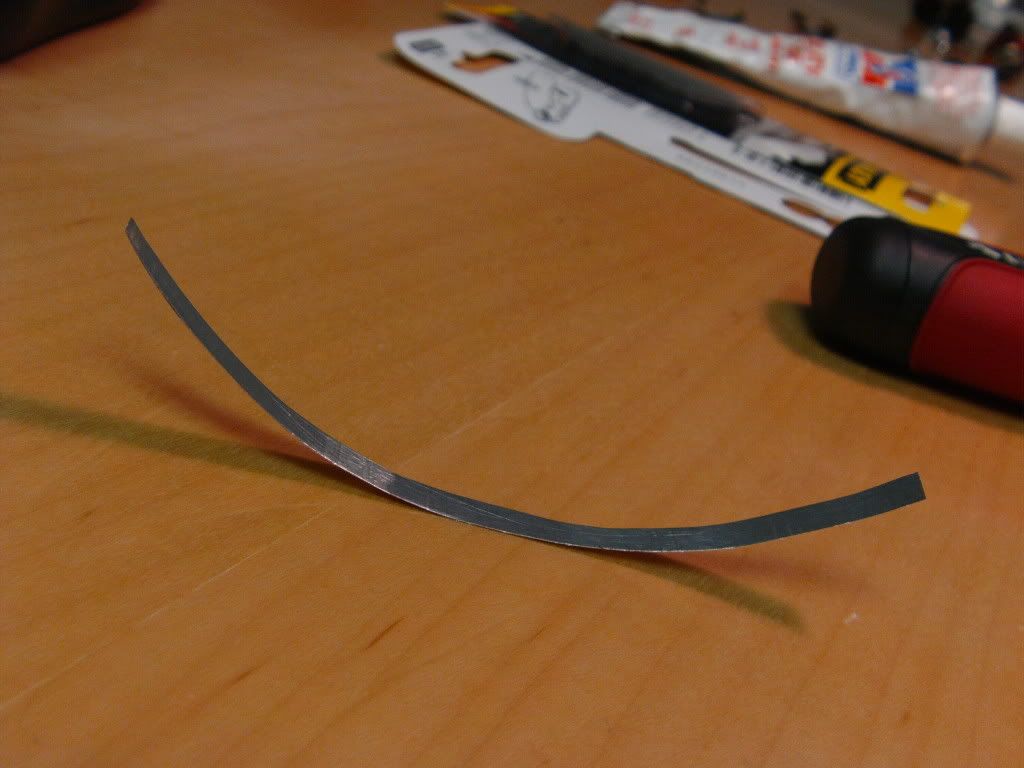
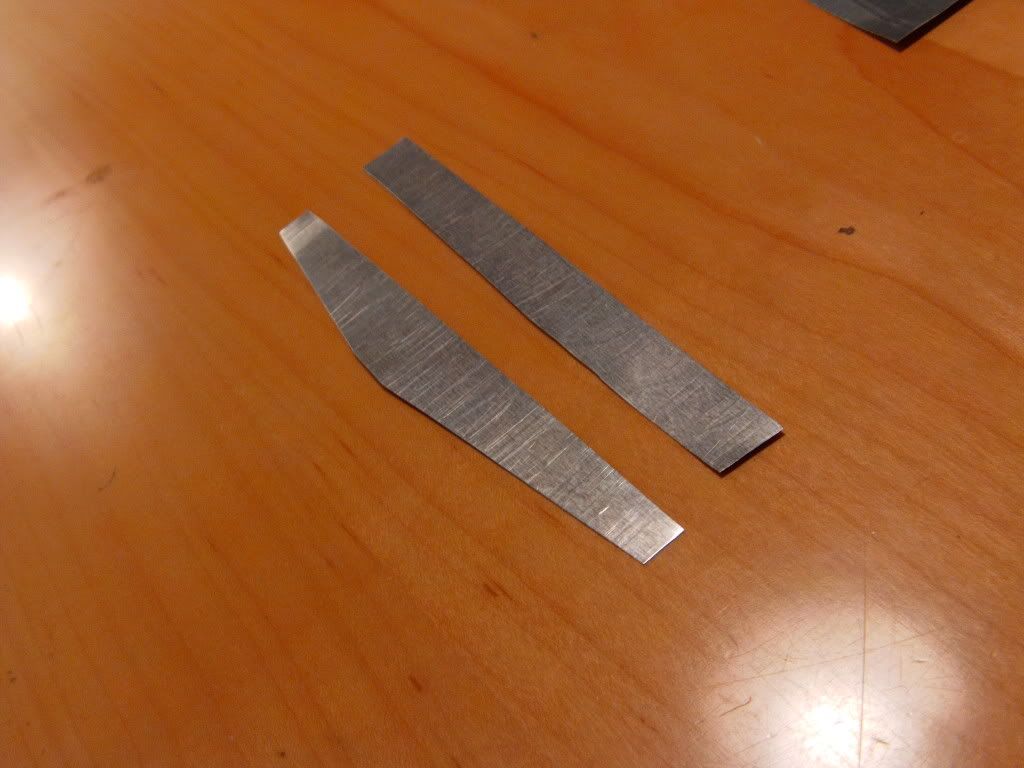
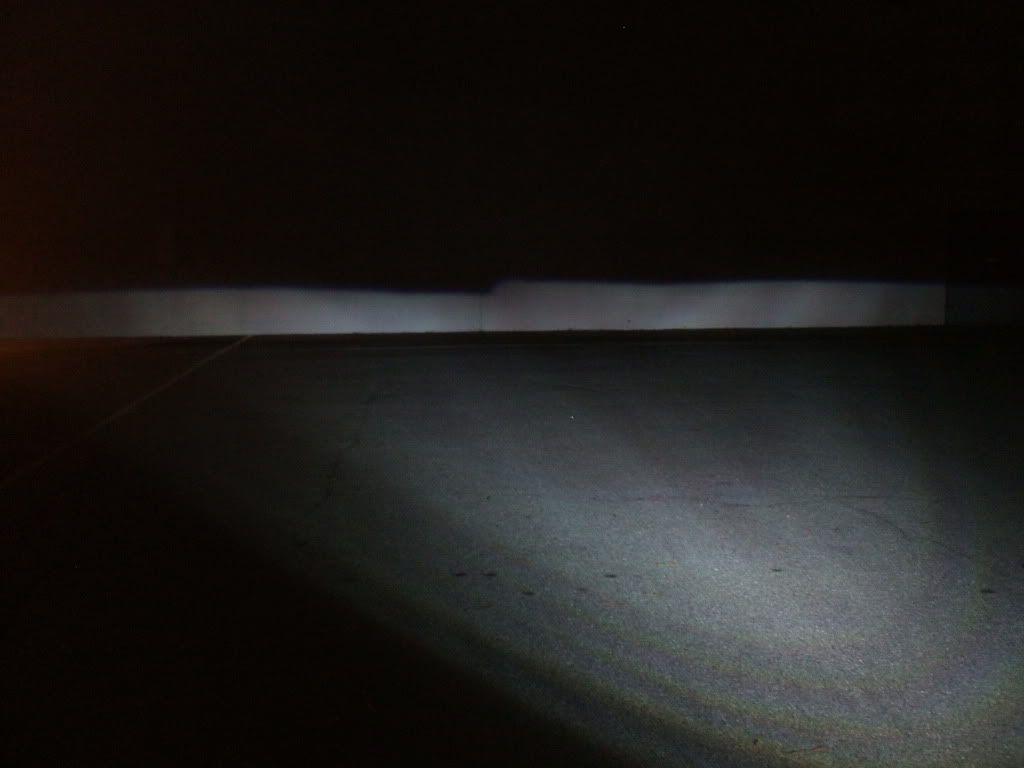
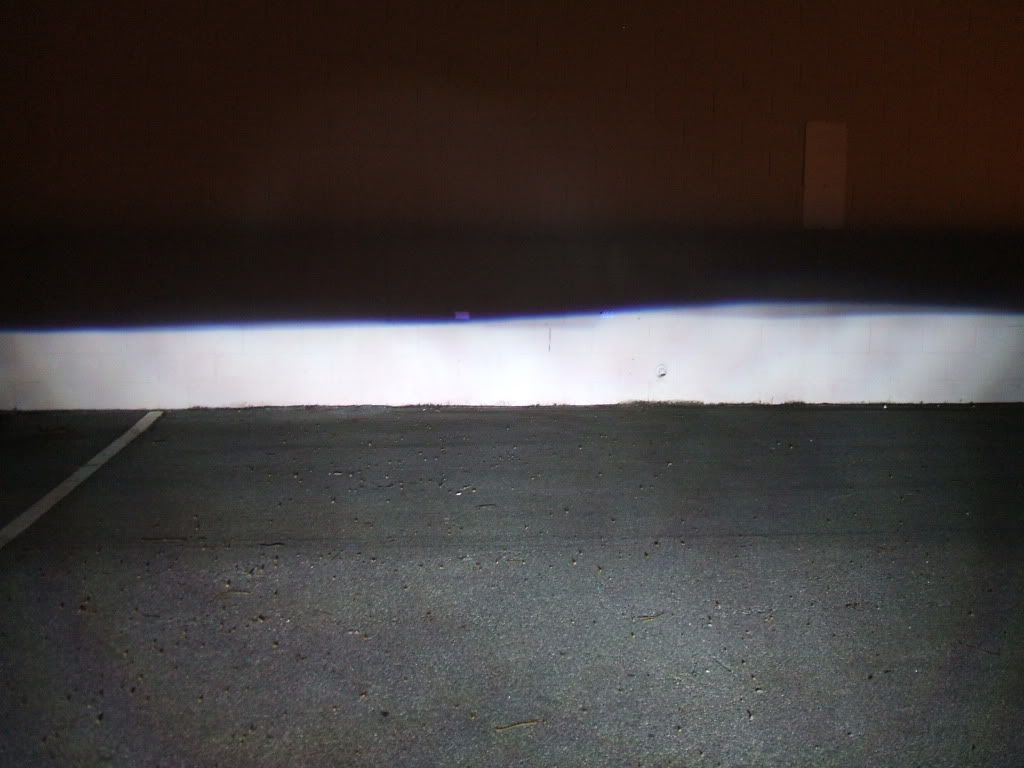
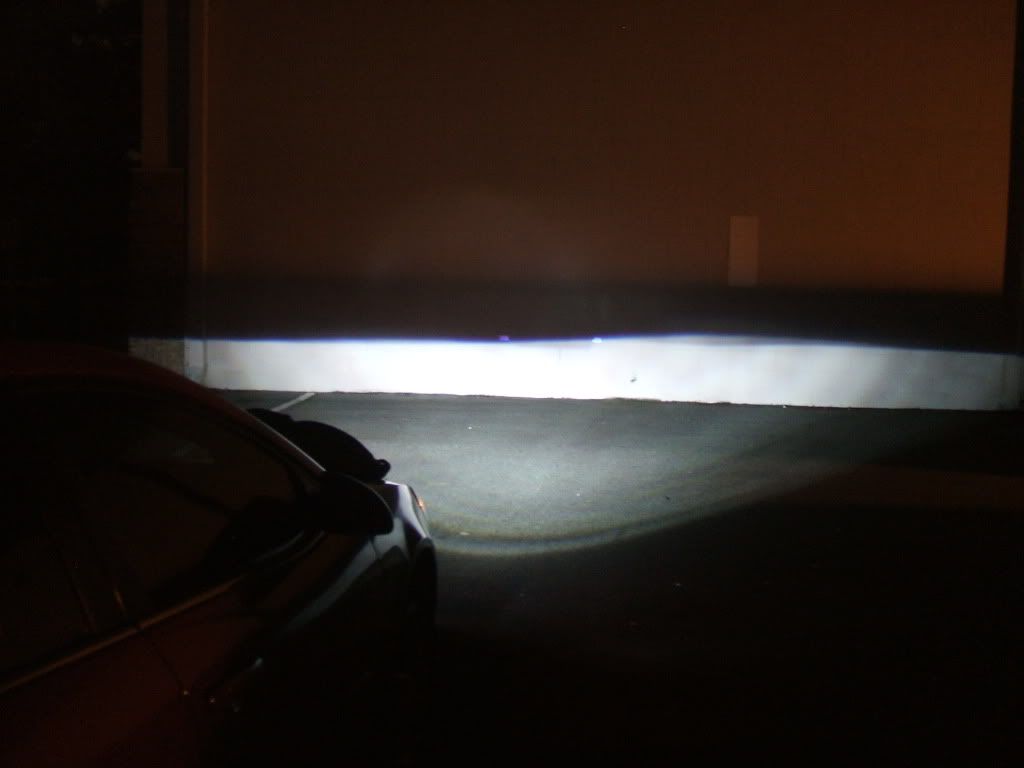
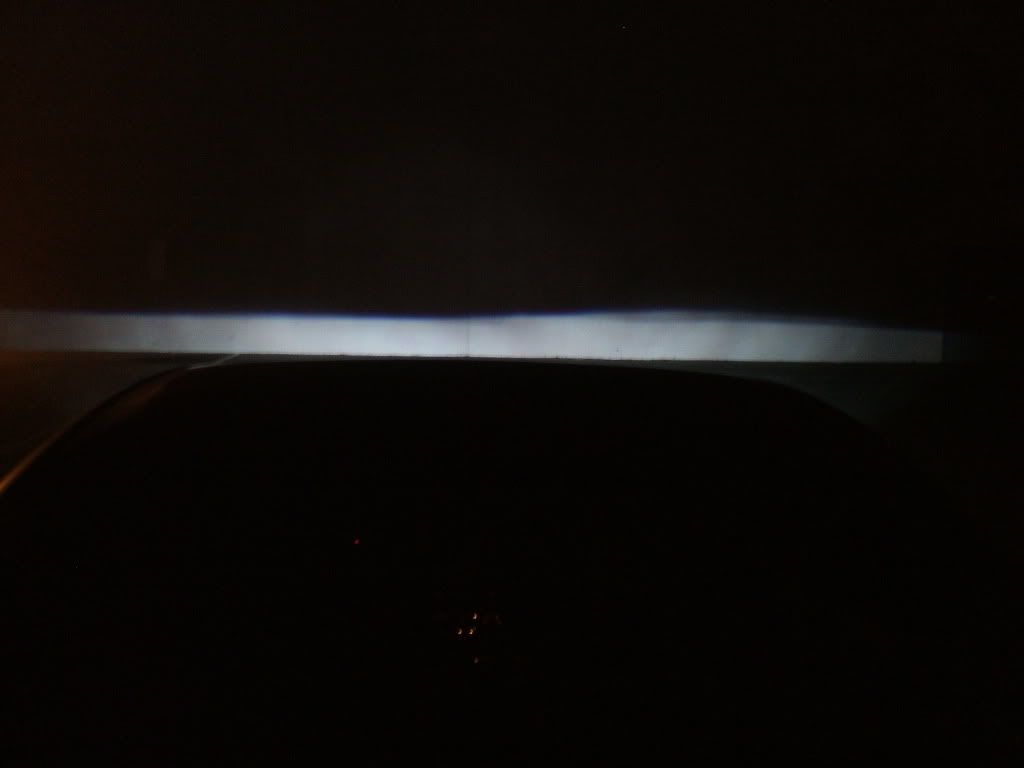
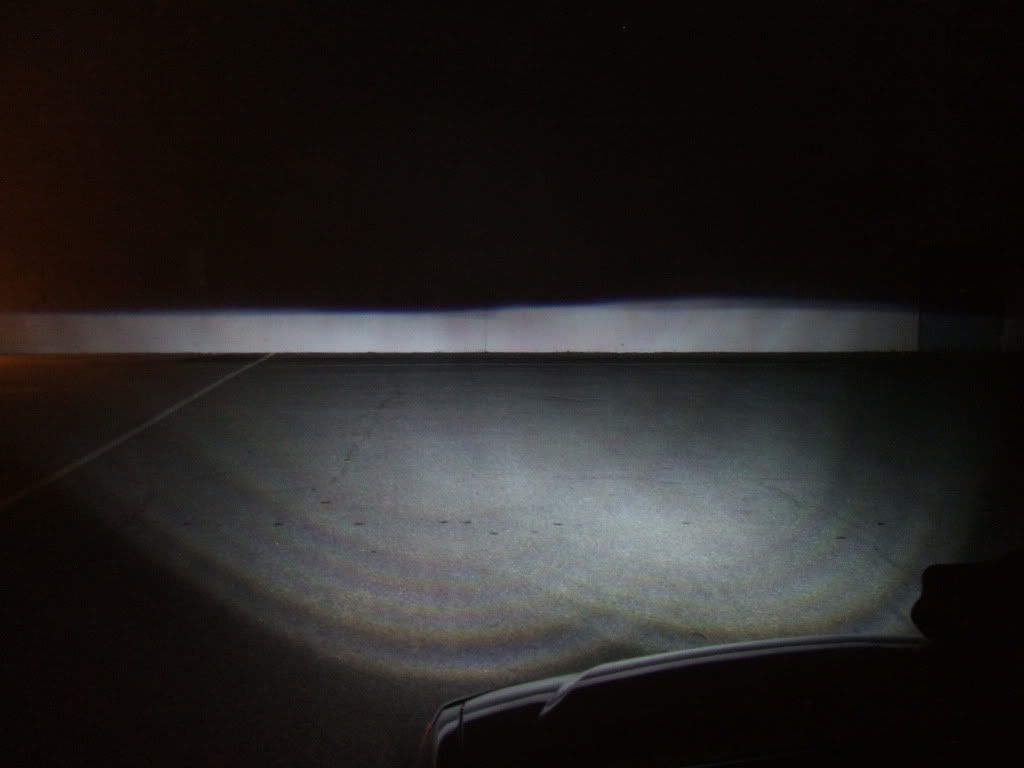
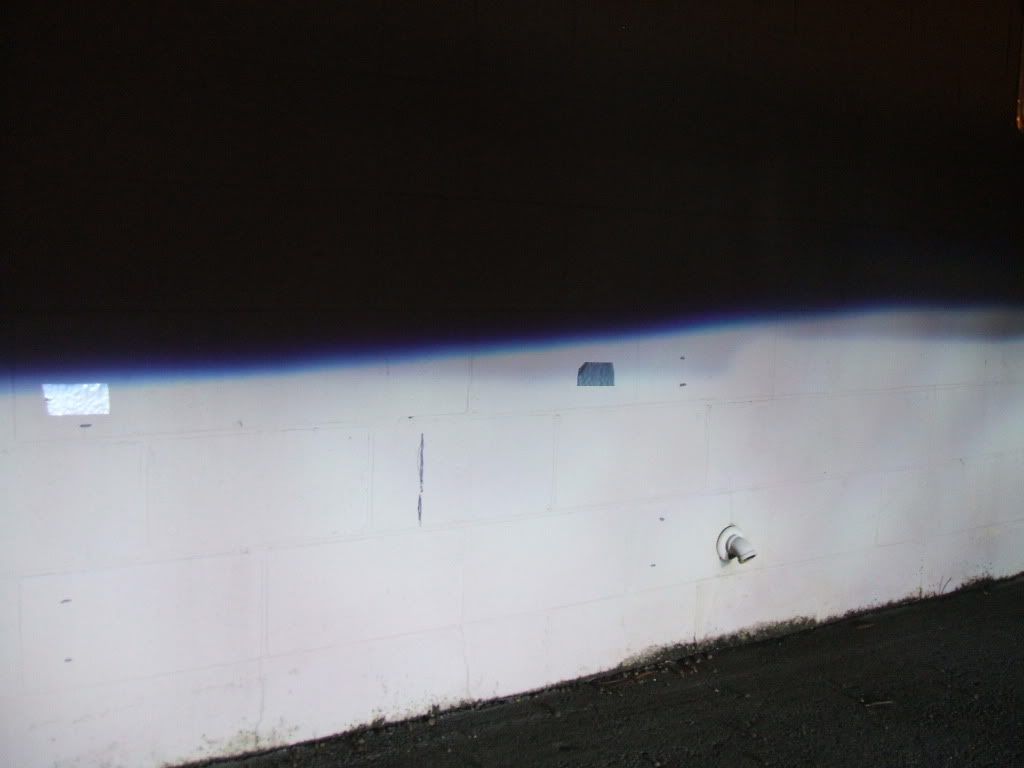
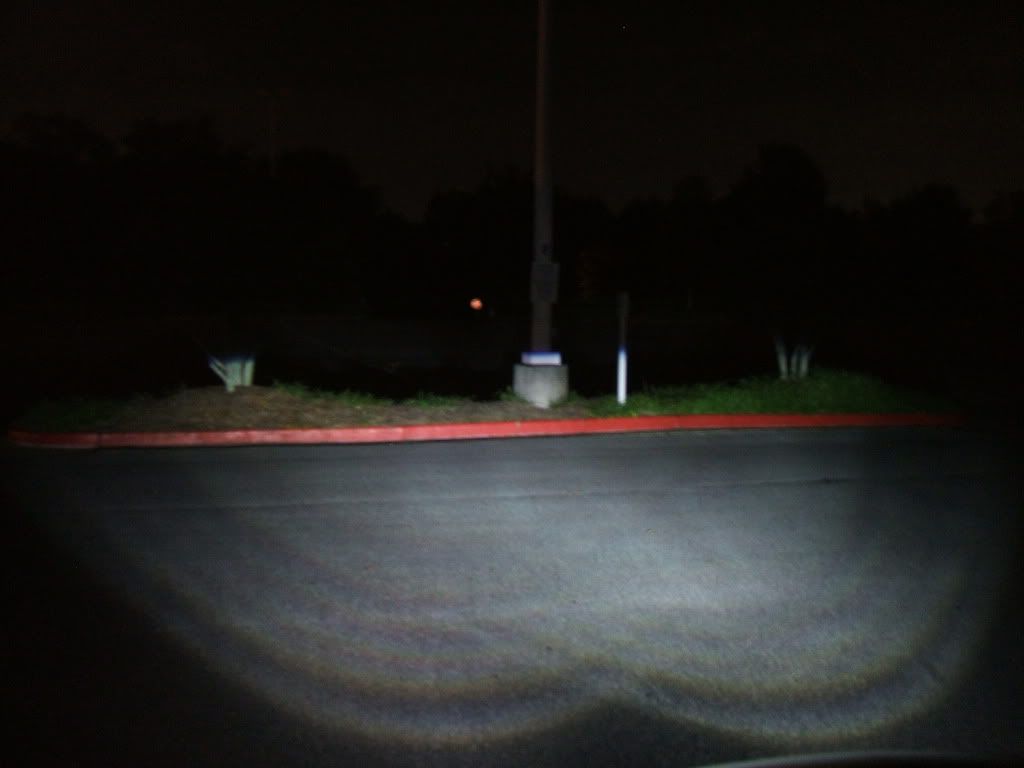
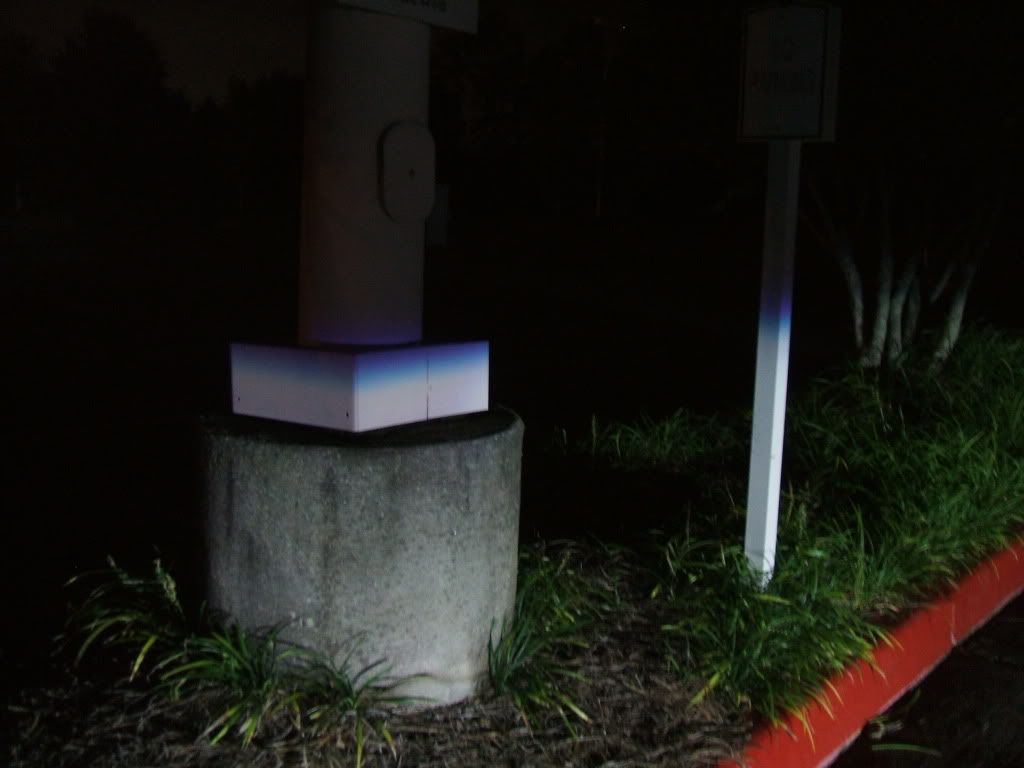
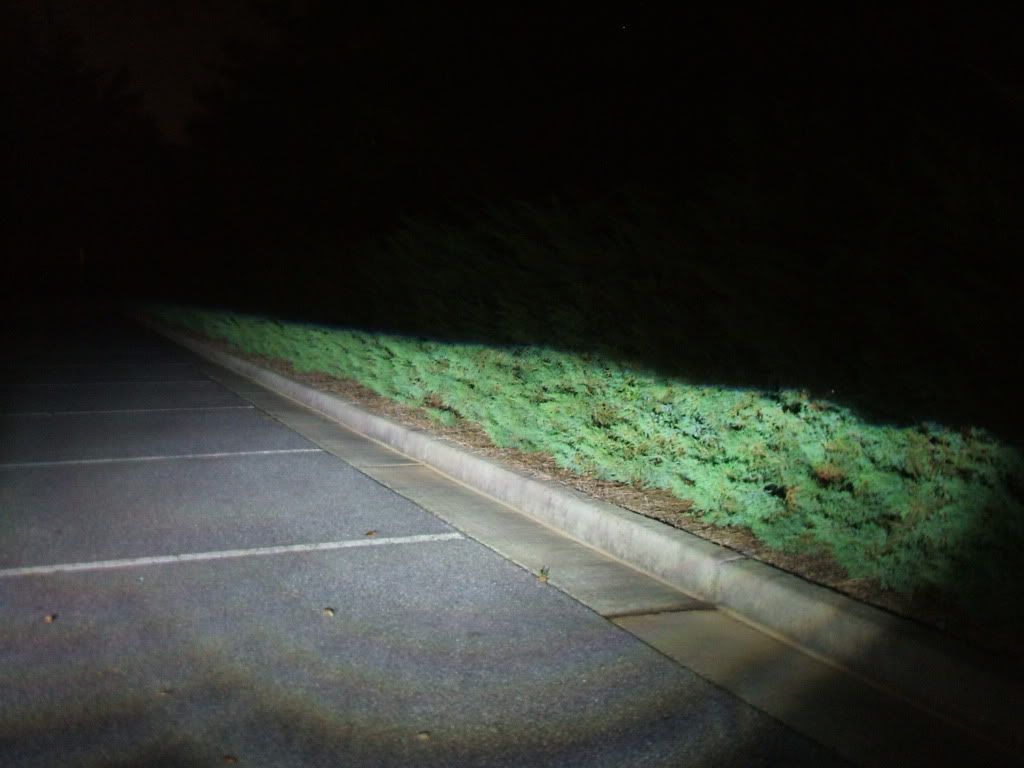
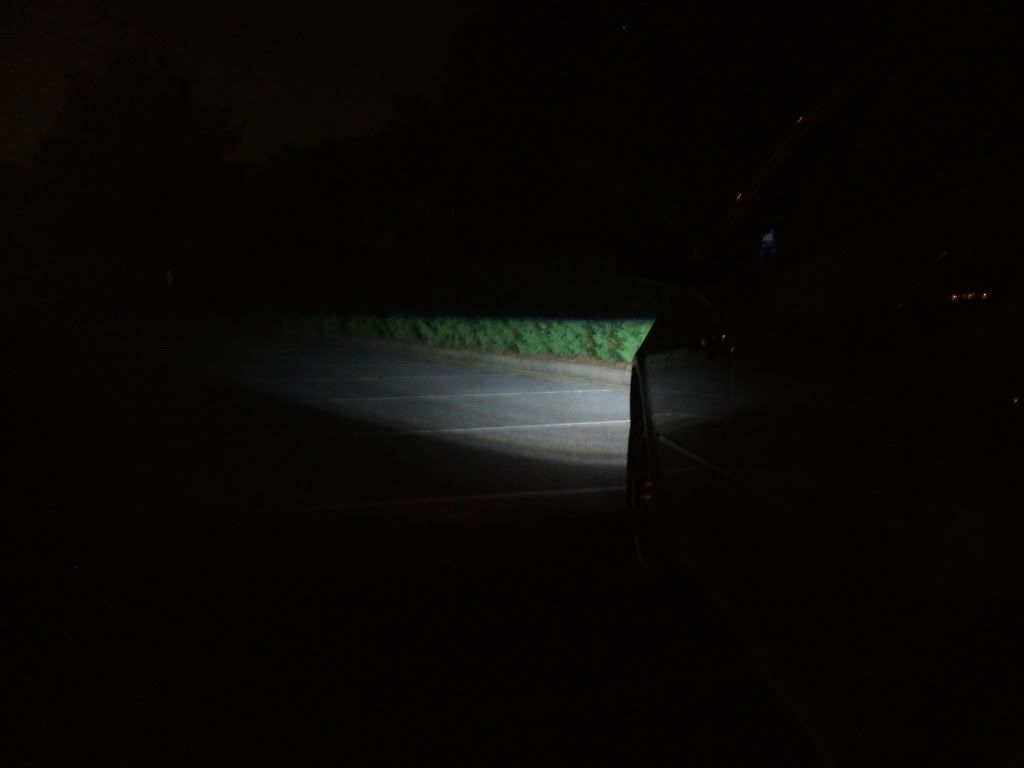
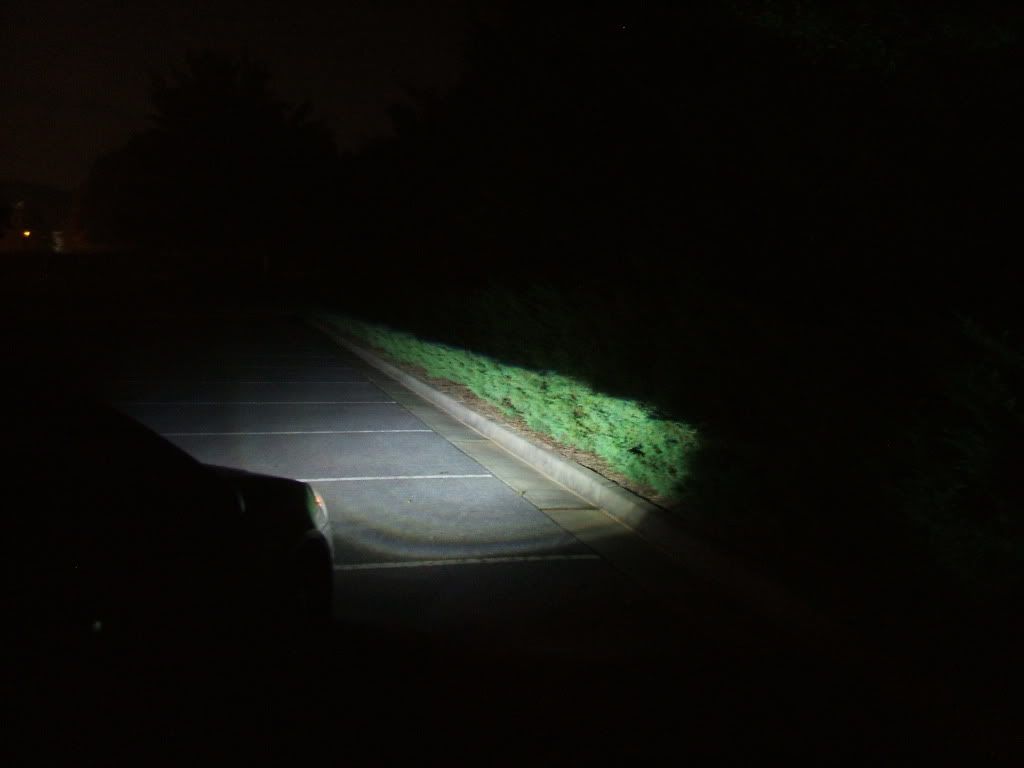
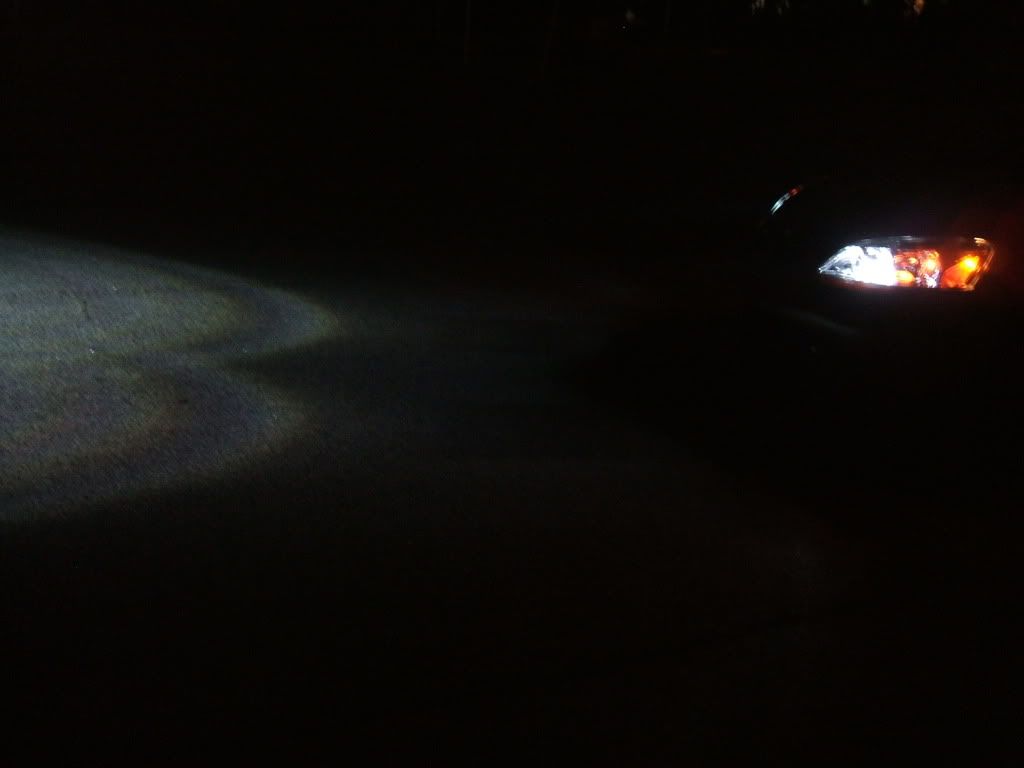
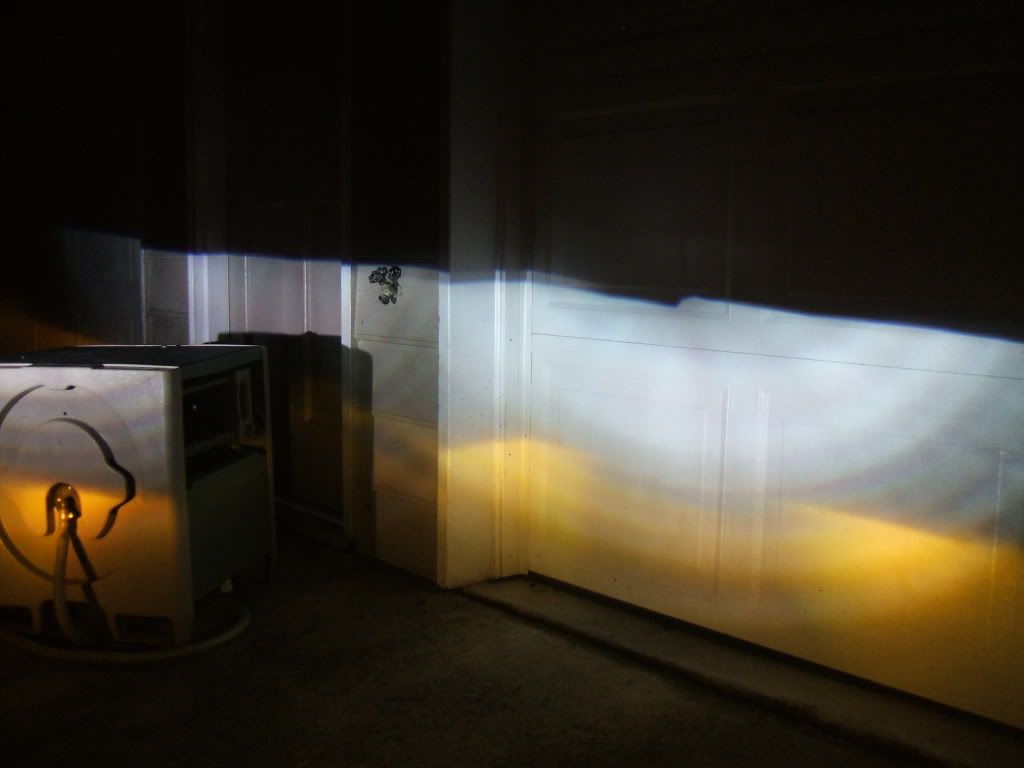
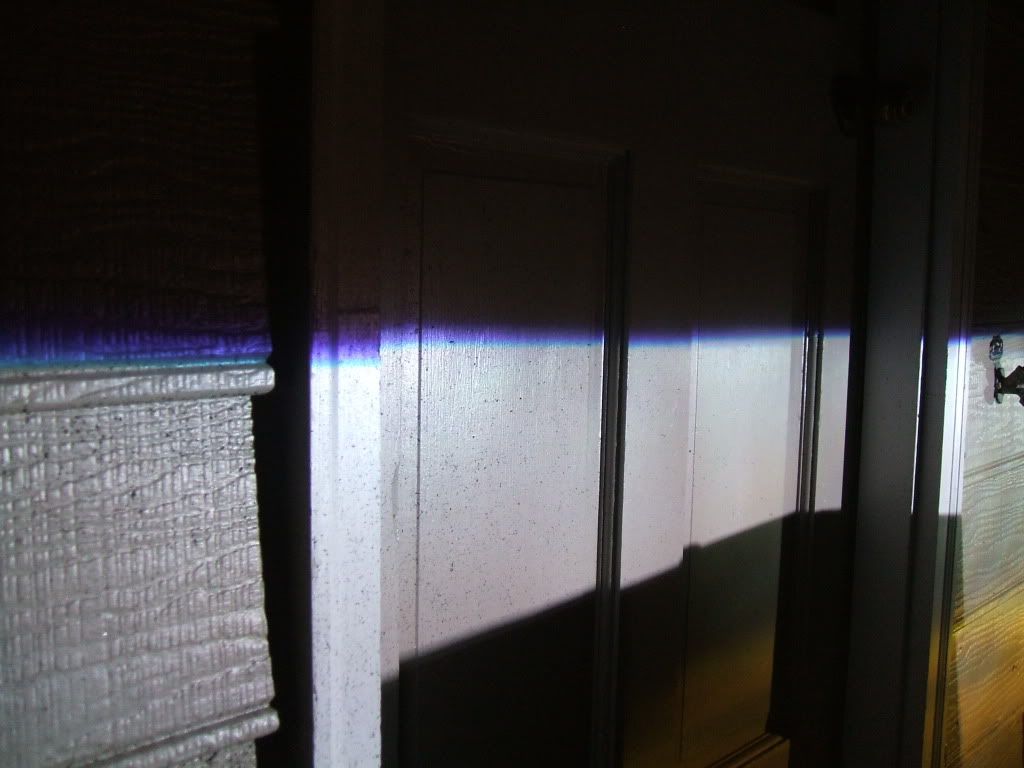
Re: New Projector Head-lights- UNDER CONSTRUCTION
I don't think you're helping 
Originally posted by 1BADG6GT


 camdogie

 BK. I would def buy some then!


 that can work.


Comment